Step-by-Step Guide: How to Attach a Tire Inflator to an Air Compressor

If you own a car or bicycle, having a tire inflator can be a lifesaver in emergency situations. A tire inflator is a device that can quickly and easily add air to your tires, ensuring they are properly inflated and safe to drive or ride on. In order to use a tire inflator, you need to attach it to an air compressor, which supplies the necessary air pressure.
The first step in attaching a tire inflator to an air compressor is to gather all the necessary tools and equipment. You will need an air compressor with a hose and pressure gauge, as well as a tire inflator with a compatible connector. It’s important to check that the connector on the tire inflator matches the fitting on your air compressor before proceeding.
Once you have the necessary equipment, the next step is to prepare the air compressor. Start by making sure the compressor is turned off and unplugged. Then, locate the air outlet on the compressor and remove any dust or debris that may be blocking it. This will ensure a smooth and uninterrupted airflow.
After preparing the air compressor, it’s time to attach the tire inflator. Take the hose from the air compressor and connect it to the inlet on the tire inflator. Make sure the connection is secure and tight to avoid any leaks. Once the hose is connected, turn on the air compressor and adjust the pressure to the desired level using the pressure gauge on the inflator.
With the tire inflator attached to the air compressor, you’re now ready to inflate your tires. Simply attach the connector on the tire inflator to the tire valve and press the trigger or lever to release the compressed air. Keep an eye on the pressure gauge to ensure that the tires are being inflated to the correct pressure. Once the desired pressure is reached, release the trigger or lever and disconnect the tire inflator from the valve.

Attaching a tire inflator to an air compressor is a straightforward process that can greatly improve your ability to maintain properly inflated tires. By following these step-by-step instructions, you can ensure a secure and efficient connection, allowing you to quickly and easily inflate your tires whenever necessary.
Gather the Necessary Tools and Materials
Before you begin attaching a tire inflator to an air compressor, make sure you have all the required tools and materials. Having everything prepared will help ensure a smooth and efficient process.
Tools:
- Socket wrench
- Tire inflator attachment
- Adjustable wrench
- Teflon tape
- Air compressor
Materials:
- Tire inflator valve
- Air hose
- Air chuck
- Air compressor oil (if necessary)
- Tire pressure gauge (optional, but recommended)
Having these tools and materials ready will allow you to proceed with the tire inflator attachment process smoothly. Make sure all the tools are in good condition and the materials are readily available before you start.
Ensure Safety Precautions
1. Wear Protective Gear

Before attaching a tire inflator to an air compressor, it is crucial to prioritize your safety by wearing the appropriate protective gear. This includes safety goggles to protect your eyes from debris and a pair of gloves to safeguard your hands from potential injuries.
2. Choose a Safe Work Area
Selecting a safe work area is essential to prevent accidents and injuries. Ensure that the space is well-ventilated to avoid the buildup of potentially harmful fumes. Additionally, make sure the area is clean and free from clutter, as this will minimize the chances of any accidents during the tire inflator attachment process.
3. Familiarize Yourself with the Equipment
Before attaching the tire inflator to the air compressor, take the time to familiarize yourself with both pieces of equipment. Carefully read the user manuals for the tire inflator and air compressor, paying close attention to any specific instructions or safety precautions outlined by the manufacturer. This will ensure you understand how to use the equipment correctly and minimize any potential risks.
4. Check for Any Damages or Malfunctions
Prior to attaching the tire inflator, inspect both the inflator and air compressor for any damages or malfunctions. Look for any signs of wear and tear, such as frayed cords or leaking hoses. If any issues are identified, do not proceed with attaching the tire inflator and seek professional assistance to address the problem.
5. Follow Proper Procedures
When attaching the tire inflator to the air compressor, it is crucial to follow the proper procedures outlined in the user manuals. Failure to do so can result in accidents or damage to the equipment. Take the time to understand the correct steps, ensuring that all connections are secure and in good working condition before proceeding.

6. Keep a Safe Distance
When operating the air compressor and tire inflator, make sure to keep a safe distance between yourself and the equipment. This distance will prevent any potential harm caused by flying debris, sudden bursts, or any other unforeseen circumstances. Remain aware of your surroundings and avoid setting up the equipment in a crowded or obstructed area.
7. Properly Store Unused Equipment
Once you have completed the process of attaching the tire inflator to the air compressor, ensure that any unused equipment is stored properly. Disconnect the inflator from the compressor and store them in a secure location, away from any potential hazards or damage. This will help prolong the lifespan of the equipment and prevent any accidents from occurring.
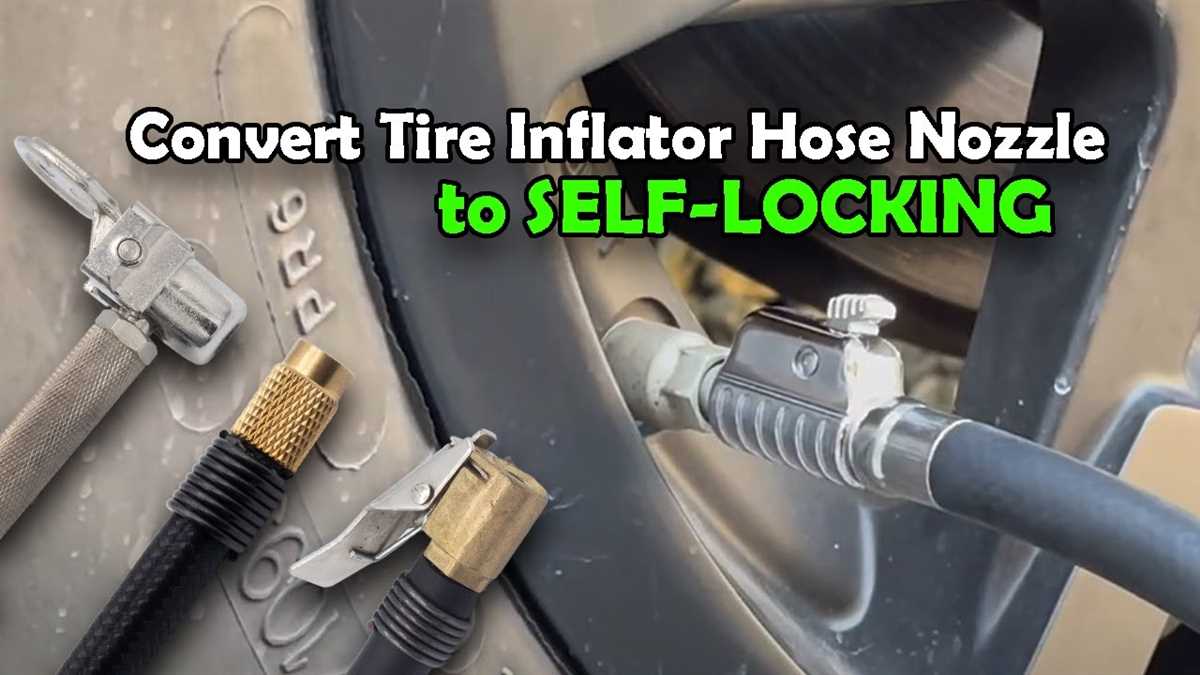
Identify the Appropriate Connector Type
Before attaching a tire inflator to an air compressor, it is important to identify the appropriate connector type. There are several different types of connectors available, and using the wrong one can result in ineffective inflation or damage to the equipment.
One of the most common connector types is the “quick-connect” or “push-to-connect” style. This connector has a simple push-to-connect design, where the hose is pushed onto the connector and securely held in place by a locking mechanism. It is important to ensure that the connector style matches both the tire inflator and the air compressor.
Another popular connector type is the “threaded” connector, which requires the hose to be screwed onto the connector. This type of connector often has a male threaded end that screws into a female threaded connection on the tire inflator or air compressor. It is crucial to check the size and threading of the connector to ensure it matches the equipment.

Some tire inflators may also have a unique or proprietary connector type. These connectors may require adapters or specific accessories to ensure compatibility with an air compressor. It is recommended to consult the manufacturer’s instructions or contact customer support to determine the appropriate connector type for your specific tire inflator.
Once you have identified the appropriate connector type, you can proceed with attaching the tire inflator to the air compressor and begin inflating your tires. Taking the time to ensure proper compatibility will help avoid any potential issues or damage and ensure a successful inflation process.
Prepare the Air Compressor
Before you can attach a tire inflator to an air compressor, you need to properly prepare the air compressor. Here are the steps to follow:
- Check the power source: Ensure that the air compressor is connected to a reliable power source. This can be an electrical outlet or a generator, depending on the type of air compressor you have.
- Inspect the air compressor: Look over the air compressor for any signs of damage or wear. Check the hoses, fittings, and other components to ensure they are in good condition. If you notice any issues, repair or replace the damaged parts before proceeding.
- Check the pressure: Verify that the air compressor is set to the correct pressure level for your tires. Most car tires require a pressure of around 30-35 psi, but always consult your vehicle’s manual for the recommended tire pressure. Adjust the pressure settings on the air compressor if needed.
- Oil and lubrication: If your air compressor requires oil or lubrication, ensure that it is properly filled. Refer to the manufacturer’s instructions for the correct type and amount of oil or lubricant to use. Regular maintenance and lubrication will help prolong the lifespan of your air compressor.
By following these steps, you will be ready to attach a tire inflator to your air compressor and start inflating your tires. Taking the time to properly prepare the air compressor will ensure optimal performance and safety during the inflation process.
Prepare the Tire Inflator
Before attaching the tire inflator to your air compressor, it’s important to ensure that it is in proper working condition and ready for use. Follow these steps to prepare the tire inflator:

- Check the pressure gauge: Inspect the pressure gauge on the tire inflator to make sure it is functioning correctly. It should show accurate readings and not be damaged or cracked. If any issues are found, consider replacing the gauge before proceeding.
- Inspect the hose: Examine the hose of the tire inflator for any signs of damage, such as leaks or cracks. A damaged hose can affect the performance of the tire inflator and should be replaced if necessary.
- Attach the valve connector: The tire inflator typically comes with a valve connector that needs to be securely attached to the end of the hose. Make sure the connector is clean and free from debris before attaching it to the hose.
- Test the tire inflator: Before using the tire inflator, it’s a good idea to test it to ensure proper functionality. Connect the valve connector to a tire valve and press the trigger or lever to see if air flows through the inflator. Check that the pressure gauge accurately displays the pressure being applied.
- Prepare additional accessories: If you plan to use any additional attachments or accessories with the tire inflator, make sure they are properly fitted and ready for use. This may include needle adapters for inflating sports balls or a blow gun for other applications.
By taking the time to prepare the tire inflator before attaching it to your air compressor, you can ensure a smooth and efficient inflation process for your tires.
Connect the Air Compressor and Tire Inflator
Before you begin, make sure that both your air compressor and tire inflator are turned off and unplugged from any power source.
Step 1: Find the proper connectors
Check the connectors on your air compressor and tire inflator to ensure compatibility. Most air compressors and tire inflators use the same standard connectors, but it’s always a good idea to double-check to avoid any potential issues.
Step 2: Attach the hose to the air compressor
Take the hose attached to your air compressor and connect it to the outlet valve on the compressor. Ensure a tight fit by tightening the connector’s clamp or twisting it until secure.
Step 3: Attach the hose to the tire inflator
Now, take the other end of the hose and attach it to the inlet valve on the tire inflator. Again, make sure it is securely fastened to avoid any air leaks.
Step 4: Tighten the connections
Once all the connections are in place, go back and double-check that everything is tightly secured. Snug up any loose connections if necessary to prevent air leakage.
Step 5: Test the connection

Turn on your air compressor and check for any air leaks at the connections. If you notice any leaks, try tightening the connections further or consider replacing the connectors if they are damaged. Once you have confirmed a secure connection, you are ready to use your tire inflator with the air compressor.
Secure the Connection
Once you have attached the tire inflator to the air compressor, it is important to secure the connection to ensure a safe and efficient inflation process. Follow these steps to secure the connection:
- Tighten the Coupler: Check that the coupler is securely attached to the valve stem of the tire. Use a wrench or your hand to tighten the coupler as necessary. This will prevent any air leaks during inflation.
- Inspect for Leaks: After securing the coupler, visually inspect the connection to make sure there are no leaks. Look for any signs of air escaping, such as hissing sounds or bubbles. If you notice a leak, tighten the coupler further or replace any damaged components.
- Monitor the Pressure: Once the connection is secure, monitor the pressure gauge on the tire inflator or air compressor. Make sure the pressure is set to the desired level for your tire. Adjust the pressure as needed using the controls on the inflator or compressor.
- Keep Hands Clear: During the inflation process, keep your hands clear of the connection and any moving parts. This will prevent any injuries or accidents. If you need to make any adjustments or check the pressure, turn off the air compressor and depressurize the system before doing so.
By following these steps to secure the connection between the tire inflator and the air compressor, you can ensure a safe and effective inflation process for your tires.
Test the Tire Inflation
1. Check the Tire Pressure
Before testing the tire inflation, it is essential to check the tire pressure to ensure it is properly inflated. Use a tire pressure gauge to measure the pressure in the tires. Refer to the vehicle’s manual or the recommended tire pressure label on the driver’s side door frame for the correct PSI (pounds per square inch) rating. Note down the current pressure for reference.
2. Attach the Tire Inflator to the Air Valve
Once the tire pressure has been checked, attach the tire inflator to the air valve. Remove the valve cap and align the opening of the tire inflator with the valve stem. Push the tire inflator firmly onto the valve stem until it is securely attached.
3. Set the Desired Pressure
Next, set the desired tire pressure on the tire inflator. Some tire inflators have a built-in pressure gauge, while others require you to use a separate gauge. Refer to the instructions provided with your tire inflator to set the desired pressure correctly.
4. Turn on the Air Compressor
Before starting the inflation process, ensure that the air compressor is turned on and properly connected to a power source. Check that the pressure control knob on the air compressor is set to the correct PSI level for inflation.
5. Inflate the Tire
Once everything is ready, start the inflation process by pressing the power button or trigger on the tire inflator. The air compressor will begin filling the tire with air. Keep an eye on the tire pressure gauge to monitor the progress and stop inflating once the desired pressure is reached.
6. Check the Tire Pressure Again
After inflating the tire, it is crucial to check the tire pressure once more to ensure it matches the desired pressure. Use a tire pressure gauge to measure the pressure and compare it with the target PSI. If necessary, adjust the pressure accordingly by adding or releasing air.
7. Repeat for Other Tires
If you have multiple tires to inflate, repeat the process for each tire, ensuring that the correct pressure is set and maintained. Remember to properly store the tire inflator and air compressor after use.
By following these steps, you can successfully test the tire inflation and ensure that your tires are properly filled with air for optimal performance and safety on the road.
FAQ:
What tools do I need to attach a tire inflator to an air compressor?
To attach a tire inflator to an air compressor, you will need the following tools: an air compressor, a tire inflator with a compatible connector, an air hose, and a tire pressure gauge.
How do I choose the right tire inflator for my air compressor?
When choosing a tire inflator for your air compressor, you should consider the type of connector it uses, the maximum pressure it can handle, and any additional features it may have, such as an integrated pressure gauge.
Can I attach any type of tire inflator to my air compressor?
No, not all tire inflators are compatible with all air compressors. It is important to ensure that the connector on the tire inflator matches the connector on your air compressor.
What is the correct procedure for attaching a tire inflator to an air compressor?
The correct procedure for attaching a tire inflator to an air compressor is as follows: first, make sure the air compressor is turned off and unplugged. Then, connect one end of the air hose to the air compressor and the other end to the tire inflator. Finally, tighten the connections and turn on the air compressor.
How can I check the tire pressure using a tire inflator attached to an air compressor?
To check the tire pressure using a tire inflator attached to an air compressor, simply attach the tire inflator to the tire’s valve stem and read the pressure on the gauge. If the pressure is too low, use the air compressor to inflate the tire to the desired pressure.
Are there any safety precautions I should take when attaching a tire inflator to an air compressor?
Yes, there are a few safety precautions to keep in mind. Make sure to wear safety glasses to protect your eyes from any potential debris. Additionally, always follow the manufacturer’s instructions and guidelines when operating the air compressor and tire inflator.
Video:


Harrison Clayton
Meet Harrison Clayton, a distinguished author and home remodeling enthusiast whose expertise in the realm of renovation is second to none. With a passion for transforming houses into inviting homes, Harrison's writing at https://thehuts-eastbourne.co.uk/ brings a breath of fresh inspiration to the world of home improvement. Whether you're looking to revamp a small corner of your abode or embark on a complete home transformation, Harrison's articles provide the essential expertise and creative flair to turn your visions into reality. So, dive into the captivating world of home remodeling with Harrison Clayton and unlock the full potential of your living space with every word he writes.


