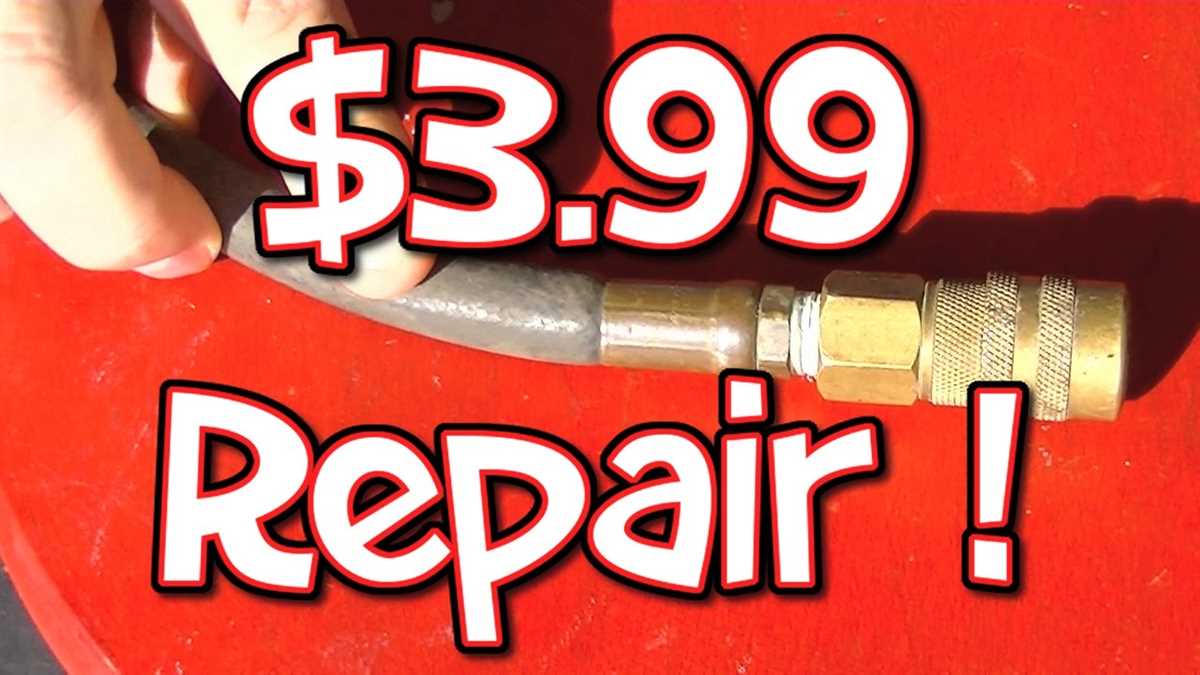
How to Repair a Broken Air Compressor Hose

An air compressor hose is an essential component of any pneumatic system. It is used to transfer compressed air from the compressor to the tool or equipment. However, over time, the hose may develop leaks or get damaged, which can hamper the performance of your air compressor. In such cases, it’s important to repair the broken hose as soon as possible to ensure the efficient functioning of your pneumatic system.
The first step in repairing a broken air compressor hose is to identify the location of the damage. Inspect the entire length of the hose to identify any visible signs of damage, such as cuts, punctures, or leaks. Once you have identified the area of damage, you can proceed with the repair process.
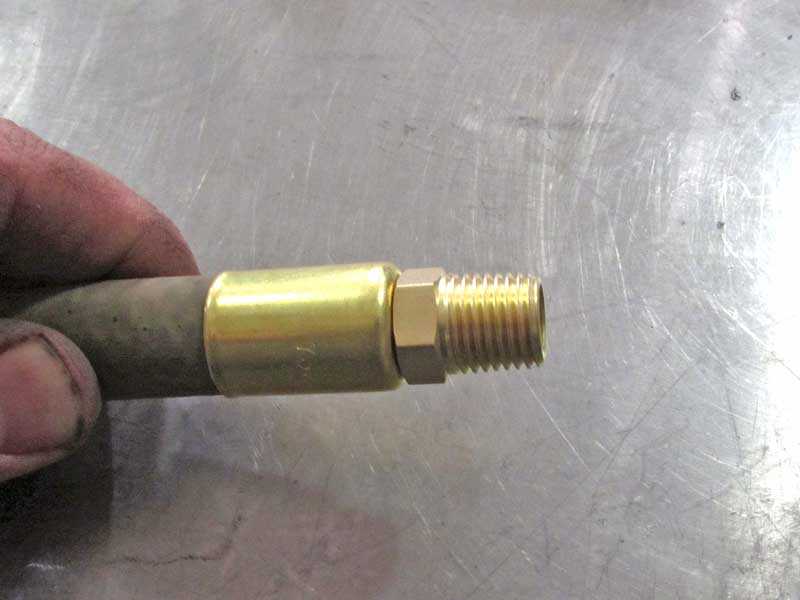
Depending on the nature and extent of the damage, there are several methods you can use to repair a broken air compressor hose. For minor cuts or punctures, you can use a hose repair kit, which usually includes a barbed fitting and hose clamp. Simply cut off the damaged section of the hose, insert the barbed fitting into both ends of the hose, and secure it with the hose clamp. This method provides a quick and temporary fix, allowing you to continue using your air compressor until a more permanent solution can be implemented.
For more severe damage or if you want a more permanent fix, you may need to replace the entire section of the hose. To do this, you will need a length of hose of the same diameter and type as the original hose. Start by cutting out the damaged section of the hose using a sharp utility knife or hose cutter. Then, slide the hose clamps onto each end of the new hose and insert the ends of the hose into the clamps. Tighten the clamps securely to ensure a tight and leak-free connection. Finally, test the repaired hose for any leaks by turning on the air compressor and checking for any escaping air or pressure drops.
It’s important to regularly inspect and maintain your air compressor hose to prevent any potential damage or leaks. Regularly check for signs of wear and tear, such as cracks, bulges, or kinks, and replace the hose if necessary. Additionally, be mindful of the temperature and pressure limits of your hose to prevent any potential damage. By following these simple steps and taking proactive measures, you can ensure the longevity and efficient performance of your air compressor hose.
Common Causes of Air Compressor Hose Damage
1. Overuse and Aging
Air compressor hoses are subject to wear and tear over time, especially if they are frequently used. Constant exposure to high pressures and temperatures can cause the hose material to deteriorate, leading to cracks, splits, or leaks. It is important to regularly inspect and replace hoses that show signs of aging to ensure the safety and efficiency of your air compressor.

2. Improper Storage and Handling
Incorrect storage and handling practices can also contribute to air compressor hose damage. Storing hoses in extreme temperatures or exposing them to direct sunlight for extended periods can weaken the material and make it more prone to damage. Additionally, mishandling or pulling on the hose forcefully can cause it to kink or develop weak spots. Properly storing hoses in a cool, dry place and handling them with care can help prevent unnecessary damage.
3. Exposure to Chemicals and Abrasive Materials
Air compressor hoses that come into contact with chemicals or abrasive materials can suffer damage. Certain chemicals can degrade the hose material, weakening it and making it more susceptible to tears or leaks. Similarly, abrasive materials like sand or metal particles can cause abrasion and wear on the hose surface, leading to eventual damage. It is important to avoid exposing hoses to chemicals or abrasive substances whenever possible or use protective measures to minimize the effects.
4. Improper Installation or Connection
Incorrect installation or connection of air compressor hoses can also result in damage. If the hose is not securely fastened to the compressor or the fittings are not properly tightened, it can cause air leaks or disconnections during operation. These issues can lead to pressure loss, reduced performance, or even accidents. It is crucial to follow the manufacturer’s instructions and use the appropriate fittings to ensure a proper and secure connection.
5. External Factors
External factors like sharp objects, heavy machinery, or accidental impacts can cause immediate damage to air compressor hoses. Any punctures, cuts, or tears in the hose can compromise its integrity and hinder its functionality. Taking precautions to avoid potential hazards or using protective covers can help minimize the risk of external damage to hoses.
Signs of a Broken Air Compressor Hose
If you suspect that your air compressor hose may be broken, there are several signs you can look for to confirm your suspicion. One sign is visible damage to the hose, such as cracks, splits, or punctures. Another sign is a loss of air pressure, which could indicate a leak in the hose. You may also notice a hissing sound coming from the hose when the air compressor is in use, which is another indication of a possible break. Additionally, if you feel air escaping from the hose when you touch it, this is a clear sign that it is damaged.

Other signs of a broken air compressor hose include:
- An abrupt loss of power when operating a tool or equipment connected to the air compressor
- Inconsistent or fluctuating air pressure
- An unusually high level of moisture in the air coming out of the hose
- A visible sag or kink in the hose, indicating a weak or damaged area
- Unusual physical wear, such as fraying or stretching, along the length of the hose
If you notice any of these signs, it is important to address the issue promptly to avoid further damage or potential accidents. Regularly inspecting your air compressor hose for signs of wear and tear can help prevent a broken hose and ensure the safe and efficient operation of your air compressor system.
Tools and Materials You Will Need
To repair a broken air compressor hose, you will need the following tools and materials:
- Utility knife: A sharp utility knife will be needed to cut the hose and remove the damaged section.
- Heat gun or lighter: A heat gun or lighter can be used to soften the edges of the hose for easier installation of fittings.
- Hose clamp: A hose clamp is necessary to secure the fittings onto the hose.
- Hose fittings: You will need new hose fittings to replace the damaged ones. These fittings should match the type and size of your air compressor hose.
- Teflon tape: Teflon tape is used to create a tight seal between the hose and fittings. It helps prevent air leaks.
- Hose mender: A hose mender can be used to join two pieces of hose together if the damage is in the middle of the hose.
- Hose cutter: A hose cutter is a specialized tool that will make clean, straight cuts on the hose.
- Pliers: Pliers will be helpful for tightening the hose clamps.
Having these tools and materials ready before starting the repair will ensure that you can complete the job efficiently and effectively.
Step-by-Step Guide to Repairing a Broken Hose
When you notice a broken air compressor hose, it is important to repair it as soon as possible to prevent further damage and maintain the efficiency of your system. Here is a step-by-step guide on how to repair a broken hose:

Step 1: Safety First
Before you begin repairing the hose, ensure that the air compressor is turned off and there is no pressure in the system. This will prevent any accidents or injuries during the repair process.
Step 2: Identify the Break
Inspect the hose carefully to identify the exact location of the break or damage. It could be a small puncture or a larger tear. This will help you determine the best method for repairing the hose.
Step 3: Cut Out the Damaged Area
Using a pair of sharp scissors or a utility knife, carefully cut out the damaged section of the hose. Make sure to cut straight and remove any jagged edges to ensure a clean repair.
Step 4: Prepare the Hose Ends
Before connecting the hose ends, you need to prepare them. Using sandpaper or a file, smooth the edges of the hose where you made the cuts. This will help the fittings slide on more easily.

Step 5: Attach the Hose Ends
Using hose clamps or compression fittings, attach the new hose ends to the remaining sections of the hose. Make sure they are securely fastened to prevent any air leaks.
Step 6: Test for Leaks
Once the hose ends are attached, turn on the air compressor and check for any air leaks. If you notice any leaks, tighten the hose clamps or fittings until they are properly sealed.
Step 7: Reconnect the Hose
After confirming that there are no air leaks, reconnect the repaired hose to the air compressor. Ensure that it is securely fastened to prevent any accidents or performance issues.
By following these step-by-step instructions, you can easily repair a broken air compressor hose and restore its functionality. Regularly inspecting and maintaining your hoses will help prevent future damage and prolong the life of your air compressor system.
Tips for Preventing Future Hose Damage
1. Proper Storage
One of the most important steps in preventing future hose damage is to properly store it. Avoid leaving the hose exposed to extreme temperatures, direct sunlight, or harsh weather conditions. Store it in a clean and dry area, away from sharp objects or heavy machinery that could potentially damage it. Consider using a hose reel or a storage rack to keep it organized and tangle-free.

2. Regular Inspection
Regularly inspect your air compressor hose for any signs of wear and tear. Look for cracks, leaks, or bulges that could indicate underlying damage. Pay attention to the connectors and fittings as well, ensuring they are tightly secured and free from any damage. Catching any issues early on can help prevent further damage and costly repairs.
3. Proper Handling
Handle the hose with care to prevent unnecessary wear and tear. Avoid dragging it across rough surfaces or pulling it with excessive force. When using the hose, make sure to avoid any sharp bends or kinks that can weaken the hose and cause it to break. Additionally, be mindful of any potential tripping hazards that could lead to accidental damage.
4. Avoid Overpressurization
Excessive pressure can put strain on the hose and lead to its failure. Ensure that you are using the appropriate pressure level for your specific application. It’s also important to regularly check and adjust the pressure settings of your air compressor to ensure they are within the recommended range.
5. Proper Cleaning
Regularly clean your air compressor hose to remove any dirt, debris, or oil buildup that can degrade its integrity over time. Use a mild soap or detergent and a soft brush to gently scrub the hose. Rinse it thoroughly with clean water and allow it to dry completely before storing it.
By following these tips, you can help extend the lifespan of your air compressor hose and prevent future damage. Remember that proper maintenance and care are essential for ensuring optimal performance and longevity.

How to Test the Repaired Hose
Step 1: Visual Inspection
Before testing the repaired hose, visually inspect it to ensure that all repairs have been properly made. Check for any visible leaks, cracks, or other signs of damage. Pay special attention to the areas that were repaired or replaced. If any issues are identified, make the necessary adjustments or repairs before proceeding to the next step.
Step 2: Pressure Test
To test the repaired hose for leaks, a pressure test can be conducted. Attach the repaired hose to the air compressor and close all valves or regulators. Ensure that the air compressor is turned off. Slowly increase the pressure in the system to the desired level. Use a pressure gauge to monitor the pressure. If there are no leaks and the pressure remains stable, the hose repair is successful.
However, if there are signs of leakage, stop the pressure test immediately. Inspect the repaired areas for any loose connections or faulty repairs. Make the necessary adjustments or repairs and then repeat the pressure test. It is important to ensure that the repaired hose can withstand the desired level of pressure without any leaks.
Step 3: Functional Testing
Once the pressure test is successfully completed, it is important to conduct functional testing to ensure the repaired hose is fully operational. Connect the repaired hose to the desired equipment or tool that requires air supply. Turn on the air compressor and check for proper airflow through the hose. Pay attention to any signs of air leaks or restrictions. Test the hose with different levels of pressure to ensure its functionality under varying conditions.
If any issues are detected during the functional testing, inspect the repaired hose thoroughly and make any necessary adjustments or repairs. It is crucial to ensure the repaired hose is fully functional and capable of delivering the required airflow.

Step 4: Final Inspection
Lastly, conduct a final inspection of the repaired hose to ensure that all repairs have been properly made and the hose is in good working condition. Verify that there are no visible leaks, cracks, or other signs of damage. Check the connections and fittings for tightness and security. Be thorough in the inspection as even small issues can lead to further damage or failure in the future.
If any problems are identified during the final inspection, make the necessary adjustments or repairs before using the repaired hose. It is important to ensure the hose is safe and reliable for future use.
Safety Precautions
1. Wear protective gear
When working with a broken air compressor hose, it is important to wear proper protective gear. This includes safety goggles, gloves, and clothing that covers your arms and legs. These items will help protect you from any potential injuries that may occur during the repair process.
2. Disconnect the power source
Before attempting any repairs on the air compressor hose, make sure to disconnect the power source. This could involve unplugging the compressor from the electrical outlet or turning off the power switch. This precaution will reduce the risk of electrocution or accidental activation of the compressor.
3. Release pressure
Prior to repairing the hose, you should release any built-up pressure in the system. To do this, turn off the compressor and open the air release valve. This will prevent any sudden bursts of air that could cause injury or damage to the hose.
4. Use proper tools
Always use the appropriate tools for the repair. This may include wrenches, pliers, or hose clamps. Using the proper tools will ensure that you have a secure and reliable repair, reducing the risk of accidents or further damage to the hose.
5. Work in a well-ventilated area
When working with an air compressor, it is essential to do so in a well-ventilated area. This will help prevent the inhalation of fumes or airborne particles that may be present in the compressed air. If working indoors, make sure to open windows or use exhaust fans to improve air circulation.
6. Take breaks
Repairing a broken air compressor hose can be physically demanding. It is important to take regular breaks to rest and hydrate. This will help prevent fatigue and reduce the risk of accidents that can occur when you are tired or not fully focused on the task at hand.
7. Consult the manufacturer’s manual
Before attempting any repairs, consult the manufacturer’s manual for your specific air compressor model. This will provide you with detailed instructions and safety guidelines that are specific to your equipment.
FAQ:
What are the common causes of a broken air compressor hose?
A broken air compressor hose can be caused by several factors, including wear and tear, overuse, kinking, or physical damage inflicted on the hose.
Is it possible to repair a broken air compressor hose?
Yes, it is definitely possible to repair a broken air compressor hose. In fact, repairing it can save you money compared to buying a new one.
What tools do I need to repair a broken air compressor hose?
You will need a few tools to repair a broken air compressor hose, including a hose cutter, hose clamps, and a male hose end fitting or a new hose connector.
Can I use duct tape to temporarily fix a broken air compressor hose?
While duct tape can provide a temporary fix for a broken air compressor hose, it is not a reliable long-term solution. It’s best to properly repair or replace the hose to ensure its longevity and efficiency.
Video:


Harrison Clayton
Meet Harrison Clayton, a distinguished author and home remodeling enthusiast whose expertise in the realm of renovation is second to none. With a passion for transforming houses into inviting homes, Harrison's writing at https://thehuts-eastbourne.co.uk/ brings a breath of fresh inspiration to the world of home improvement. Whether you're looking to revamp a small corner of your abode or embark on a complete home transformation, Harrison's articles provide the essential expertise and creative flair to turn your visions into reality. So, dive into the captivating world of home remodeling with Harrison Clayton and unlock the full potential of your living space with every word he writes.


