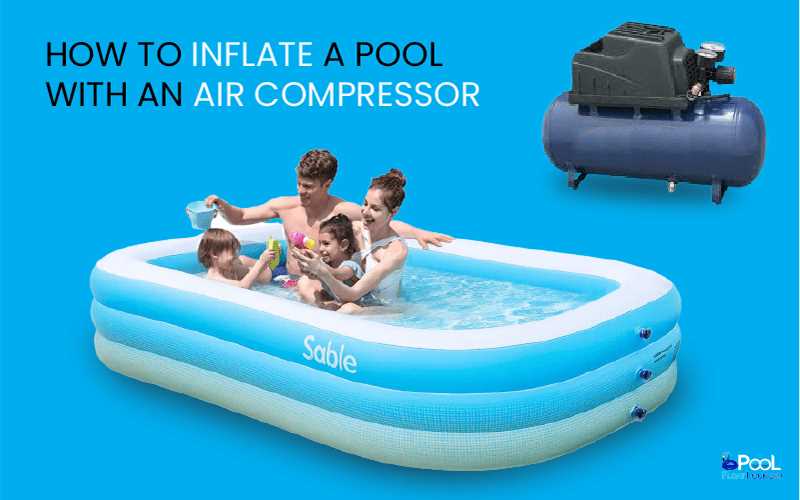
Easy Steps to Inflate Pool Floats Using an Air Compressor
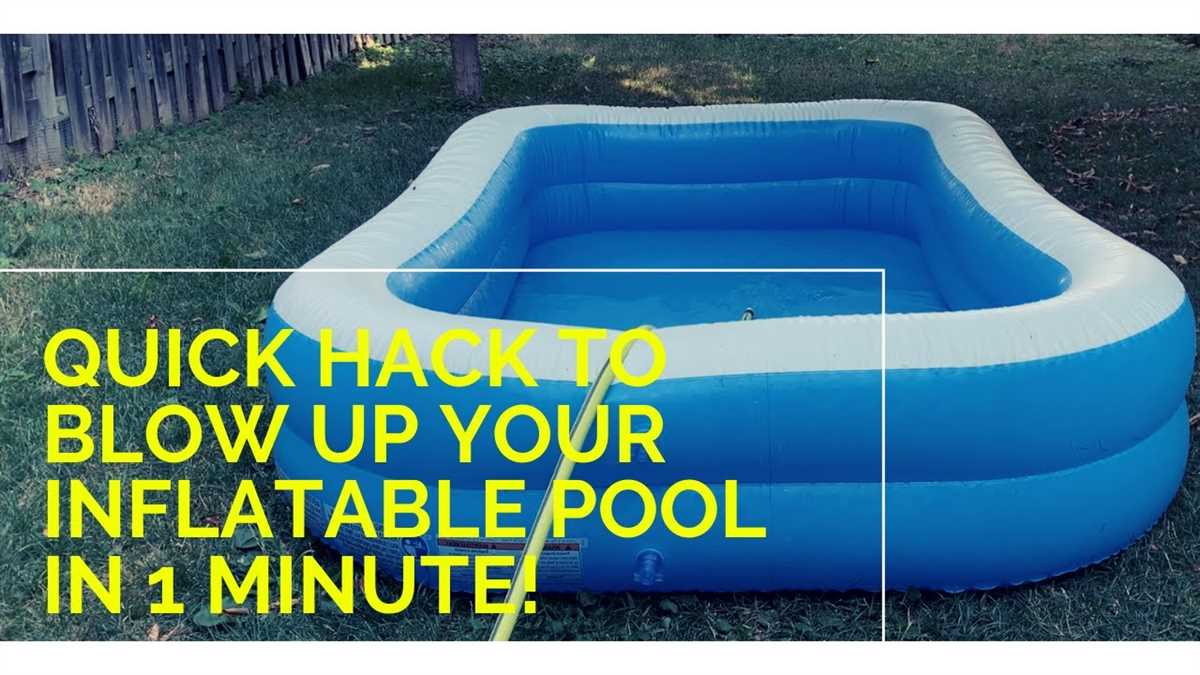
When the hot summer days roll in, what better way to beat the heat than by taking a dip in the pool? Floating on a pool float can add an extra level of relaxation and fun to your swimming experience. However, manually inflating those large pool floats can be a daunting and time-consuming task. That’s where an air compressor comes in handy. Inflating your pool floats using an air compressor not only saves you time and effort, but it also ensures that your floats are fully inflated and ready for you to enjoy.
Before you begin inflating your pool floats with an air compressor, it’s important to gather all the necessary equipment. You will need an air compressor with a nozzle attachment, a power source, and of course, your deflated pool floats. Having everything ready and easily accessible will make the inflation process much smoother and more efficient.
Next, take a moment to inspect your pool floats for any signs of damage or leaks. It’s important to fix these issues before attempting to inflate the floats, as it could impede the inflation process or cause the floats to deflate prematurely. Look for any punctures, tears, or loose valves, and make the necessary repairs or replacements as needed.
The Benefits of Inflating Pool Floats with an Air Compressor
Inflating pool floats can be a tedious task, especially when using a manual pump or your own breath. However, using an air compressor to inflate your pool floats can offer a number of benefits that make the process quicker and more efficient.
1. Time-saving


One of the biggest advantages of using an air compressor to inflate pool floats is the time it saves. The powerful airflow provided by the compressor allows for rapid inflation, reducing the overall time spent on the task. By eliminating the need for manual pumping or blowing, you can fully inflate your pool floats in just a fraction of the time it would take with other methods.
2. Consistent inflation
An air compressor provides a consistent and steady flow of air, ensuring that your pool floats are properly and evenly inflated. This is important for both comfort and safety while using the floats. With manual pumping or blowing, it can be difficult to achieve the same level of consistency, resulting in under-inflated or over-inflated floats that may not provide the desired level of support or buoyancy.
3. Adjustable pressure
Another benefit of using an air compressor is the ability to adjust the pressure of the airflow. Pool floats often require different levels of inflation depending on their design and intended use. With an air compressor, you can easily control and adjust the pressure to achieve the optimal inflation level for your floats. This allows for a customized and comfortable experience, ensuring that your pool floats are inflated to your specific preferences.
In conclusion, using an air compressor to inflate pool floats offers a range of benefits, including time-saving, consistent inflation, and adjustable pressure. By harnessing the power of an air compressor, you can quickly and efficiently inflate your pool floats, allowing for a more enjoyable and relaxing pool experience.
Step by Step Guide to Inflate Pool Floats
Step 1: Gather Your Materials
Before you begin inflating your pool floats, make sure you have all the necessary materials. You will need an air compressor, a pool float, and a pump nozzle attachment. Ensure that your air compressor is in good working condition and has enough air pressure to inflate the float. If necessary, gather any additional tools or accessories that may be required.

Step 2: Attach the Pump Nozzle
Next, attach the pump nozzle to the air compressor. The pump nozzle should be compatible with your air compressor and should fit securely onto the air hose. Make sure the attachment is tight to prevent any air leakage during the inflation process.
Step 3: Position the Pool Float
Position the pool float in a clear and open space. Ensure that there are no sharp objects or obstacles that may cause damage to the float. Open up the float and lay it flat on the ground or a sturdy surface. Smooth out any wrinkles or folds in the material to ensure even inflation.
Step 4: Start Inflating
Turn on the air compressor and adjust the pressure to an appropriate level for inflating pool floats. Insert the pump nozzle into the valve on the pool float. Hold the nozzle securely in place to prevent any air from escaping. Slowly begin inflating the float, making sure to monitor the inflation and adjust the pressure as needed.
Step 5: Check for Proper Inflation
Once the pool float has reached a desired level of inflation, remove the pump nozzle from the valve. Give the float a gentle squeeze to check for any soft spots or areas that may need additional air. If necessary, reattach the pump nozzle and continue inflating until the float is fully inflated and firm to the touch.
Step 6: Secure the Valve
After inflating the pool float, securely close the valve to prevent any air from escaping. Make sure the valve is tightly sealed to maintain the float’s inflation. Double-check that the float is properly inflated and ready for use.

Step 7: Enjoy Your Pool Float
Once you have completed the inflation process and secured the valve, your pool float is ready to be enjoyed! Take it to the pool, lake, or beach and relax in the water on your fully inflated float. Remember to always follow safety guidelines and supervise children while using pool floats.
Gather the Necessary Equipment for Inflating Pool Floats
In order to successfully inflate your pool floats using an air compressor, you will need to gather the necessary equipment. Having the right tools and materials on hand will make the process much easier and more efficient.
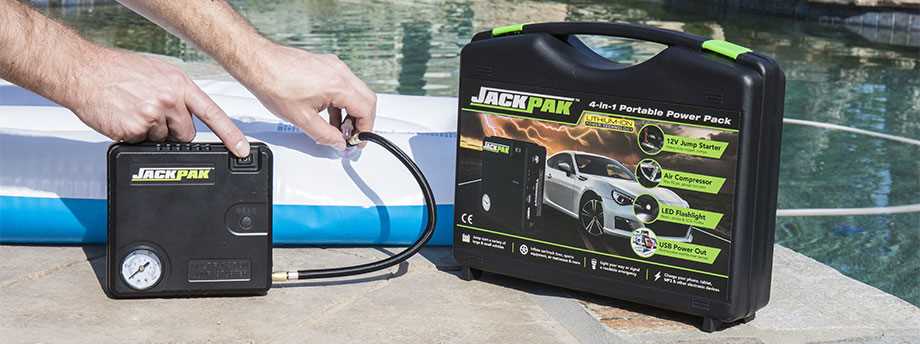
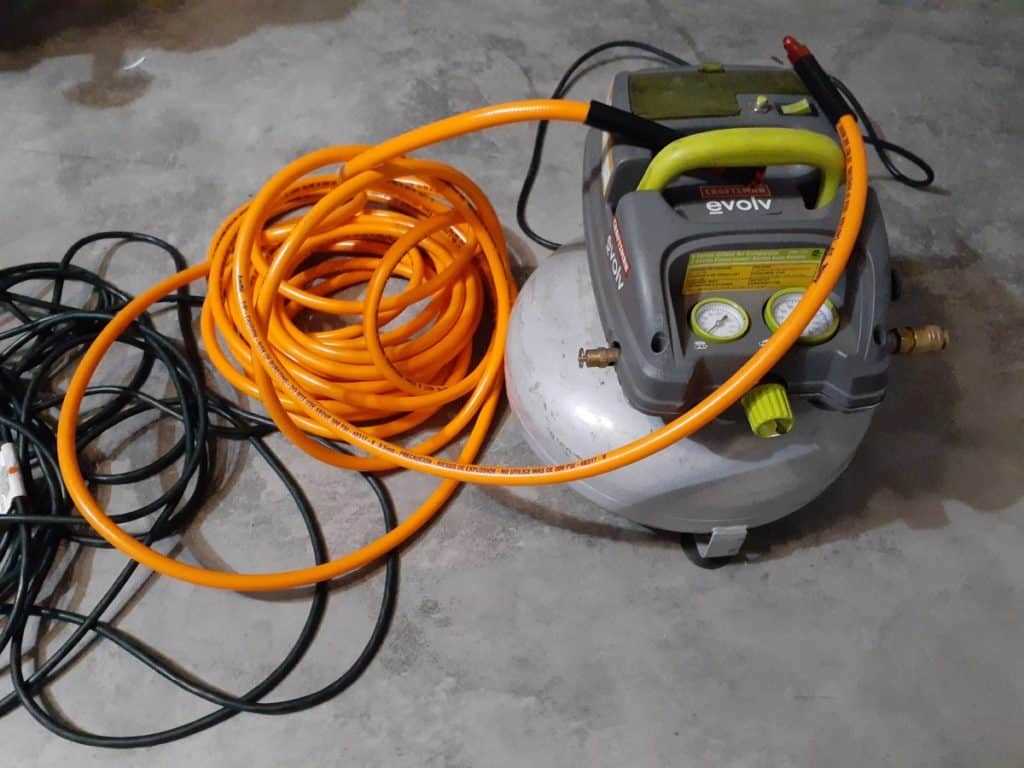
Air Compressor
The most important piece of equipment you will need is an air compressor. This device generates and stores pressurized air which can be used to inflate the pool floats. Make sure to choose an air compressor that is suitable for inflating various types of floats.
Air Hose
An air hose is also essential for connecting the air compressor to the pool floats. Look for an air hose that is long enough to easily reach the floats, and ensure that it has the right fittings to connect to both the air compressor and the floats’ valves.
Float Valves
Another important component is the float valves. These small plastic or metal pieces allow air to enter and exit the floats while preventing leaks. Make sure to check the valves on your pool floats and replace any that are damaged or broken.

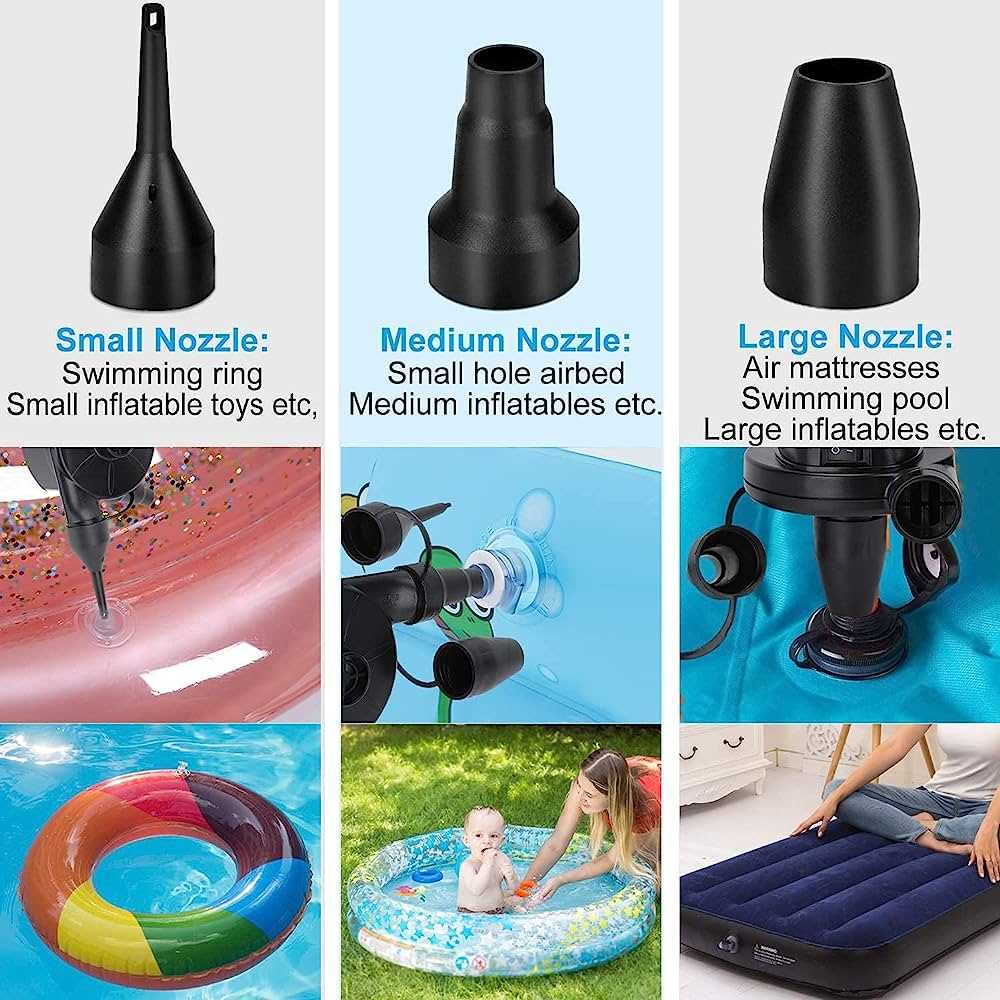
Adapter Nozzles

Adapter nozzles are small attachments that can be added to the air hose to fit different types of float valves. Be sure to have a set of adapter nozzles on hand so that you can easily connect the hose to the floats’ valves.
By gathering these necessary equipment, you will be ready to inflate your pool floats using an air compressor. Having the right tools will make the process efficient and ensure that your floats are correctly inflated for a fun and enjoyable pool experience.
Preparation before Inflating Pool Floats
Before inflating pool floats using an air compressor, it is important to ensure that you have all the necessary equipment and a suitable space to work. This will help to make the process easier and more efficient. Here are some steps you can take to prepare:
- Gather your pool floats and air compressor: Start by collecting all the pool floats that you want to inflate. Ensure that they are clean and free from any debris or dirt. Also, make sure you have access to an air compressor that is suitable for inflating pool floats.
- Check the air compressor: Inspect the air compressor to ensure that it is in good working condition. Check that it has the correct attachments and that the hoses are free from any cracks or leaks. This will help to ensure a smooth and efficient inflation process.
- Choose a suitable location: Find a spacious area where you can easily inflate the pool floats. Make sure there is enough room to move around and that there are no sharp objects or obstacles that could potentially damage the floats. It is also a good idea to work on a clean and flat surface.
- Prepare a power source: The air compressor will require a power source to operate. Make sure that you have access to a suitable electrical outlet or generator. Check that the power source is in good working condition and can provide the necessary power for the air compressor.
- Organize your tools: Gather any additional tools or accessories that you may need during the inflation process. This could include a pressure gauge to monitor the inflation, a repair kit for any potential leaks, and any other tools specific to your pool floats.
By properly preparing before inflating pool floats, you can ensure a smooth and efficient process. This will help to extend the lifespan of your floats and ensure a safe and enjoyable swimming experience.

Connect the Air Compressor to the Pool Float
Once you have gathered all the necessary equipment, it’s time to connect the air compressor to the pool float. Start by locating the valve on the pool float where you will be inserting the air. It’s usually a small opening with a cap or nozzle.
Step 1: Remove the cap or nozzle from the valve on the pool float. Make sure there are no obstructions or debris in the valve that could prevent the air from flowing properly.
Step 2: Attach the appropriate adapter or nozzle to the end of the air compressor hose. Most air compressors come with a variety of adapters to fit different valve sizes. Choose the one that fits snugly into the valve on the pool float.
Step 3: Insert the adapter or nozzle into the valve on the pool float. Press it in firmly to ensure a tight seal. This will prevent any air from escaping while inflating the float.
Step 4: Turn on the air compressor and set it to the appropriate pressure level. It’s important not to overinflate the pool float, as this can cause it to burst. Refer to the manufacturer’s instructions or check the recommended pressure level for the specific pool float you are inflating.
Step 5: Slowly and steadily inflate the pool float using the air compressor. Keep an eye on the pressure gauge to ensure you are not exceeding the recommended pressure level. If the float starts to feel firm and stable, stop inflating and remove the adapter or nozzle from the valve.
Step 6: Replace the cap or nozzle on the valve to secure the air inside the pool float. Give the float a gentle squeeze to check for any leaks. If you notice any air escaping, double-check the valve and adapter connection, and repeat the inflation process if necessary.
Adjust the Air Pressure for Inflating the Pool Float

Step 1: Check the recommended air pressure
Before inflating your pool float, it is important to check the recommended air pressure. This information can usually be found on the float itself or in the accompanying manual. The recommended air pressure is usually measured in PSI (pounds per square inch) or BAR (atmospheric pressure). Make sure to note this measurement so that you can adjust your air compressor accordingly.
Step 2: Prepare the air compressor
Next, you will need to prepare your air compressor for inflating the pool float. Start by connecting the compressor to a power source and ensuring that it is switched off. Check that the air hose is securely attached to the compressor and that the pressure gauge is working properly. Adjusting the air pressure will be easier if you have a compressor with a built-in pressure regulator.
Step 3: Adjust the air pressure
Once the air compressor is ready, it’s time to adjust the air pressure. Start by turning on the compressor and allowing it to build up pressure. Check the pressure gauge and adjust the pressure as needed. If the recommended air pressure for your pool float is 3 PSI, for example, you will need to adjust the compressor to reach that level. Use the pressure regulator on your compressor to increase or decrease the air pressure as necessary.
Note: It is important to follow the recommended air pressure to avoid damaging the pool float. Overinflating can cause the float to burst, while underinflating may result in an unstable float that doesn’t provide enough support in the water.
Step 4: Inflate the pool float
With the air pressure properly adjusted, you are now ready to inflate the pool float. Attach the air nozzle to the valve on the float and ensure a tight seal. Turn on the air compressor and begin inflating the float. Keep an eye on the pressure gauge to ensure that you do not exceed the recommended air pressure. Once the float is fully inflated, disconnect the air nozzle and securely close the valve to prevent any air from escaping.
By following these steps and adjusting the air pressure accordingly, you can easily inflate your pool float using an air compressor. Remember to always check the recommended air pressure and take caution not to overinflate or underinflate the float to ensure a safe and enjoyable swimming experience.
Inflate the Pool Float Using the Air Compressor
Step 1: Prepare the float and air compressor
Before starting, make sure you have your pool float and air compressor ready. Ensure that the float is clean and free from any debris that may obstruct the inflation process. Also, check that your air compressor is in good working condition and that it is compatible with the nozzle attachment that fits the float’s valve.
Step 2: Attach the nozzle to the air compressor
Take the appropriate nozzle attachment for your float’s valve and secure it to the air compressor. Ensure that it fits tightly and securely to prevent any air leakage during the inflation process. This will ensure that you can inflate the float efficiently.
Step 3: Insert the nozzle into the float’s valve
Locate the valve on your pool float and carefully insert the nozzle into it. Hold the nozzle firmly in place to establish a secure connection between the compressor and the float. This will allow the air to flow directly into the float and inflate it effectively.
Step 4: Turn on the air compressor
Once everything is securely connected, turn on the air compressor. Start with a low pressure setting to avoid over-inflating the float or causing any damage to it. Gradually increase the pressure until the float reaches the desired level of inflation. Monitor the process closely to ensure that the float is evenly inflated and does not become overfilled.
Step 5: Disconnect the nozzle and secure the valve
Once the float is fully inflated, turn off the air compressor and disconnect the nozzle from the float’s valve. Immediately secure the valve to prevent any air from escaping. This will ensure that your pool float remains inflated and ready for use.
By following these easy steps, you can quickly and efficiently inflate your pool float using an air compressor. Enjoy your pool time with a fully inflated and comfortable float!
Check for Proper Inflation of the Pool Float
Step 1: Visual Inspection
Take a close look at the pool float to ensure that it is properly inflated. Check for any visible signs of deflation, such as wrinkles, sagging, or a misshapen appearance. If you notice any of these signs, the pool float may not be fully inflated.
Step 2: Weight Test
If the visual inspection does not reveal any obvious signs of deflation, you can perform a weight test to further assess the inflation level of the pool float.
Place your hands on the pool float and press down firmly. If the float feels soft and gives in easily, it is likely under-inflated. On the other hand, if the float feels firm and resists your pressure, it is likely properly inflated.
Step 3: Buoyancy Check
To determine if the pool float is adequately inflated for use, you can perform a buoyancy check.
Lower the pool float into the water, paying attention to how it floats. If the float sits relatively high on the water’s surface and provides ample support, it is likely properly inflated. However, if the float sinks too low or does not provide enough buoyancy, it may require additional inflation.
Step 4: Final Adjustments
If you find that the pool float is not properly inflated after performing the visual inspection, weight test, and buoyancy check, you can make the necessary adjustments.
Attach the air compressor to the pool float and carefully add more air. Monitor the inflation level as you go, periodically performing the weight test and buoyancy check until the pool float is properly inflated.
Remember not to overinflate the float, as this can cause damage or reduce its effectiveness in the water. Refer to the manufacturer’s guidelines for the recommended inflation level.
Securely Seal the Inflated Pool Float
Tie the Valve Shut
Once you have inflated the pool float to your desired level of firmness using the air compressor, it’s important to securely seal the valve to prevent any air from escaping. Begin by tying the valve shut using a knot or a rubber band. This will help to keep the air inside and ensure that the float remains inflated while in use.
Apply a Patch or Use Repair Tape

If you notice any small holes or leaks in the pool float, it’s important to address them before sealing the float. Apply a patch or use repair tape specifically designed for inflatables to cover any punctures. This will help to ensure a secure seal and prevent any further air leakage.
Use a Valve Cap or Plug
An additional step you can take to securely seal the inflated pool float is to use a valve cap or plug. These accessories are designed to fit over the valve and provide an extra layer of protection against air leakage. Simply attach the valve cap or plug to the valve once the float is inflated, making sure it is tightly secured.
Inspect for a Secure Seal
After sealing the pool float, it’s essential to inspect it for a secure seal. Carefully examine the valve area and any patched or repaired areas to ensure that there are no signs of air leakage. Give the float a gentle press to check for any loss of firmness. If everything appears to be intact and the float remains fully inflated, you can be confident that it is securely sealed and ready for use.
FAQ:
What is an air compressor?
An air compressor is a device that converts power from a gasoline engine, electric motor, or diesel engine into potential energy stored in pressurized air. It is commonly used for inflating tires, powering pneumatic tools, and other tasks that require high-pressure air.
Why should I use an air compressor to inflate pool floats?
Using an air compressor to inflate pool floats can save you time and effort compared to manually inflating them with a pump or your mouth. The compressor provides a continuous flow of high-pressure air, allowing you to quickly and easily fill the floats to their desired firmness.
How do I attach the air compressor to the pool float?
Most air compressors come with a variety of attachments, including a needle or nozzle specifically designed for inflating pool floats. Simply choose the appropriate attachment and securely connect it to the valve on the float. Make sure the connection is tight to prevent any air leakage.
What pressure should I set on the air compressor?
The recommended pressure for inflating pool floats is typically indicated on the float itself or in the product manual. It is important to follow these guidelines to avoid over-inflating or under-inflating the float. If no specific pressure is mentioned, start with a low pressure setting and gradually increase it until the float reaches the desired firmness.
Can I use an air compressor to deflate pool floats as well?
Yes, an air compressor can also be used to deflate pool floats. Simply attach the appropriate attachment to the valve and turn on the compressor. The air will be sucked out of the float, allowing you to easily deflate it. Be careful not to over-deflate the float, as this can damage the material.
Are there any safety precautions I should take when using an air compressor?
Yes, when using an air compressor, it is important to follow certain safety precautions. Always wear safety goggles to protect your eyes from any potential debris. Ensure that the compressor is properly grounded to avoid any electrical shocks. Additionally, make sure to use the appropriate attachments and follow the manufacturer’s instructions for safe and proper use of the compressor.
Video:


Meet Harrison Clayton, a distinguished author and home remodeling enthusiast whose expertise in the realm of renovation is second to none. With a passion for transforming houses into inviting homes, Harrison's writing at https://thehuts-eastbourne.co.uk/ brings a breath of fresh inspiration to the world of home improvement. Whether you're looking to revamp a small corner of your abode or embark on a complete home transformation, Harrison's articles provide the essential expertise and creative flair to turn your visions into reality. So, dive into the captivating world of home remodeling with Harrison Clayton and unlock the full potential of your living space with every word he writes.


