Easy steps for inflating a basketball with an air compressor
Inflating a basketball with an air compressor is a quick and easy way to ensure that your ball is properly inflated for optimal performance. Whether you’re a professional athlete or just a casual player, having a properly inflated basketball can make a big difference in your game. In this article, we will discuss the step-by-step process of inflating a basketball using an air compressor.
The first step in inflating a basketball with an air compressor is to gather all the necessary equipment. You will need an air compressor, a basketball needle attachment, and of course, a basketball. Make sure that the needle attachment is compatible with your air compressor to avoid any complications.
Once you have all the necessary equipment, make sure that the basketball is clean and free from any debris. This will prevent the needle attachment from getting clogged and ensure a smooth inflation process. Additionally, check the recommended pressure range for your basketball, as overinflating or underinflating can affect its performance.
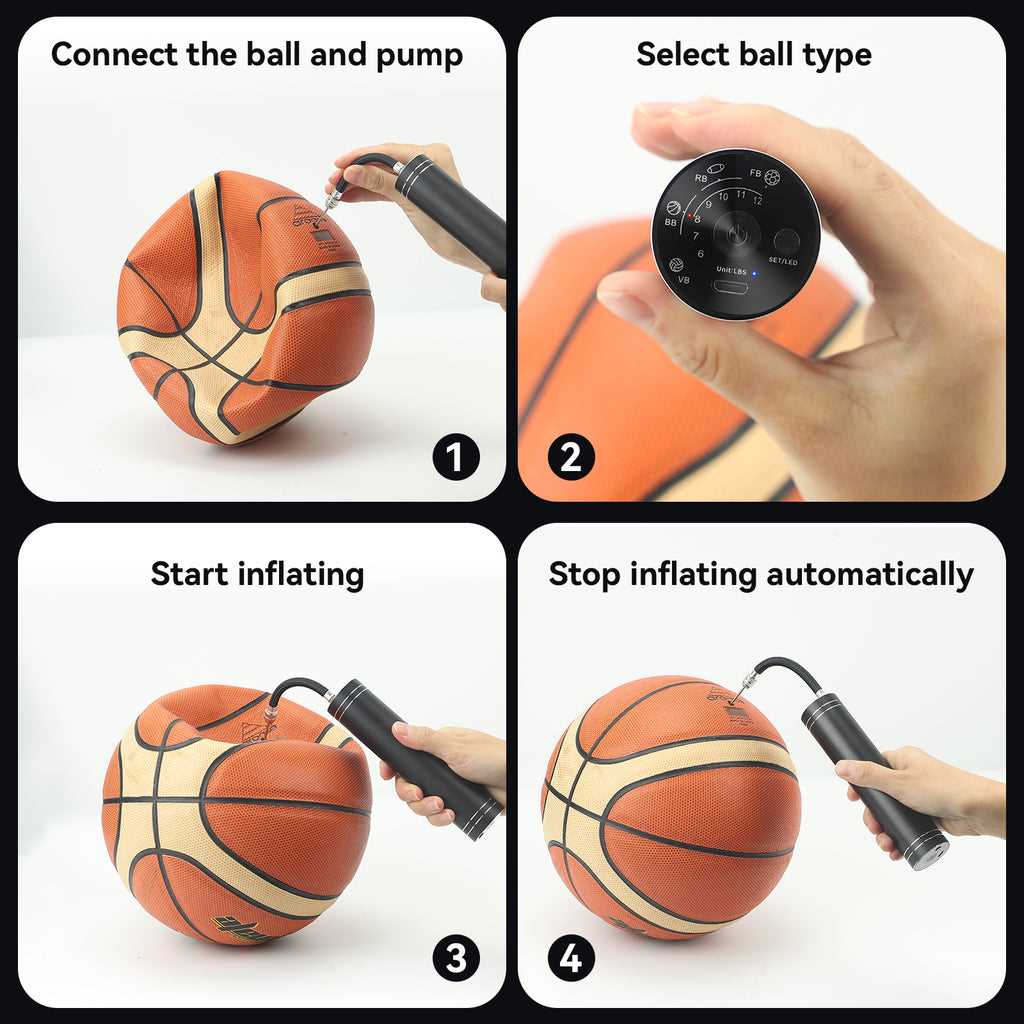
Next, attach the needle to the air compressor hose and make sure it is securely fastened. Then, find the inflation valve on the basketball and remove the protective cap. Insert the needle into the valve and apply steady pressure to start the inflation process.
Monitor the pressure gauge on the air compressor to ensure that you are inflating the basketball to the desired pressure. It is important to inflate the ball gradually and in small increments to avoid overinflating it. Once you have reached the recommended pressure, carefully remove the needle from the valve and replace the protective cap.

Why use an air compressor
An air compressor is a powerful tool that can make the process of inflating a basketball much easier and more efficient. It provides a fast and consistent stream of air, allowing you to quickly and effectively inflate the ball to the desired pressure.
Using an air compressor also ensures that the basketball is inflated evenly and consistently, which is important for maintaining its shape and bounce. The compressor allows you to control and adjust the air pressure, ensuring that the ball is inflated to the correct level for optimal performance.
Another advantage of using an air compressor is that it can save you time and effort. Instead of manually pumping air into the basketball using a hand or foot pump, the compressor does the work for you. This can be especially beneficial if you need to inflate multiple basketballs or if you frequently play basketball and need to regularly inflate your ball.
In addition, an air compressor is a versatile tool that can be used for other purposes beyond inflating a basketball. It can be used for tasks such as filling up tires, powering pneumatic tools, or even cleaning dusty surfaces. Investing in an air compressor can be a valuable addition to your toolkit, offering convenience and efficiency for various tasks.
Choosing the right air compressor
When it comes to inflating a basketball with an air compressor, choosing the right one is essential for a successful and efficient process. There are several factors to consider when selecting an air compressor for this task.

Type of air compressor
There are different types of air compressors available, such as reciprocating, rotary screw, and centrifugal compressors. For inflating a basketball, a reciprocating or rotary screw compressor is typically suitable. These compressors are commonly used for small to medium-sized tasks and provide sufficient airflow for inflating a basketball.
Pressure and airflow requirements
Before purchasing an air compressor, it is important to determine the pressure and airflow requirements for inflating a basketball. The ideal pressure for a standard basketball is around 8 PSI. The airflow should be consistent and capable of delivering the required pressure in a timely manner.
Portability and noise level
If you plan on using the air compressor in various locations or need to transport it frequently, portability is a crucial factor to consider. Look for a compact and lightweight air compressor that is easy to move around. Additionally, noise level is another consideration, especially if you will be using the compressor in a residential area or noise-sensitive environment.

Additional features
Some air compressors come with additional features that can enhance the inflating process. These features may include an adjustable pressure regulator, a built-in moisture trap, or an automatic shut-off function. Consider these extra features to improve ease of use and efficiency when inflating a basketball.
Step 1: Check the pressure requirement

Before inflating a basketball with an air compressor, it is important to check the pressure requirement of the ball. Different basketballs may have different pressure recommendations, so it is crucial to ensure that the ball is inflated to the correct pressure for optimal performance. Most basketballs have a recommended pressure range printed on them, typically measured in pounds per square inch (PSI).
To determine the pressure requirement, look for the recommended PSI range on the basketball. It is usually found near the inflation valve. If you cannot find the information on the ball, you can usually find it online or refer to the manufacturer’s guidelines. It’s essential to follow the recommended pressure range to avoid damaging the basketball or affecting its bounce and handling.
Once you have determined the pressure requirement, you can proceed to the next step of preparing the air compressor for inflation. Ensuring that the basketball is filled to the correct pressure will ensure optimal performance on the court and prolong the lifespan of the ball.

Understanding PSI
PSI stands for pounds per square inch and is a unit of pressure measurement commonly used in the field of physics and engineering. When inflating a basketball with an air compressor, it’s important to understand how PSI relates to the inflation process.
One key aspect to understand is that a basketball has a specific recommended PSI range for optimal performance. This range is typically indicated on the basketball itself or in the manufacturer’s instructions. It’s important to stay within this recommended range to ensure the right level of bounce and playability.
The PSI range for basketballs usually falls between 7.5 and 8.5 PSI for indoor play, while outdoor basketballs may have a slightly higher recommended range due to the different playing surfaces. It’s worth noting that different basketballs may have slightly different recommended PSI ranges, so it’s always a good idea to check the specific guidelines for the basketball you are inflating.
When using an air compressor to inflate a basketball, it’s important to have a pressure gauge to monitor the PSI level as you pump air into the ball. This will help you achieve the desired PSI and ensure that you don’t overinflate the ball, which can lead to decreased performance and potential damage.
It’s also important to remember that the PSI level of a basketball can change with temperature fluctuations. As the temperature increases, the air inside the ball expands, causing the PSI to rise. Similarly, as the temperature decreases, the air contracts, leading to a lower PSI. Therefore, it’s a good practice to periodically check the PSI of your basketball and make any necessary adjustments to maintain optimal inflation.

Step 2: Prepare the basketball and air compressor

Before you begin inflating the basketball with an air compressor, it’s important to ensure that both the basketball and the air compressor are ready for use.
1. Check the basketball for any damages
Inspect the basketball for any punctures, tears, or other damages that may affect the inflation process. If you find any such damages, you may need to repair or replace the basketball before proceeding further.
2. Clean the nozzle of the air compressor
The nozzle of the air compressor may accumulate dirt and debris over time, which can hinder the airflow. Use a cloth or a brush to clean the nozzle and ensure that it is free from any obstructions.
3. Set the air compressor to the recommended pressure
Most basketballs have a recommended air pressure level printed on them. Make sure to set the air compressor to this recommended pressure to avoid over-inflating or under-inflating the basketball. Adjust the pressure using the controls provided on the air compressor.
4. Attach the appropriate adapter or needle
Depending on the type of air compressor and the basketball, you may need to attach a specific adapter or needle to the nozzle. Check the user manual of the air compressor or refer to the manufacturer’s instructions to ensure you have the correct adapter or needle for your basketball.
By following these steps, you will ensure that both the basketball and air compressor are prepared for the inflation process, allowing you to properly inflate the basketball without any issues or damages.
Gather necessary equipment
Before you can inflate your basketball with an air compressor, you will need to gather some necessary equipment:
- Basketball: Make sure you have a deflated basketball that needs to be inflated.
- Air compressor: Find a reliable air compressor that is suitable for inflating sports equipment. Make sure it has a suitable nozzle attachment.
- Air compressor hose: Ensure that you have a hose that can connect the air compressor to the basketball.
- Pressure gauge: It is recommended to have a pressure gauge to check the pressure of the basketball during inflation.
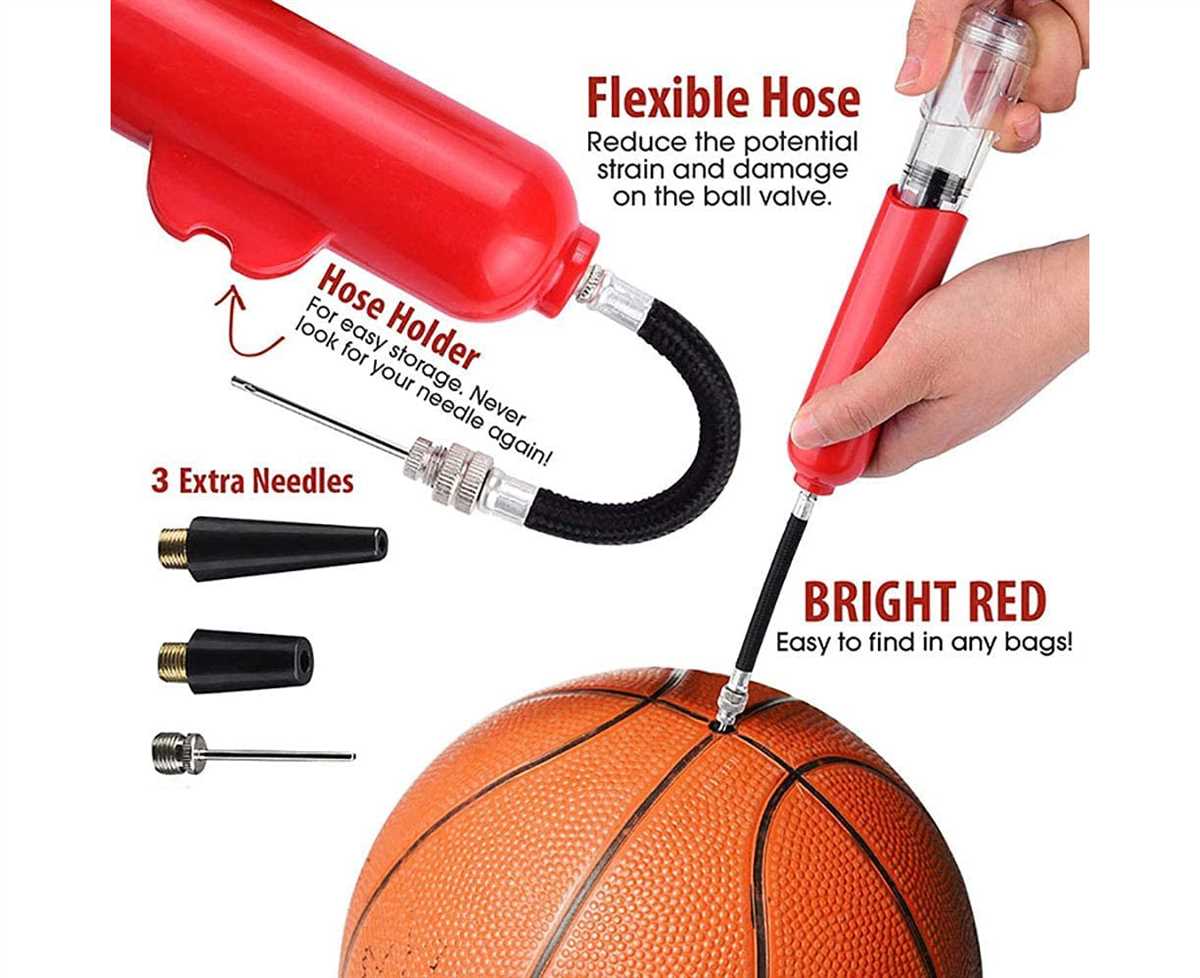
- Needle adapter: If your basketball has a needle valve, you will need a needle adapter to connect it to the air compressor hose.
By gathering all the necessary equipment before starting, you can ensure a smooth and efficient process of inflating your basketball.
Ensure proper setup
Before inflating a basketball with an air compressor, it is important to ensure that you have the proper setup in place. This includes having the necessary equipment and making sure everything is in good working condition.
Gather the equipment

Make sure you have the following equipment:
- An air compressor with a hose and nozzle attachment
- A basketball that needs to be inflated
- A pressure gauge to measure the air pressure
Check the equipment
Inspect each piece of equipment to ensure it is in working condition:
- Check the air compressor for any leaks or damage
- Ensure that the hose is securely attached to the compressor
- Make sure the nozzle attachment is clean and free from any obstructions
- Check the basketball for any punctures or leaks
- Ensure that the pressure gauge is functioning properly
By ensuring that you have the proper equipment and that everything is in good working condition, you can proceed to the next step of inflating the basketball with an air compressor.
Step 3: Attach the air compressor nozzle

Now that you have prepared the basketball and the air compressor, it’s time to attach the nozzle of the air compressor to the valve on the basketball. The valve is the small rubber or plastic piece located on the surface of the basketball that allows air to be pumped in or out.
Make sure the nozzle of the air compressor is clean and free from any debris or dirt before attaching it to the valve. This will help ensure a secure connection and prevent any damage to the valve or basketball.
To attach the nozzle, carefully align it with the valve opening and push it in firmly. It should fit snugly and create a tight seal to prevent any air from escaping during the inflation process.
If the nozzle does not fit properly or if there is air leaking from the connection, try adjusting the position or angle of the nozzle. You may also need to check if the valve on the basketball is damaged or worn out and consider replacing it if necessary.
Once the nozzle is attached securely, you are ready to move on to the next step, which is starting the air compressor and inflating the basketball.
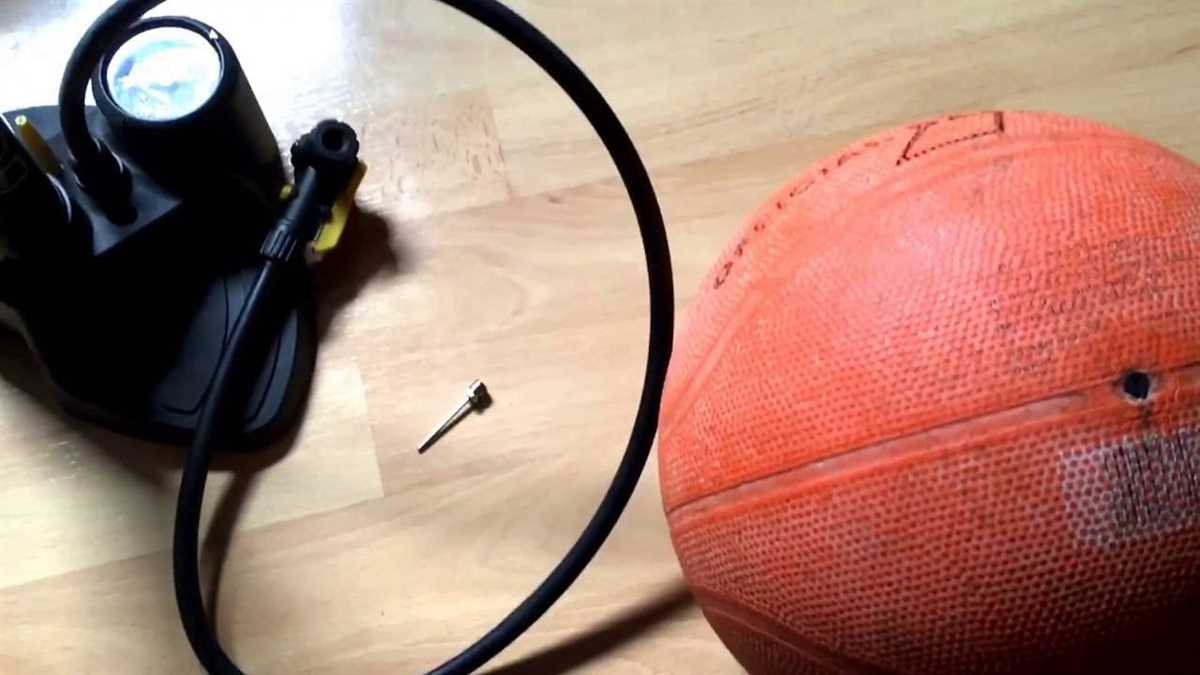
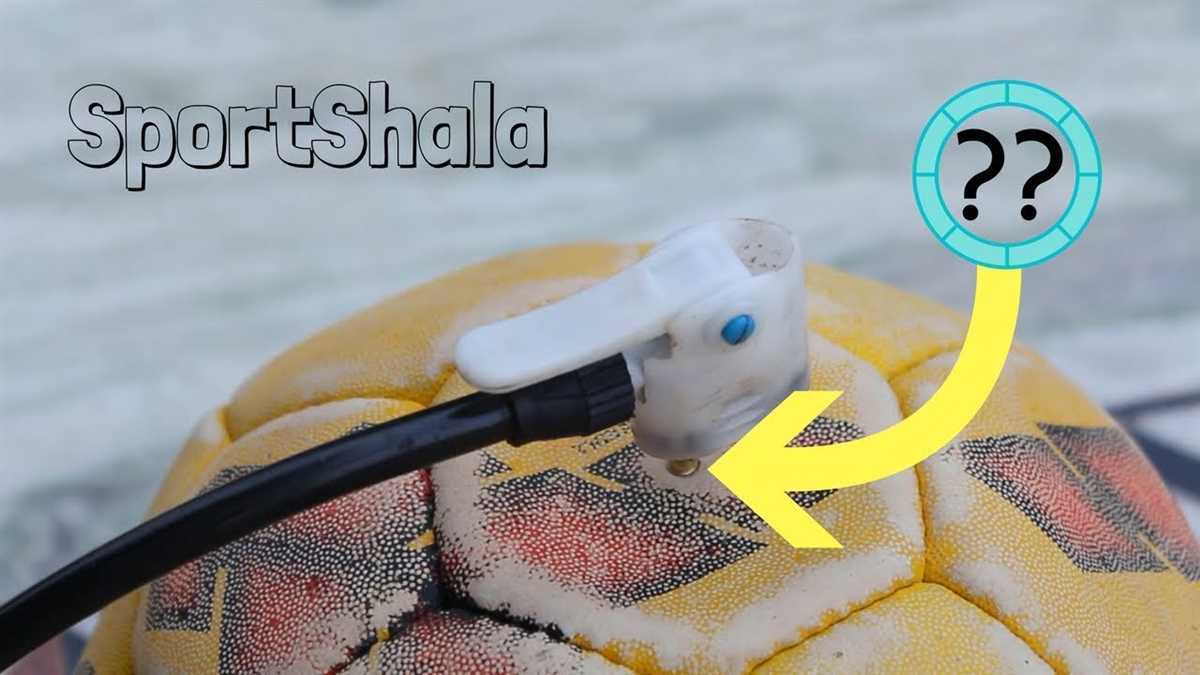
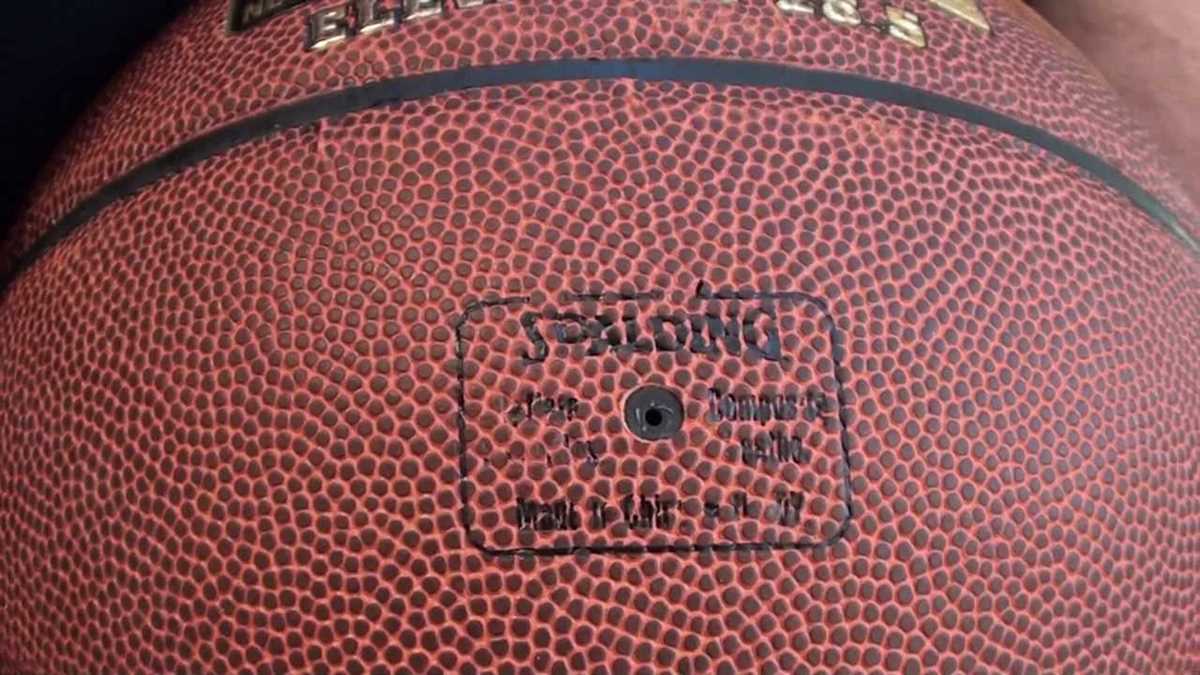
Locate the basketball valve
To begin inflating a basketball with an air compressor, the first step is to locate the basketball valve. The valve is a small opening typically found on the top of the basketball. It is usually made of rubber and is designed to prevent air from escaping once the ball is inflated. The valve may be covered by a plastic plug that needs to be removed before inflating the ball.
Once you have located the basketball valve, the next step is to prepare the air compressor. Make sure the air compressor is turned off and that the hose is securely attached to the compressor’s outlet. Connect the other end of the hose to the basketball valve, ensuring a tight seal between the two.
Before turning on the air compressor, it is important to check the recommended inflation pressure for your basketball. This information is usually printed on the ball or can be found in the manufacturer’s instructions. Overinflating the ball can cause it to burst, while underinflating can affect its performance.
Once you have determined the correct inflation pressure, turn on the air compressor and adjust the pressure according to your desired level. Use the pressure gauge on the compressor to monitor the pressure as you inflate the basketball. Be careful not to overinflate the ball, as this can cause it to become too hard and potentially damage the valve.
Securely attach the nozzle
When inflating a basketball with an air compressor, it is important to securely attach the nozzle to the valve to ensure that no air escapes during the inflation process.
First, locate the valve on the basketball. The valve is typically located on the top of the basketball, and it is the small, rubber or plastic piece that allows air to be pumped into the ball.
Next, take the nozzle of the air compressor and align it with the valve on the basketball. The nozzle should be small enough to fit into the valve, but not too small that it does not form a secure seal.
Once the nozzle is aligned with the valve, insert the nozzle into the valve and push it in firmly until it is securely attached. You should feel some resistance as the nozzle forms a tight seal with the valve.
After securely attaching the nozzle to the valve, you can begin the inflation process. Turn on the air compressor and adjust the pressure settings as necessary. Make sure to monitor the inflation process closely to ensure that the basketball does not become overinflated.
FAQ:
What is the best way to inflate a basketball with an air compressor?
The best way to inflate a basketball with an air compressor is to first make sure the compressor is clean and free of any debris. Then, attach the needle adapter to the air hose and insert it into the air hole on the basketball. Slowly turn on the compressor and monitor the pressure gauge until the basketball is inflated to the desired level.
Is it necessary to lubricate the needle before inflating a basketball?
It is not necessary to lubricate the needle before inflating a basketball with an air compressor. However, if you find that the needle is not sliding smoothly into the air hole, you can apply a small amount of lubricant to make the process easier.
What should I do if the basketball is not inflating evenly?
If the basketball is not inflating evenly, there may be a blockage in the air hole. In this case, remove the needle from the air hole and check for any debris. Clean the air hole if necessary, then reinsert the needle and continue inflating the basketball.
Can I use an air compressor to inflate a basketball with a damaged air hole?
No, it is not recommended to use an air compressor to inflate a basketball with a damaged air hole. Instead, you should repair the air hole or replace the basketball before attempting to inflate it.
Video:


Harrison Clayton
Meet Harrison Clayton, a distinguished author and home remodeling enthusiast whose expertise in the realm of renovation is second to none. With a passion for transforming houses into inviting homes, Harrison's writing at https://thehuts-eastbourne.co.uk/ brings a breath of fresh inspiration to the world of home improvement. Whether you're looking to revamp a small corner of your abode or embark on a complete home transformation, Harrison's articles provide the essential expertise and creative flair to turn your visions into reality. So, dive into the captivating world of home remodeling with Harrison Clayton and unlock the full potential of your living space with every word he writes.


