Step-by-Step Guide: How to Safely Load Nails into a Nail Gun

Using a nail gun can be a time-saving and efficient way to complete woodworking and construction projects. However, it’s important to know how to properly load nails into a nail gun to ensure safe and effective operation. In this step-by-step guide, we will walk you through the process of safely loading nails into a nail gun.
Step 1: Gather the necessary supplies
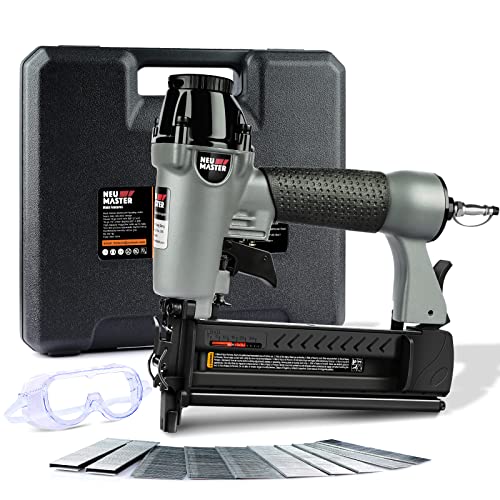
Before beginning, gather all the necessary supplies for loading nails into your nail gun. This will typically include the nail gun itself, a box of nails that are compatible with your nail gun model, safety glasses, and any other safety equipment recommended by the manufacturer.
Step 2: Prepare the nail gun
Before loading nails, ensure that your nail gun is turned off and disconnected from any power source. This will help prevent any accidental firing while you handle the gun. Refer to your nail gun’s user manual for specific instructions on how to prepare it for loading nails, as different models may have slightly different procedures.

Step 3: Open the magazine
Locate the magazine on your nail gun. The magazine is where the nails are loaded and held in place. Depending on the model, you may need to slide a latch or press a release button to open the magazine. Always follow the instructions in your user manual to properly access the magazine, as forcing it open can cause damage to the nail gun.
Gather the necessary materials
Nail gun
The first thing you will need is a nail gun. Make sure to choose a nail gun that is compatible with the type and size of nails you will be using.

Nails
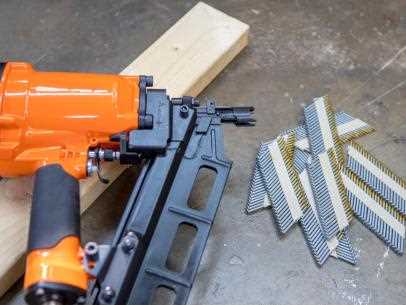
Next, gather the nails that you will be loading into the nail gun. These could be either plastic-collated or wire-collated nails, depending on the type of nail gun you have. Be sure to choose the correct length and gauge for your project.
Nail gun oil
Most nail guns require regular lubrication to ensure proper functioning. Check the manufacturer’s instructions to determine the type of oil or lubricant recommended for your specific nail gun.
Nail gun safety equipment
Working with a nail gun can be dangerous, so it’s important to take safety precautions. Gather safety glasses or goggles to protect your eyes from flying debris, as well as ear protection if necessary. It’s also a good idea to wear gloves to protect your hands.

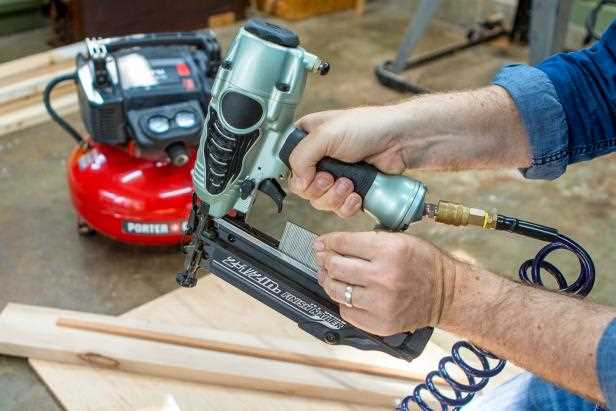
Compressor and air hose
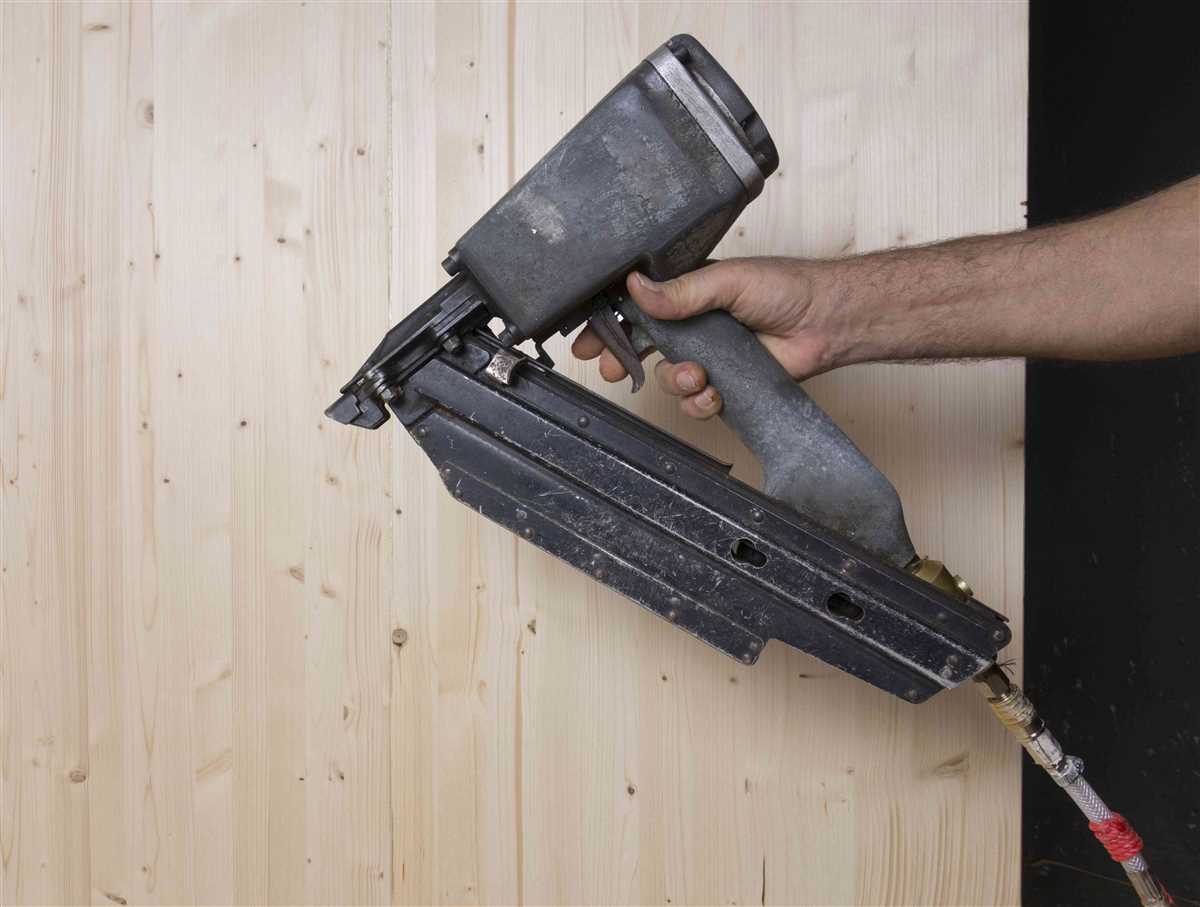
If you have a pneumatic nail gun, you will need an air compressor and an air hose to power the nail gun. Make sure the compressor is properly connected and fully charged before using the nail gun.
Now that you have gathered all the necessary materials, you are ready to safely load nails into your nail gun and start your project.
Prepare the nail gun for loading
Before you begin loading nails into your nail gun, it’s important to properly prepare the tool. Follow these steps to ensure a safe and efficient loading process:
- Disconnect the nail gun from its power source: Before you start loading nails, make sure the nail gun is disconnected from any power source. This will prevent any accidental firing and ensure your safety during the loading process.
- Inspect the nail gun: Before loading nails, give the nail gun a quick visual inspection to ensure there are no obstructions or damaged parts. Check for any loose screws or nails that may have become stuck in the gun.
- Clean the nail gun: It’s a good practice to clean the nail gun before loading nails. Use a soft brush or compressed air to remove any dirt, debris, or sawdust that may have accumulated in and around the gun. This will help prevent jams and ensure smooth operation.
- Check the nail gun’s magazine: The magazine is the part of the nail gun where the nails are stored. Make sure the magazine is empty and free from any nails or debris. If there are any existing nails in the magazine, remove them before proceeding.
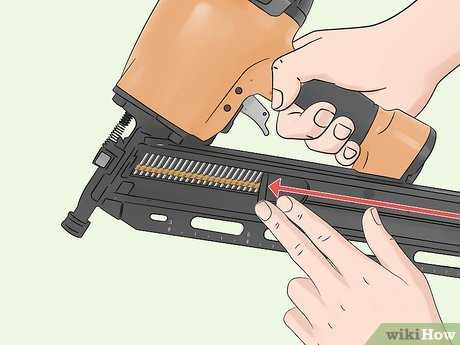
- Prepare the nail strip: If your nail gun uses nail strips, align the nails so they are parallel and facing the correct direction. Pay attention to any manufacturer instructions on properly aligning the nails in the strip.
- Insert the nail strip into the magazine: With the nails properly aligned, insert the nail strip into the magazine of the nail gun. Make sure the strip is securely seated in the magazine and flush against any alignment guides, if present.
By following these steps, you can effectively prepare your nail gun for loading and ensure a smooth and safe nail insertion process. Remember to always refer to the manufacturer’s instructions for your specific nail gun model, as procedures may vary.

Choose the appropriate nails
Before loading the nail gun, it’s important to choose the right type and size of nails for your project. Using the wrong nails can lead to improper fastening or damage to the materials being worked on. Follow these steps to select the appropriate nails:
- Determine the nail type: There are different types of nails available, such as brad nails, finishing nails, and framing nails. Consider the nature of your project and the material being used to determine the most suitable nail type.
- Consider the length of the nails: The length of the nails is crucial as it determines how securely the materials will be fastened. Longer nails are required for thicker or heavy-duty materials, while shorter nails may be suitable for lighter projects.
- Take into account the gauge: The gauge refers to the thickness of the nail. Thicker nails are typically more durable and provide stronger fastening. However, they may cause more damage to the material being nailed. Consider the material and the desired level of holding power to determine the appropriate gauge.
- Be mindful of the nail coating: Some nails come with a coating, such as galvanized or stainless steel, which helps with corrosion resistance. If your project involves outdoor applications or exposure to moisture, it’s advisable to choose nails with appropriate coatings to prevent rusting and deterioration.
By considering these factors and selecting the appropriate nails, you can ensure that your nail gun will function effectively and provide secure fastening for your project.
Inspect the nails for any defects
Before loading the nails into the nail gun, it’s important to inspect them for any defects. This step is crucial to ensure the safety and effectiveness of the nail gun.

Step 1: Check for any bent or damaged nails
Begin by carefully examining each nail to check for any signs of bending or damage. This can include nails that are crooked, dented, or have any other visible deformities. Bent or damaged nails can cause jams or misfires in the nail gun, so it’s important to discard them.
Step 2: Verify the length and gauge of the nails
Next, verify that the nails are the correct length and gauge for the specific nail gun you are using. The length and gauge requirements should be clearly indicated in the nail gun’s user manual. Using nails that are too short or too long, or using the wrong gauge, can result in poor performance or even damage to the nail gun.
Step 3: Inspect the nail heads
Inspect the heads of the nails to ensure they are in good condition with no signs of damage. A damaged or deformed nail head can prevent proper firing and may cause the nail gun to malfunction. Discard any nails with compromised heads.
Step 4: Remove any nails with rust or corrosion
If you come across any nails with rust or signs of corrosion, do not load them into the nail gun. Rusty or corroded nails can affect the smooth operation of the nail gun and may result in jamming or misfiring.
Step 5: Check for proper coatings or finishes

Some nails may have coatings or finishes to improve their performance or prevent corrosion. Make sure the nails have the appropriate coatings or finishes recommended by the nail gun manufacturer. Using nails without the proper coatings or finishes can result in decreased performance or damage to the nail gun.
By thoroughly inspecting the nails for any defects, you can ensure that only high-quality nails are loaded into the nail gun. This will help to prevent any issues or accidents while using the nail gun and ensure smooth and efficient operation.
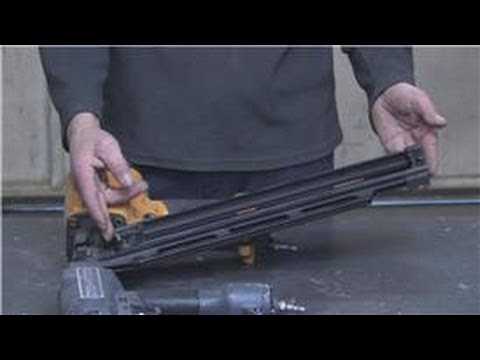
Open the nail magazine
Before loading nails into a nail gun, you first need to open the nail magazine. The nail magazine is where the nails are stored and fed into the nail gun for firing. Opening the nail magazine allows you to access the nail chamber and properly load the nails.
Here are the steps to open the nail magazine:
- Ensure that the nail gun is turned off and disconnected from any power source.
- Locate the nail magazine on the nail gun. The exact location may vary depending on the model of the nail gun, but it is typically located on the bottom or side of the tool.
- Look for a latch or release button near the nail magazine. This latch or release button is used to open the magazine.
- Press the latch or release button to unlock the nail magazine. You may need to use some force to fully open the magazine.
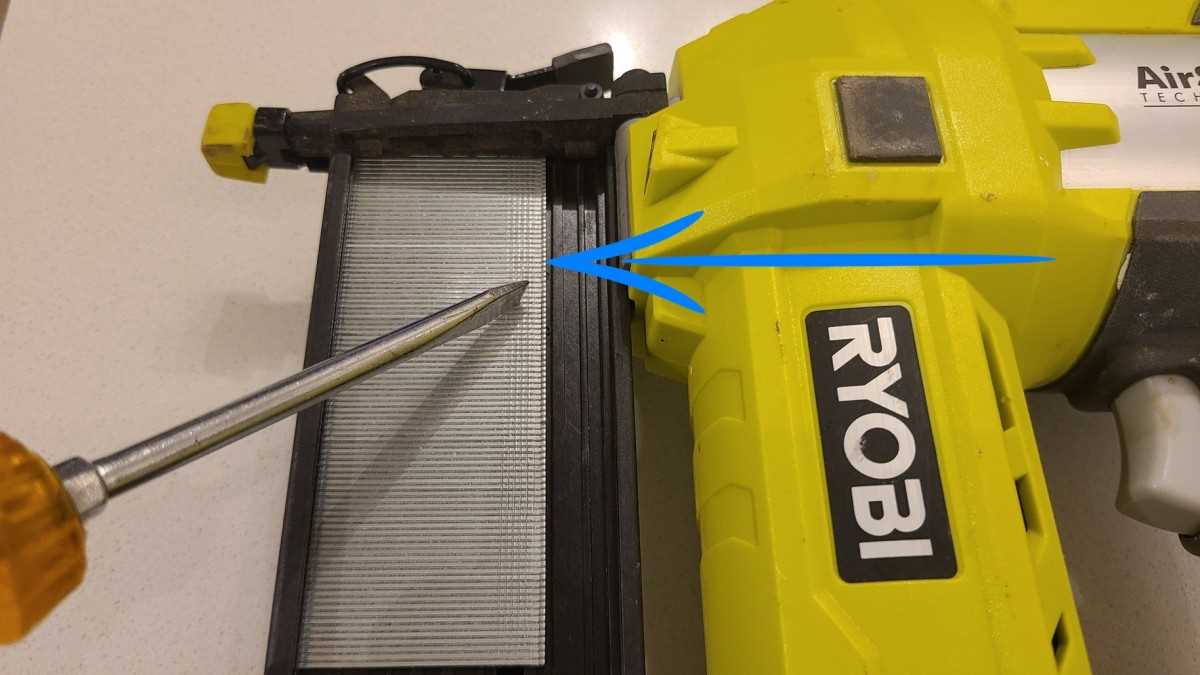
- Once the magazine is open, inspect the inside to ensure there are no nails stuck or jammed in the chamber. Use a small tool like a screwdriver or a pair of pliers to remove any stuck nails if necessary.
By following these steps, you can safely open the nail magazine of a nail gun. This will allow you to proceed with the loading of nails and ensure proper operation of the tool.
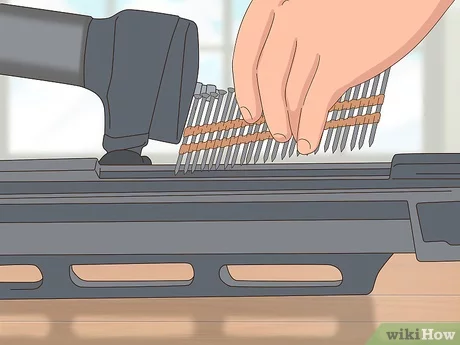
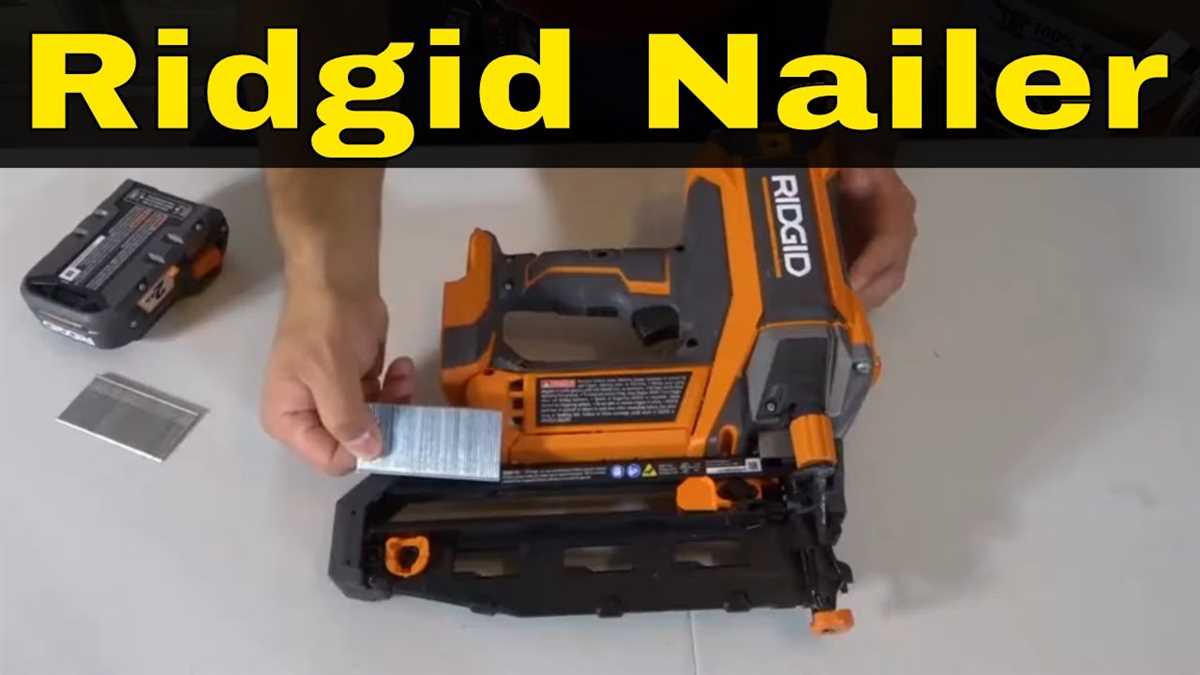
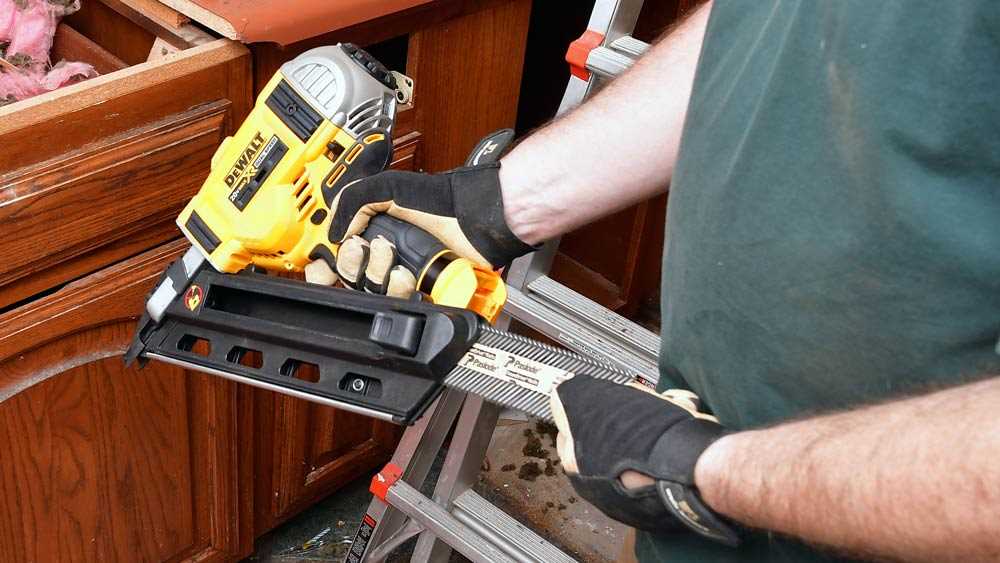
Insert the nails into the magazine
Before you can start using your nail gun, you’ll need to load it with nails. Here’s how to properly insert the nails into the magazine:
- Prepare your nail gun: Make sure the nail gun is turned off and disconnected from any power source. This will help prevent any accidental firing while loading the nails.
- Open the magazine: Locate the magazine release latch or button on your nail gun. Press or slide it to open the magazine. Some nail guns may have a magazine cover that needs to be lifted or flipped open.
- Check the nail type and size: Different nail guns require specific types and sizes of nails. Check the manufacturer’s instructions or the markings on the nail gun to determine the appropriate nails to use.
- Prepare the nails: If the nails come in a coil, straighten them out before inserting them into the magazine. This will ensure they feed properly into the gun.
- Align the nails: Place the nails into the magazine with the nail heads facing up. Make sure they are lined up straight and flush against the back of the magazine.
- Close the magazine: Once the nails are in position, close the magazine securely. Ensure that it locks in place and that the nails are held firmly inside.
With the nails properly loaded into the magazine, your nail gun is now ready to use. Always follow best practices and safety guidelines provided by the manufacturer when operating any power tool.
Close the nail magazine
After loading the nails into the nail gun, you need to close the nail magazine to secure them in place. Follow these steps to close the magazine:
- Make sure all the nails are properly positioned in the magazine.
- Slide the magazine cover or latch over the nails to close the magazine.
- Ensure that the magazine cover or latch securely locks in place to prevent accidental release of the nails.
Closing the nail magazine is an important step in ensuring the safety of using a nail gun. It helps to prevent the nails from coming loose or falling out during operation, reducing the risk of injury or damage.
Test the nail gun before use
Before using the nail gun, it’s important to test it to ensure it is working properly and is safe to use. Here are the steps to test the nail gun:
- Check the power source: Make sure the nail gun is properly connected to its power source, whether it is a battery, an air compressor, or an electrical outlet. Ensure that the power source is working correctly and supplying adequate power.
- Inspect the nail gun: Look for any visible damage or signs of wear and tear on the nail gun. Check that all the parts, including the safety features, are functioning properly. If there are any issues, do not use the nail gun and have it repaired by a professional.
- Load nails into the nail gun: Follow the appropriate procedure to load nails into the nail gun, as outlined in the manufacturer’s instructions. Use the correct size and type of nails recommended for the nail gun.
- Perform a test fire: Point the nail gun in a safe direction, away from yourself and others. Press the trigger and observe if the nail is fired correctly and if it goes straight into the desired surface. Check for any misfires or jams. If there are any issues, do not use the nail gun and address the problem before proceeding.
- Check the depth adjustment: If your nail gun has a depth adjustment feature, test it by firing nails at different depths on a scrap piece of wood or material similar to the one you will be working on. Adjust the depth as necessary to achieve the desired nail penetration.
By testing the nail gun before use, you can ensure that it is functioning properly and reduce the risk of accidents or malfunctions during your work. Always follow the manufacturer’s instructions and guidelines for safe and proper use of the nail gun.
FAQ
What is a nail gun?
A nail gun is a power tool that is used to drive nails into various materials, such as wood or concrete. It is commonly used in construction and carpentry projects to save time and effort.
Why is it important to load nails into a nail gun safely?
It is important to load nails into a nail gun safely to prevent accidents and injuries. If nails are not loaded properly, they may jam the gun or cause the nails to be misfired, which can be dangerous to the user and those nearby.
How do I disconnect the nail gun from the power source?
To disconnect the nail gun from the power source, you should unplug it from the electrical outlet or remove the battery, depending on the type of nail gun you are using.
What should I do if the nails get jammed in the gun?
If the nails get jammed in the gun, you should disconnect the nail gun from the power source and follow the manufacturer’s instructions for clearing the jam. This may involve removing the magazine and carefully removing the jammed nails.
Can I use any type of nails in a nail gun?
No, you cannot use any type of nails in a nail gun. You should always use nails that are designed for your specific nail gun model. Using the wrong type of nails can cause damage to the gun and result in malfunction or accidents.
Video


Meet Harrison Clayton, a distinguished author and home remodeling enthusiast whose expertise in the realm of renovation is second to none. With a passion for transforming houses into inviting homes, Harrison's writing at https://thehuts-eastbourne.co.uk/ brings a breath of fresh inspiration to the world of home improvement. Whether you're looking to revamp a small corner of your abode or embark on a complete home transformation, Harrison's articles provide the essential expertise and creative flair to turn your visions into reality. So, dive into the captivating world of home remodeling with Harrison Clayton and unlock the full potential of your living space with every word he writes.