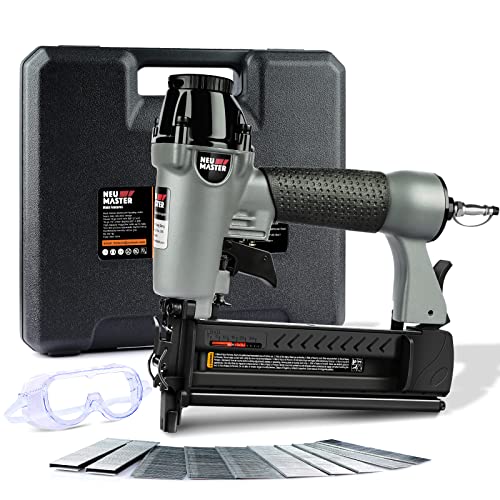
Step-by-Step Guide: How to Oil a Nail Gun Properly for Optimal Performance

Keeping your nail gun properly oiled is essential for ensuring its optimal performance and longevity. By regularly lubricating your nail gun, you can prevent jamming, extend the life of the tool, and improve its overall efficiency. In this step-by-step guide, we will walk you through the process of oiling your nail gun, so you can keep it running smoothly for your upcoming projects.
Step 1: Gather the necessary supplies
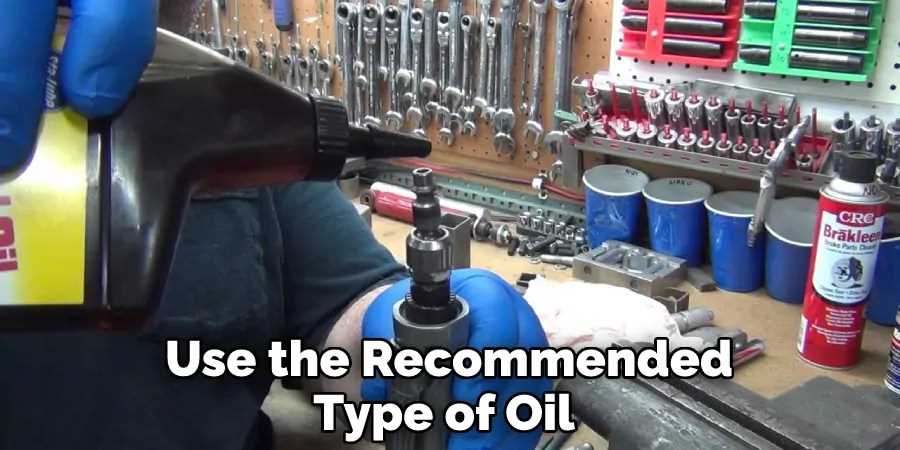
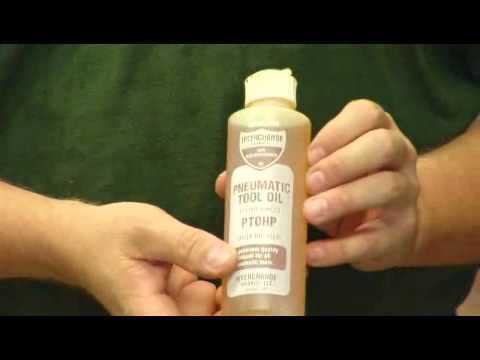
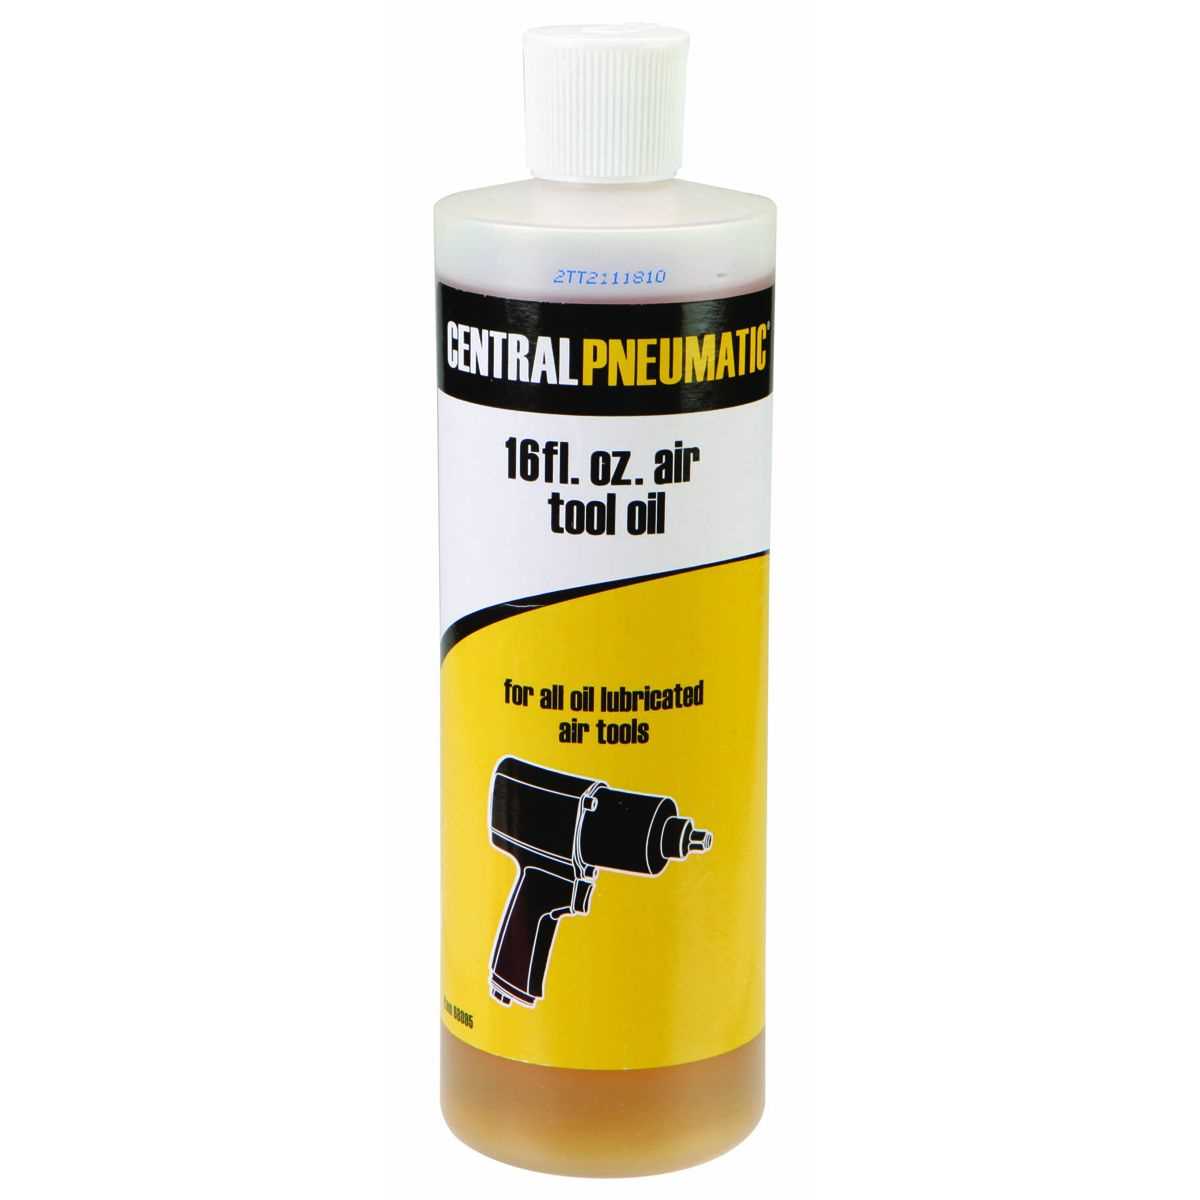
Before you begin, make sure you have all the required supplies. You will need a manufacturer-recommended lubricating oil, lint-free cloth, and safety goggles for eye protection. It’s crucial to use the oil recommended by the manufacturer to ensure compatibility with your nail gun model.
Step 2: Prepare your nail gun
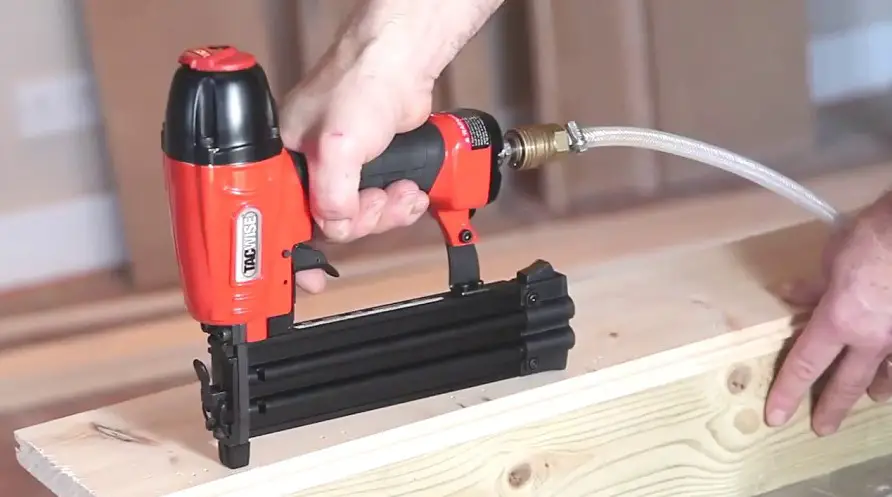
Prior to oiling, always disconnect the nail gun from the power source and remove any nails from the magazine. This will prevent accidental firing during the lubrication process and minimize the risk of injury. Take a moment to inspect the gun for any loose or damaged parts and tighten or replace them as needed.

Importance of Properly Oiling a Nail Gun
Properly oiling a nail gun is crucial for maintaining its performance and extending its lifespan. Oiling a nail gun lubricates its internal components, reducing friction and preventing excessive wear and tear. It also helps ensure smooth operation and prevents jamming or misfires.
Here are some key reasons why properly oiling a nail gun is important:
- Improved Performance: Regularly oiling your nail gun helps maintain optimal performance. The oil lubricates the moving parts, allowing them to operate smoothly and efficiently. This leads to faster and more accurate nail driving, reducing the risk of nails getting stuck or bending.
- Prevention of Damage: Without proper lubrication, the internal components of a nail gun can experience increased friction, leading to excessive heat buildup and wear. Over time, this can cause the gun’s parts to break or malfunction, resulting in costly repairs or the need for a replacement.
- Extended Lifespan: Regular oiling helps to extend the lifespan of your nail gun. By reducing friction and preventing damage, you can ensure that your nail gun lasts longer and performs reliably for many projects to come.
- Reduced Maintenance: Properly oiled nail guns require less frequent maintenance. The lubrication helps to prevent debris and dust from accumulating, as the oil creates a protective barrier on the internal components. This means less time spent cleaning and troubleshooting your nail gun.
- Improved Safety: Oiling your nail gun also enhances safety during operation. When a nail gun is properly lubricated, it reduces the chance of misfires, which can be dangerous and cause injury. By ensuring smooth nail driving, you can work confidently and minimize the risk of accidents.
Remember to consult your nail gun’s user manual for specific instructions on how often and how much oil to apply. It’s also important to use the recommended type of oil for your particular nail gun model. By properly oiling your nail gun, you can optimize its performance, prolong its lifespan, and ensure safe and efficient operation.
Gather the Necessary Materials
Before you begin oiling your nail gun, make sure you have all the necessary materials on hand. Here’s a list of what you’ll need:

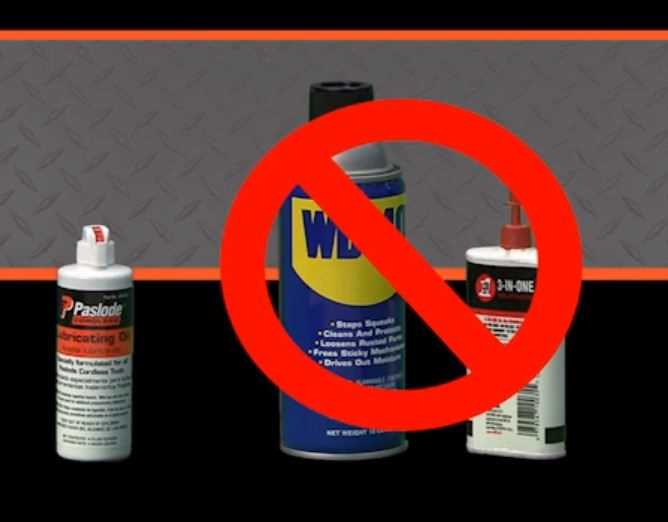
- Nail gun oil: You’ll need a high-quality oil that is specifically designed for air tools. Make sure to check the manufacturer’s recommendations for the type of oil to use.
- Lint-free cloth: This will be used to wipe down the nail gun and remove any excess oil.
- Disposable gloves: It’s always a good idea to wear gloves to protect your hands from any potentially harmful substances.
- Safety goggles: Protect your eyes from any accidental oil splashes by wearing safety goggles.
- Container: Find a suitable container to catch any excess oil that may drip out of the nail gun during the oiling process.
- User manual: Refer to the manufacturer’s user manual for specific instructions on how to oil your nail gun properly.
Make sure to gather all these materials before you start to ensure a smooth and efficient oiling process. Being prepared will save you time and ensure optimal performance of your nail gun.
Prepare the Nail Gun
Before oiling your nail gun, it is important to prepare it for maintenance. Follow these steps to ensure the nail gun is ready for proper lubrication:
- Disconnect the power source: If your nail gun is pneumatic, disconnect it from the air compressor or remove the battery if it is battery-powered to prevent accidental firing.
- Release any remaining pressure: If your nail gun is pneumatic, press the release valve or fire the gun into a scrap piece of wood to release any remaining air pressure.
- Clean the nail gun: Use a clean cloth or brush to remove any dirt, debris, or dust from the nail gun’s exterior and magazine. Make sure to pay extra attention to the air vents and the areas around the trigger.
- Inspect the nail gun: Check for any loose or damaged parts, such as screws, nails, or o-rings. Tighten or replace any necessary components before proceeding.
By properly preparing your nail gun, you can ensure that the oiling process is effective and prolong the lifespan of your tool.
Identify the Oil Reservoir
Before you can oil your nail gun, it’s important to locate the oil reservoir. This is where the oil will be stored and dispensed from. The oil reservoir is typically located near the nail gun’s handle, and it is usually marked with a symbol or label that indicates it as the oil reservoir.
Check the user manual or manufacturer’s instructions to find the exact location of the oil reservoir for your specific nail gun model. If you don’t have the manual, you can also look for any visible screws or openings near the handle area.

Once you have identified the oil reservoir, make sure it is clean and free of any debris or old oil. You can use a clean cloth or a small brush to remove any dirt or grime that may have accumulated.
Note: It’s important to refer to the user manual for specific instructions on how to access and clean the oil reservoir, as the process may vary depending on the nail gun model.
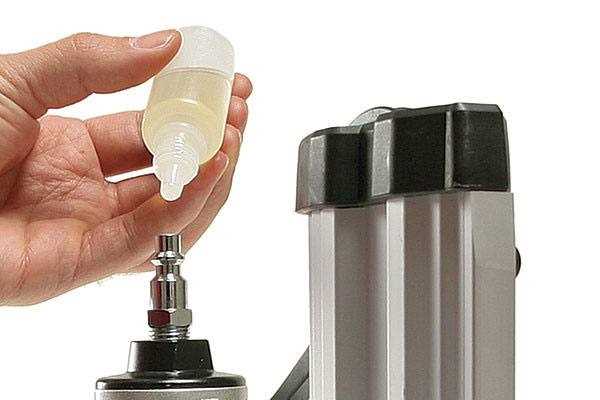
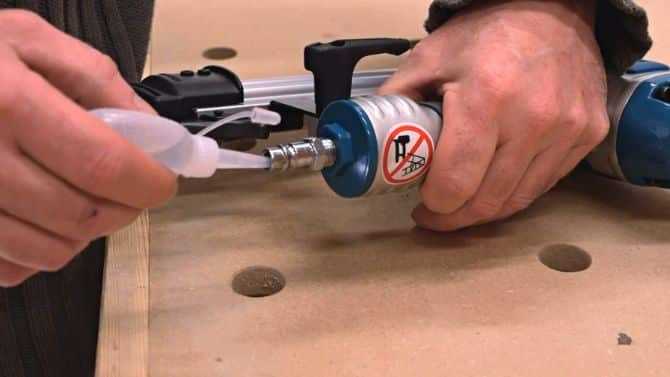
Apply the Oil
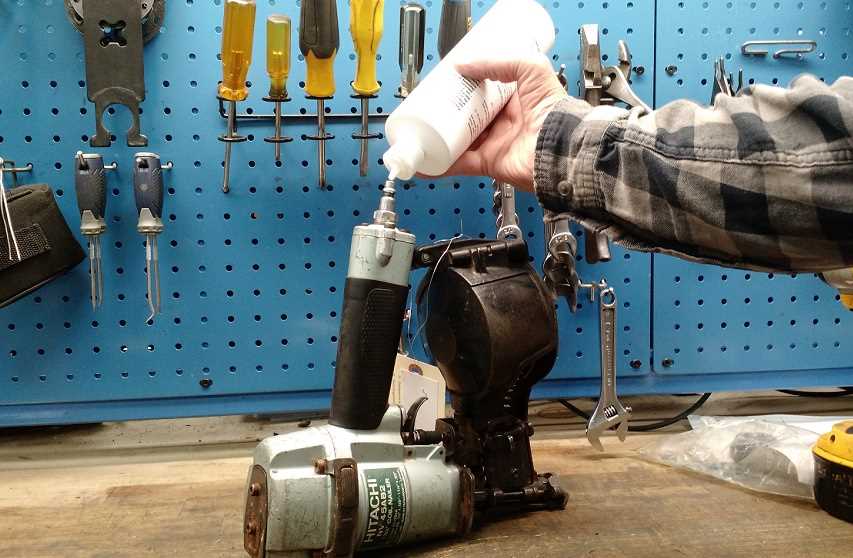
Now that you have prepared the nail gun and chosen the appropriate oil, it is time to apply the oil to the gun. Follow these steps:
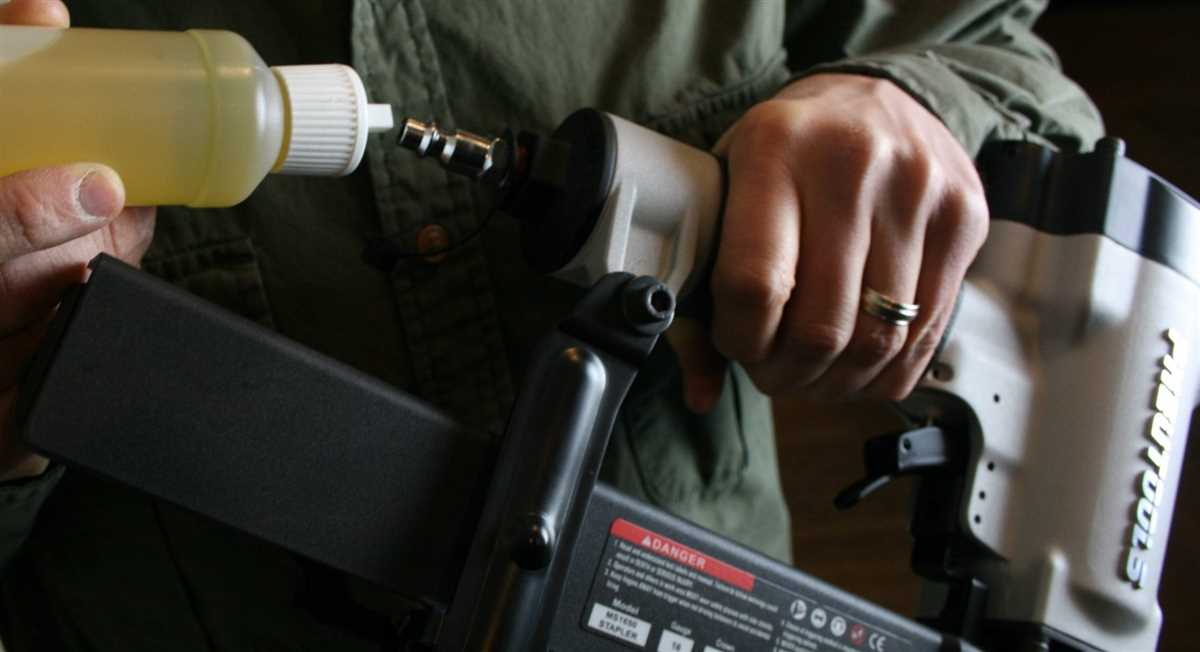
- Step 1: Locate the oil port on your nail gun. It is usually a small hole or cap located on the body of the gun.
- Step 2: Remove the cap or open the oil port to access the oil reservoir.
- Step 3: Take your oil bottle or can and carefully pour a few drops of oil into the reservoir. Be cautious not to overfill it, as this can lead to oil leaks.
- Step 4: Close the oil port or replace the cap securely to avoid any oil spills or leaks while using the nail gun.
- Step 5: Before using the nail gun, it is essential to cycle the gun a few times to distribute the oil throughout the internal components. To do this, follow the manufacturer’s instructions on how to perform a test fire or dry fire without nails.
By applying the oil correctly, you ensure that the nail gun’s internal parts are lubricated, allowing for optimal performance and a longer lifespan for your tool.

Clean Excess Oil
- After you have finished oiling the nail gun, it is important to clean off any excess oil that may have accumulated.
- Excess oil can attract debris and dust, which may interfere with the proper functioning of the nail gun.
- To clean the excess oil, use a clean cloth or paper towel to wipe down the exterior of the nail gun.
Pay special attention to areas where oil may have pooled, such as the air vent or exhaust port.
Make sure to also wipe down any attachments or accessories that came into contact with the oil, as they may also have excess oil on them.
If the nail gun has any removable parts, such as a magazine or nose piece, remove them and clean off any excess oil before reattaching them.
Once you have wiped down all the surfaces, check for any remaining oil or residue. If necessary, use a mild detergent or cleaning solution to remove any stubborn oil stains.

After the nail gun is clean and dry, you can store it in a safe and dry place until the next use.
Test the Nail Gun
Once you have properly oiled your nail gun, it’s important to test it before using it for any projects. This will help ensure that the oil has been distributed properly and that the gun is functioning correctly.
Here is a step-by-step guide on how to test your nail gun:
- Plug in the nail gun and turn it on if necessary.
- Load the recommended nails into the magazine according to the manufacturer’s instructions.
- Adjust the depth setting on the nail gun to your desired depth.
- Hold the nail gun firmly and position it against the material you want to nail.
- Press the trigger to fire a test nail into the material.
- Inspect the test nail to ensure it has been driven in properly and at the correct depth.
- If the test nail is not driven in properly or at the correct depth, you may need to adjust the depth setting or troubleshoot any other issues.
- Repeat the test firing process with a few more nails to ensure consistent performance.
By following these steps to test your nail gun, you can be confident that it is working properly and ready for use on your projects. Remember to regularly oil your nail gun to maintain optimal performance.
Maintenance Tips for Nail Guns
Proper maintenance of your nail gun is crucial for ensuring optimal performance and a longer lifespan. By following these maintenance tips, you can keep your nail gun in top shape:
Clean the Nail Gun Regularly
After each use, it is important to clean your nail gun to remove any dust, debris, or residue that may have accumulated. Use a soft brush or a compressed air canister to clean the nail gun thoroughly. Be sure to pay attention to the air vents, magazine, and the trigger area.
Inspect and Replace Worn Parts
Regularly inspect your nail gun for any worn or damaged parts such as O-rings, seals, or springs. These parts can affect the performance of your nail gun and may need to be replaced. Consult your nail gun’s manual or a professional for guidance on how to replace these parts.
Oil the Nail Gun
Proper lubrication is essential for the smooth operation of a nail gun. Apply a few drops of oil to the designated oiling points of the nail gun, as specified in the user manual. This will help reduce friction and prevent premature wear of the internal components.
Check and Adjust Pressure Settings
Regularly check and adjust the pressure settings of your nail gun to ensure that it is operating at the recommended pressure range. Operating a nail gun with incorrect pressure can lead to uneven or incomplete nailing. Refer to the user manual for instructions on how to adjust the pressure settings.
Store the Nail Gun Properly
When not in use, it is important to store your nail gun in a clean and dry place. Keep it away from moisture or extreme temperatures that can damage the internal components. Additionally, make sure to disconnect it from the air supply and properly secure it to prevent accidental damage or injuries.
Perform Regular Maintenance Checks
Make it a habit to perform regular maintenance checks on your nail gun. This can include checking for loose screws or bolts, inspecting the cord or hose for any damage, and testing the safety features. Regular maintenance checks can help identify and address any potential issues before they become major problems.
By following these maintenance tips, you can keep your nail gun operating smoothly and efficiently, ensuring optimal performance for your projects and extending its lifespan.
FAQ
Why is it important to oil a nail gun?
It is important to oil a nail gun to ensure optimal performance and prolong the lifespan of the tool. The oil helps keep the internal components lubricated, reducing friction and preventing wear and tear.
How often should I oil my nail gun?
The frequency of oiling your nail gun depends on the manufacturer’s recommendations, but as a general guideline, it is recommended to oil the tool every 500 nails or every few days of continuous use. It is always a good idea to check the nail gun’s manual for specific instructions.
What type of oil should I use for my nail gun?
It is best to use a lightweight, non-detergent oil specifically designed for nail guns. Most manufacturers provide recommendations on the type of oil to use, so it is advisable to check the nail gun’s manual or contact the manufacturer for guidance.
Video


Meet Harrison Clayton, a distinguished author and home remodeling enthusiast whose expertise in the realm of renovation is second to none. With a passion for transforming houses into inviting homes, Harrison's writing at https://thehuts-eastbourne.co.uk/ brings a breath of fresh inspiration to the world of home improvement. Whether you're looking to revamp a small corner of your abode or embark on a complete home transformation, Harrison's articles provide the essential expertise and creative flair to turn your visions into reality. So, dive into the captivating world of home remodeling with Harrison Clayton and unlock the full potential of your living space with every word he writes.