Step-by-Step Guide: How to Drill into a Wall Stud

Drilling into a wall stud is an essential skill for any DIY enthusiast or homeowner. Whether you’re hanging a heavy picture frame or installing a shelf, drilling into a wall stud provides the necessary support for your project. In this step-by-step guide, we’ll walk you through the process of finding and drilling into a wall stud, ensuring a safe and secure attachment for your project.
Step 1: Gather the Necessary Tools
Before you begin, gather the necessary tools for the job. You’ll need a stud finder, drill, drill bit, and screws. A stud finder is an essential tool that helps locate wall studs, which are vertical beams behind the wall that provide structural support. Make sure you have a drill bit that is appropriate for the size of the screws you’ll be using. It’s always a good idea to have a few extra screws on hand, just in case.
Step 2: Locate the Wall Stud
Use the stud finder to locate a wall stud. Slide the stud finder across the wall until it detects the presence of a stud. Once located, the stud finder will typically emit a beeping sound or a light will indicate its position. Mark the edges of the stud with a pencil or masking tape, as this will serve as a guide for drilling.

Step 3: Select the Drill Bit
Select a drill bit that matches the size of the screws you’ll be using. It’s important to choose a bit that is slightly smaller in diameter than the screws, as this will ensure a secure fit. If the hole is too big, the screw may not hold properly, compromising the stability of your project.
Step 4: Prepare the Drill
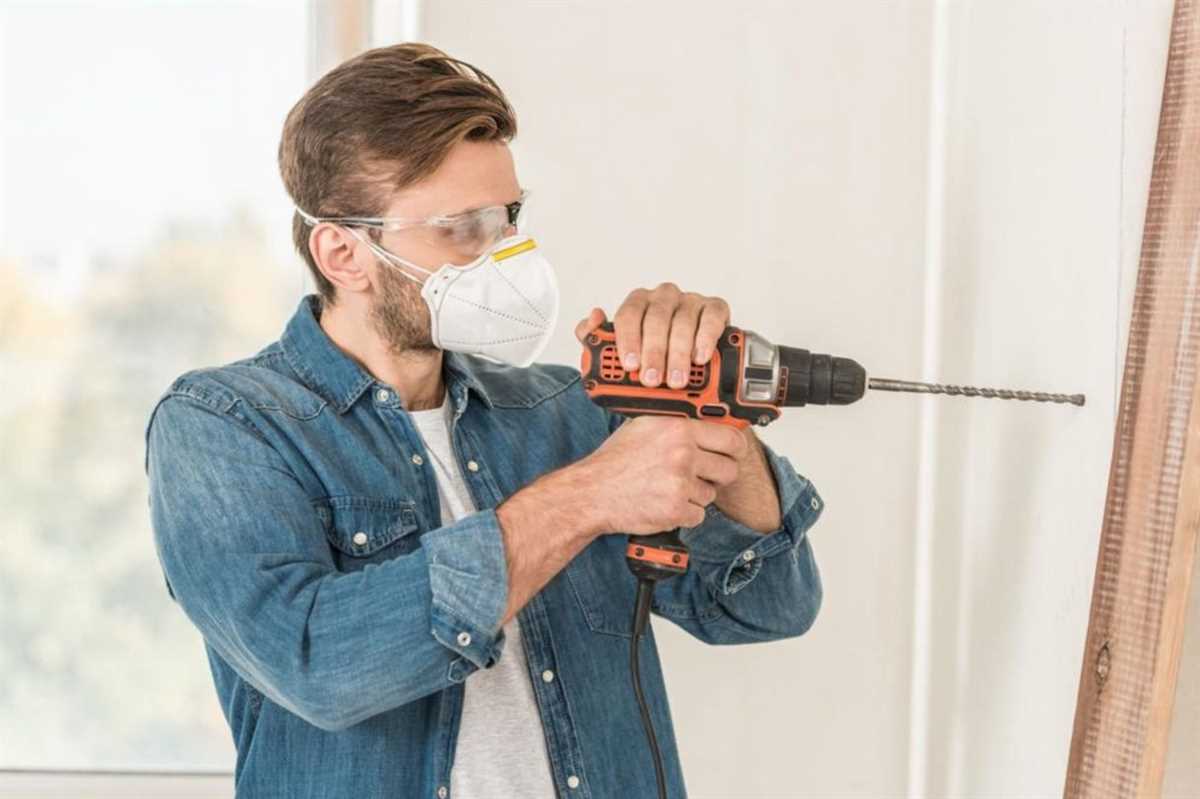
Insert the selected drill bit into the drill and secure it in place. Make sure the drill is set to forward rotation and adjust the speed if necessary. It’s also a good idea to wear safety goggles to protect your eyes from any debris that may be generated during drilling.
Step 5: Drill into the Wall Stud

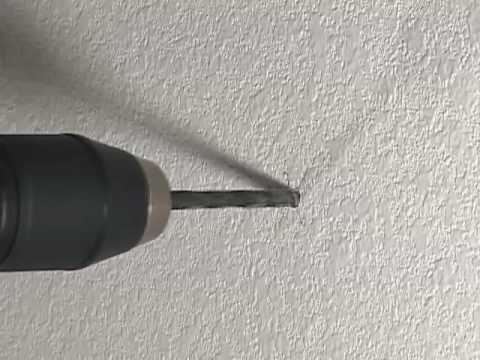
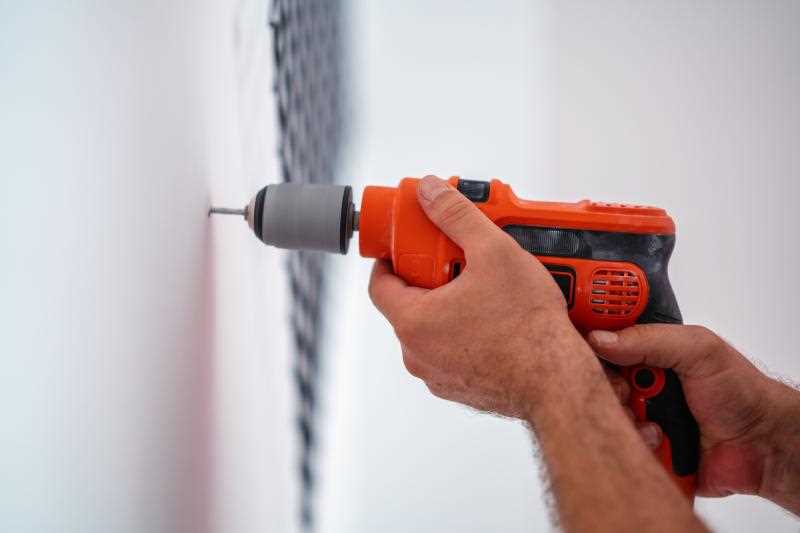
Position the drill bit over one of the marked edges of the stud. Apply gentle pressure and slowly begin drilling into the wall stud. It’s important to take your time and to avoid applying excessive force, as this can cause the drill bit to slip or damage the wall. Continue drilling until the desired depth is reached.
Step 6: Secure Your Project
Once the hole is drilled, you’re ready to secure your project to the wall stud. Line up the desired attachment point with the drilled hole and insert the screw into the hole. Use a screwdriver or power drill to tighten the screw until it is secure but not overtightened, as this can strip the hole.
By following this step-by-step guide, you can confidently drill into a wall stud and ensure a sturdy and secure attachment for your project. Remember to always exercise caution when using power tools and to wear appropriate safety equipment. With the right tools and techniques, you’ll be able to hang your favorite artwork or install shelves with ease.
Gathering the necessary tools
Before you begin drilling into a wall stud, it’s important to gather all the necessary tools to ensure a smooth and successful process. Here are the tools you will need:

- Stud finder: This tool will help you locate the studs within the wall. It uses electronic sensors to detect changes in density and can save you from drilling into a pipe or electrical wire.
- Tape measure: This will help you accurately measure the distance between studs.
- Marking pencil: Use a pencil to mark the location of the stud once you have found it.
- Drill bit: Choose the appropriate size drill bit for your project. A 1/8-inch drill bit is often used for pilot holes in studs.
- Drill: You will need a power drill to make the necessary holes in the wall stud.
- Safety goggles: It’s always important to protect your eyes when drilling into any material. Safety goggles will prevent any debris from getting into your eyes.
- Masking tape: Using masking tape can help prevent any splintering of the wood when drilling.
- Vacuum cleaner or broom: To clean up any debris that is left behind after drilling.
- Level: A level will help ensure that your holes are straight and level.
Make sure you have all of these tools handy before you begin drilling into a wall stud. Having everything you need in one place will make the process much easier and more efficient.
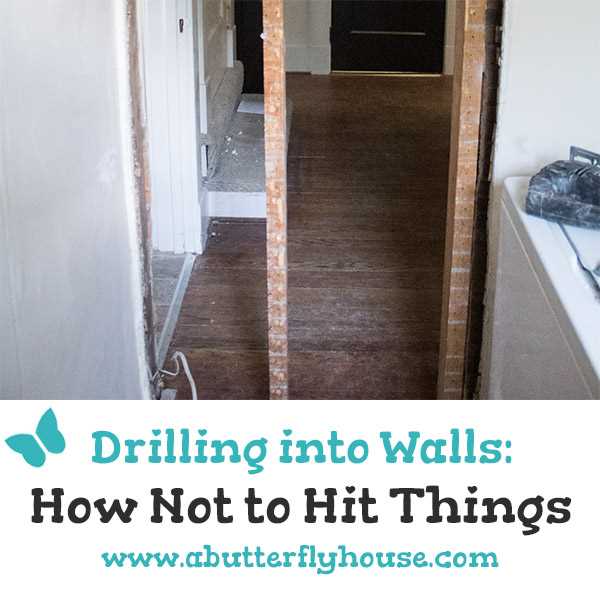
Locating the wall stud
Before you start drilling into the wall, it’s important to locate the wall stud. The wall stud is a vertical beam made of wood or metal that provides support to the wall and anchors heavy objects.
Here are some methods you can use to locate the wall stud:
- Visual inspection: Look for clues on the wall such as nails, screws, or patches that may indicate the presence of a wall stud. These are often placed along the vertical line where the studs are located.
- Using a stud finder: A stud finder is a handheld device that detects changes in density behind the wall. Simply move the stud finder along the wall until it indicates the presence of a stud.
- Measuring: Studs are typically spaced 16 or 24 inches apart. Use a measuring tape to find the first stud, then measure the distance between studs to locate the others.
- Tapping: Lightly tap the wall with your knuckles or a hammer and listen for a solid sound. This may indicate the presence of a stud, as opposed to a hollow sound that indicates an empty space between studs.
Once you have located the wall stud, mark it with a pencil or tape measure to ensure you drill in the correct spot. Remember, drilling into a wall stud provides maximum support and stability for your hanging objects.

Preparing the drilling area
Before you start drilling into a wall stud, it’s important to properly prepare the area to ensure a successful and safe drilling process. Here are the steps you need to follow:
1. Clear the area
Remove any furniture, decorations, or objects that may obstruct your access to the wall stud. Clearing the area will provide you with ample space to work and minimize the chance of accidentally damaging anything during the drilling process.
2. Locate the wall stud
Use a stud finder to locate the position of the wall stud. This will help you ensure that you are drilling into the stud and not just the drywall. A stud finder is a handheld device that uses sensors to detect changes in density behind the wall surface and can pinpoint the exact location of the stud.

3. Mark the drilling spot
Once you’ve located the wall stud, use a pencil or a marker to mark the exact spot where you want to drill. This will serve as a guide and help you stay on track while drilling.
4. Gather the necessary tools
Make sure you have all the necessary tools and equipment handy before you start drilling. This includes a power drill, appropriate drill bit, safety goggles, and a stud finder. Having everything ready before you begin will save you time and ensure a smooth drilling process.
5. Check for any electrical wires or plumbing
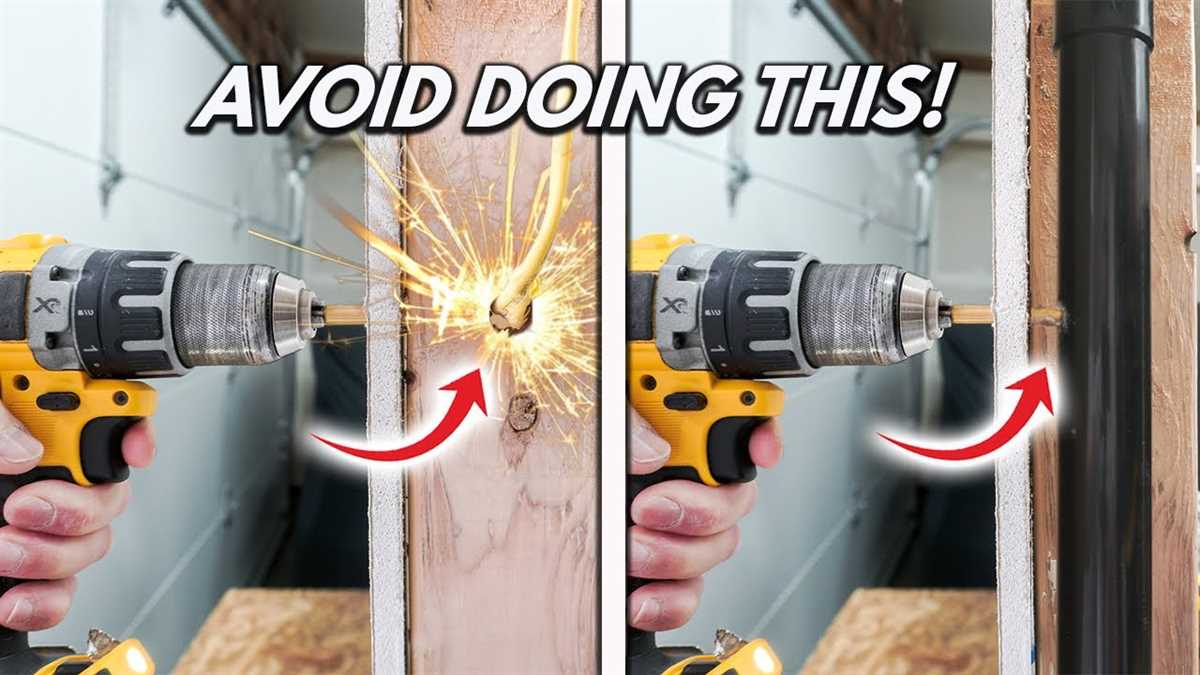
Before drilling, it’s crucial to ensure that there are no electrical wires or plumbing behind the wall. Use a wire detector or consult an electrician to make sure it’s safe to proceed. Drilling into electrical wires or plumbing can be extremely dangerous and may result in serious damage or injury.

6. Protect the surrounding area
To prevent any damage to the surrounding area, place a drop cloth or a plastic sheet underneath the drilling spot. This will catch any debris or dust that may fall during the drilling process and make cleaning up easier.
Take the time to carefully and thoroughly prepare the drilling area before you start drilling into a wall stud. By following these steps, you’ll ensure a safe and successful drilling process.
Marking the spot
Before you start drilling into the wall stud, you need to accurately mark the spot where you want to drill. This will ensure that your hole is in the right position and help prevent any damage or mistakes.
Here’s how you can easily mark the spot:

- Measure the desired distance from the floor or ceiling and use a tape measure to mark this position on the wall.
- Ensure that the mark is aligned vertically with the other studs in the wall to maintain a uniform appearance.
- Use a stud finder to locate the nearest stud to your marked position. Once you’ve found it, mark the edges of the stud with a pencil.
- If you don’t have a stud finder, you can try tapping the wall and listening for a more solid sound, indicating the presence of a stud. However, this method is less reliable.
- Double-check your marked spot and make any adjustments if necessary to ensure accuracy.
Once you have the spot marked, you can proceed with the drilling process. Following these steps will help you ensure that you drill into the wall stud correctly and avoid any unnecessary damage to your walls.
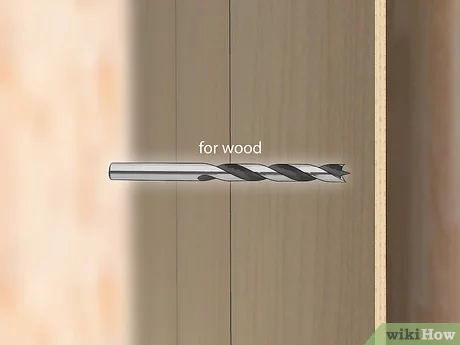
Choosing the right drill bit
When it comes to drilling into wall studs, using the right drill bit is crucial. The type of drill bit you select will determine the size and type of hole you can create in the stud. Here are a few factors to consider when choosing the right drill bit:
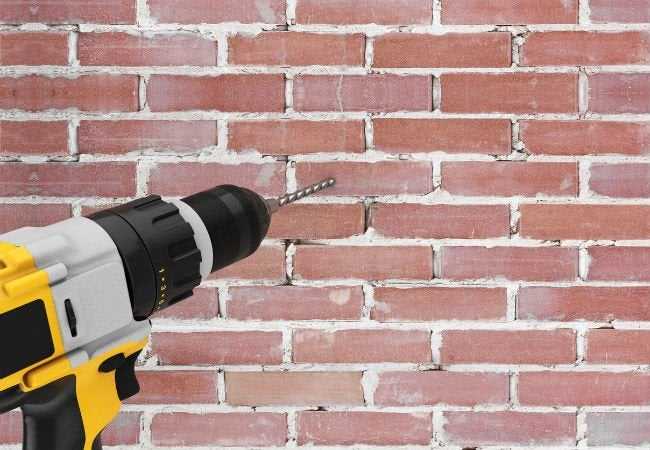
- Material of the stud: Wall studs can be made of wood, metal, or composite materials. The material of the stud will influence the type of drill bit you should use. For wooden studs, a standard high-speed steel (HSS) drill bit will work well. For metal studs, a cobalt or titanium-coated drill bit is recommended. Be sure to choose a drill bit that is specifically designed for the material you are working with.
- Size of the hole: Consider the size of the hole you need to drill. Measure the diameter of the screw or anchor you plan to use and select a drill bit that matches that size. It’s important to choose a drill bit that is slightly smaller than the diameter of the screw or anchor so that it fits snugly in the hole.
- Type of drill bit: There are various types of drill bits available, each designed for specific purposes. Some common types include twist drill bits, spade bits, auger bits, and brad point bits. For drilling into wall studs, a twist drill bit or a spade bit is usually suitable. Twist drill bits have sharp cutting edges that dig into the material, while spade bits have a flat, paddle-like tip and are great for drilling larger holes.
- Length of the drill bit: The length of the drill bit is also an important factor to consider. Ensure that the drill bit you choose is long enough to reach all the way through the stud and still have enough length to secure your screw or anchor.
By taking these factors into consideration, you can select the appropriate drill bit for drilling into a wall stud. This will help you achieve a clean and secure hole, ensuring that your screws or anchors are properly anchored in the stud.
Drilling into the wall stud
Drilling into a wall stud is an important skill to have when it comes to hanging heavy items or performing other tasks that require a sturdy anchor point. Wall studs are vertical wooden or metal beams that provide structural support to the wall.
Here are the steps to follow when drilling into a wall stud:
- Locate the wall stud using a stud finder or by tapping along the wall until you hear a solid, less hollow sound. Mark the stud’s location with a pencil.
- If using a stud finder, follow the device’s instructions to ensure accurate results.
- It is recommended to drill into a stud rather than just the drywall for better weight support.
- Choose the right drill bit for the job. A 1/8-inch or 1/4-inch drill bit is suitable for most applications. If using a larger screw or anchor, select a larger drill bit that matches the screw or anchor size.
- Insert the drill bit into your power drill and tighten it securely.
- Position the drill bit on the marked spot on the wall, making sure it is aligned with the stud. Hold the drill with a firm grip.
- Begin drilling at a slow speed to avoid splintering or damaging the wood. Apply light pressure and let the drill bit do the work. If using a cordless drill, ensure the battery is fully charged to maintain a consistent speed.
- Once the drill bit pierces the wall and begins to penetrate the stud, you may increase the drilling speed. Be cautious not to drill too quickly, as it may cause overheating or the wood to splinter.
- Continue drilling until you reach the desired depth. Stop drilling when the screw or anchor can be securely fastened into the stud.
- Remove the drill bit from the wall and clean up any debris or dust that may have accumulated.
- You are now ready to hang your item or perform the necessary task using the drilled hole in the wall stud as a secure anchor point.
Remember, drilling into a wall stud provides a strong and reliable anchor point for heavier objects. It is crucial to follow the correct steps to ensure proper installation and prevent any damage to your walls.
Cleaning up the debris
After you have finished drilling into the wall stud, there will likely be some debris left behind. It is important to clean up this debris to ensure a clean and safe working environment. Here are some steps you can follow to clean up the debris:
1. Gather your cleaning supplies
Before you begin cleaning, make sure to gather all the necessary cleaning supplies. This may include a broom, dustpan, vacuum cleaner, and a trash bag.
2. Sweep the area
Start by using a broom to sweep up any loose debris on the floor. Make sure to thoroughly sweep the area around the wall stud to remove any larger particles.
3. Use a vacuum cleaner
Once you have swept the area, use a vacuum cleaner to remove any remaining dust and smaller particles. Pay close attention to the wall stud area and run the vacuum cleaner nozzle along the surface of the wall to ensure a thorough clean.
4. Dispose of the debris
After vacuuming, empty the contents of the vacuum cleaner into a trash bag. Make sure to securely tie the bag to prevent any dust or debris from spilling out.
5. Inspect the area
Finally, take a close look at the area to ensure that all debris has been properly cleaned up. Use a flashlight if necessary to check for any hidden or hard-to-reach areas.
By following these steps, you can effectively clean up the debris left behind after drilling into a wall stud. Remember to always prioritize safety and cleanliness when working on home improvement projects.
Testing the stability
Before drilling into the wall stud, it is important to test its stability to ensure that it can support the weight of whatever is being hung on the wall.
Here are some steps to test the stability of the wall stud:
- Inspect the stud: Look for any visible signs of damage, such as cracks, splits, or rot. If the stud appears to be in poor condition, it may not be stable enough to drill into.
- Tap the stud: Use a hammer or mallet to gently tap along the length of the stud. Listen for any hollow or soft spots, as this could indicate weakened areas. A solid, firm sound suggests the stud is stable.
- Measure the stud: Use a stud finder or a tape measure to determine the width and thickness of the stud. Compare these measurements to the recommended size for hanging items. A thicker and wider stud is generally stronger and more stable.
- Perform a weight test: If you are unsure about the stability of the stud, you can perform a weight test. Hang a known weight from a hook or bracket mounted to the stud and observe if it holds without any signs of strain or movement. If the stud appears to bear the weight well, it is likely stable.
If at any point during the stability testing the stud shows signs of weakness or instability, it is recommended to seek professional advice or consider an alternative method for hanging items on the wall.
FAQ:
What is a wall stud?
A wall stud is a vertical structural member in a wall that provides support for the wall and any loads applied to it.
How can I locate a wall stud?
There are several methods to locate a wall stud, such as using a stud finder, tapping the wall to listen for a solid sound, or examining the trim or electrical outlets for clues.
Can I drill into a wall stud without damaging it?
Yes, you can drill into a wall stud without damaging it by using the proper technique and tools, such as a stud finder and the correct drill bit.
What size drill bit should I use when drilling into a wall stud?
The size of the drill bit you should use when drilling into a wall stud depends on the size of the screw or anchor you plan to use. It is recommended to use a drill bit slightly smaller than the diameter of the screw or anchor.
Is it necessary to use a drill or can I use a screwdriver to drill into a wall stud?
While you can technically use a screwdriver to drill into a wall stud, it is much easier and faster to use a drill. A drill provides more power and makes the drilling process smoother. Additionally, using a drill with the proper drill bit reduces the risk of damaging the wall stud or the screw.
Video:


Meet Harrison Clayton, a distinguished author and home remodeling enthusiast whose expertise in the realm of renovation is second to none. With a passion for transforming houses into inviting homes, Harrison's writing at https://thehuts-eastbourne.co.uk/ brings a breath of fresh inspiration to the world of home improvement. Whether you're looking to revamp a small corner of your abode or embark on a complete home transformation, Harrison's articles provide the essential expertise and creative flair to turn your visions into reality. So, dive into the captivating world of home remodeling with Harrison Clayton and unlock the full potential of your living space with every word he writes.


