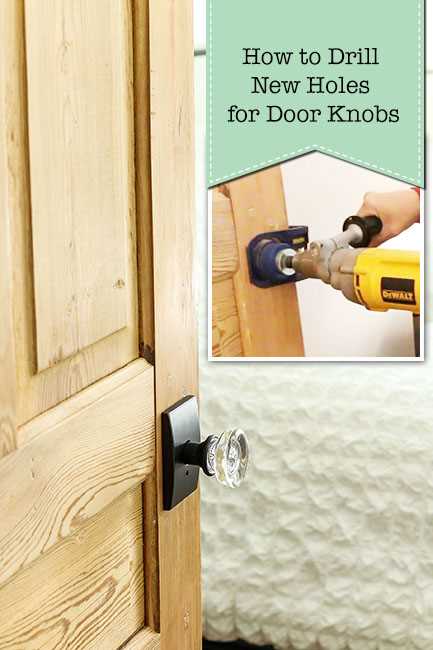
Step-by-Step Guide: Drilling out a Door Lock

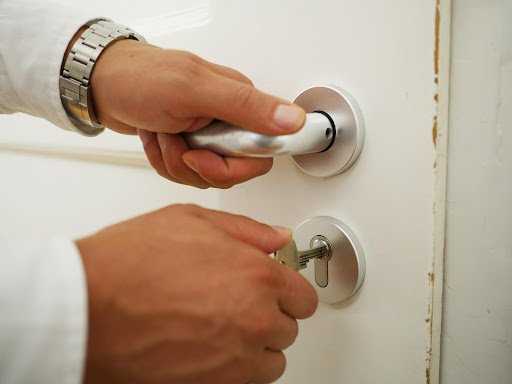
Locked out of your house or lost your keys? Don’t worry, there is a way to gain access to your home without a locksmith. In this step-by-step guide, we will explain how to drill out a door lock and gain entry to your house.
Before you start, it’s important to note that drilling out a door lock should be your last resort. This method should only be used if you have no other way to gain access to your home. It’s always best to call a professional locksmith to handle the situation.
First, gather the necessary tools. You will need a drill with various drill bits, a screwdriver, and a hammer. It’s also a good idea to have some lubricant and a pair of safety goggles.
Once you have your tools ready, position yourself in front of the door and locate the lock. Choose a drill bit with a diameter slightly larger than the lock cylinder. Attach the drill bit to the drill and set it to a low speed. Apply some lubricant to the bit to reduce friction.
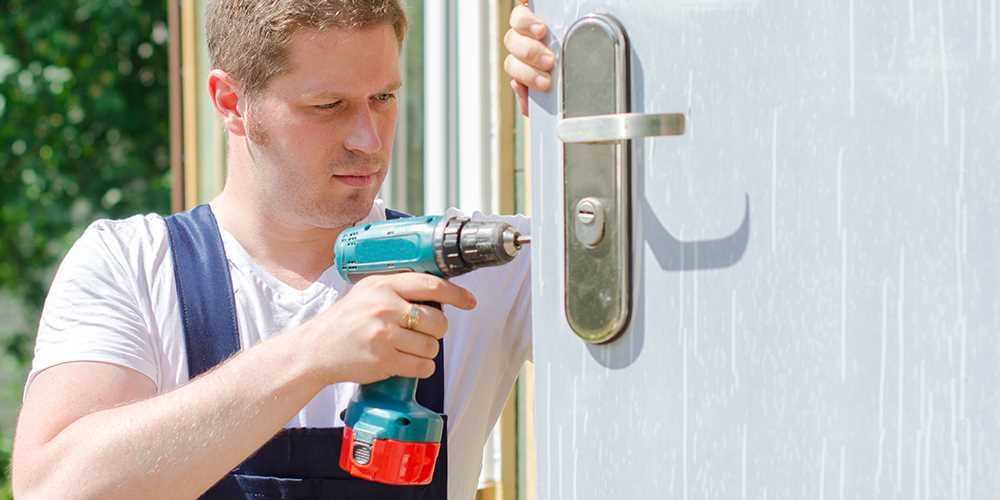
Hold the drill perpendicular to the lock and apply gentle pressure. Start drilling slowly and steadily. It’s important to maintain control and avoid putting too much pressure on the drill, as this can cause damage to the lock and door.

Gathering the necessary tools
Before you begin drilling out a door lock, you will need to gather the necessary tools. Having the right tools on hand will ensure that the process goes smoothly and efficiently.
Here are the tools you will need:

- Electric drill: You will need an electric drill to drill through the door lock. Make sure the drill is fully charged and has a drill bit suitable for drilling through metal.
- Drill bits: Depending on the type of door lock you are drilling out, you may need different sizes of drill bits. It is recommended to have a few different sizes on hand to ensure that you can drill through the lock effectively.
- Safety goggles: When drilling, it is important to protect your eyes from flying debris. Wear safety goggles to prevent any potential eye injuries.
- Work gloves: To protect your hands from any sharp edges or metal filings, wear work gloves during the drilling process.
- Masking tape: Applying masking tape to the door around the lock can help prevent any damage to the surrounding area during the drilling process.
- Screwdriver: You may need a screwdriver to remove any screws or hardware from the door lock before drilling.
- Hammer: In some cases, you may need to use a hammer to gently tap the drill bit into the door lock before drilling.
- Lubricant: If the door lock is stubborn or difficult to drill through, applying a lubricant can help ease the process. Choose a lubricant suitable for metal surfaces.
Once you have gathered all the necessary tools, you will be ready to proceed with drilling out the door lock. Remember to always take precautionary measures and work carefully to avoid any injuries or damage.
Preparing the door lock
Before you start drilling out the door lock, it is important to take some preparatory steps to ensure a smooth and successful process. Here is a step-by-step guide on how to prepare the door lock:

- Gather the necessary tools: Before getting started, make sure you have all the tools you will need for the job. This typically includes a drill, drill bits, a screwdriver, and a hammer.
- Inspect the lock: Take a close look at the lock to determine its condition. Look for any signs of damage or wear that may affect the drilling process. If the lock is damaged, it may be necessary to repair or replace it before proceeding.
- Remove any obstructions: Check for any obstructions that may interfere with the drilling process. This could include screws, latch plates, or strike plates. Remove any of these components using a screwdriver, if necessary.
- Protect the surrounding area: To prevent any damage to the door or surrounding surfaces, it is recommended to take some precautions. You can use masking tape to cover the area around the lock, creating a protective barrier.
- Ensure proper ventilation: Drilling can create a significant amount of dust and debris. To ensure proper ventilation, open any nearby windows or doors, or use a fan to circulate the air.
- Wear safety gear: Safety should always be a priority when drilling. Make sure to wear safety goggles to protect your eyes from flying debris, as well as gloves to protect your hands.
By following these preparatory steps, you will be ready to move on to the next phase of drilling out the door lock. Remember to proceed with caution and take your time to ensure a safe and successful outcome.
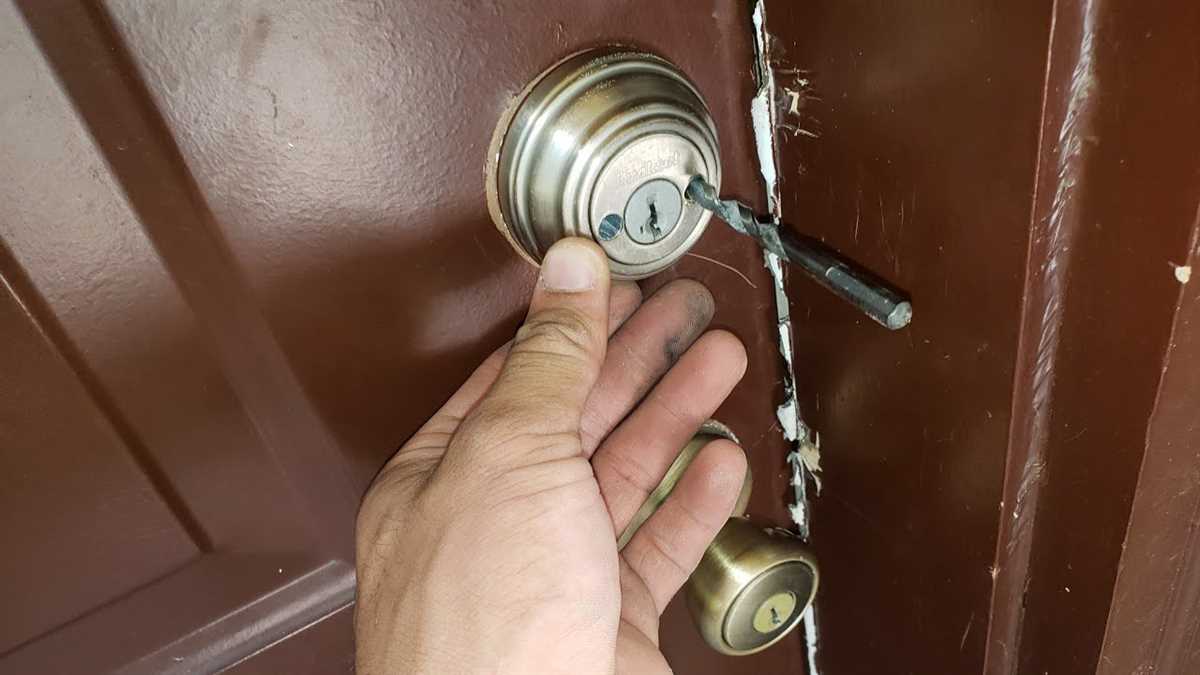
Marking the drilling point
Before you start drilling, you need to carefully mark the drilling point on the door lock. This will ensure accurate placement and reduce the chances of damaging the door or lock mechanism.
Here’s a step-by-step guide on how to mark the drilling point:
- Prepare your door lock: Remove any existing hardware from the door lock, such as the doorknob or lockset, to expose the cylinder.
- Identify the cylinder: The cylinder is the part of the door lock that contains the keyway. It is usually located in the center of the lock. Take a moment to identify the cylinder before proceeding.
- Measure and mark: Use a measuring tool, such as a tape measure or ruler, to determine the exact center of the cylinder. Measure the width of the cylinder and find the midpoint. Mark this point using a pencil or marker.
- Check the mark: Double-check your mark to ensure its accuracy. Make sure it is centered and at the correct height on the door lock.
By following these steps, you can confidently proceed with drilling out the door lock without the risk of damaging the door or lock mechanism.

Drilling a pilot hole
A pilot hole is a small hole that is drilled before drilling the actual hole. It helps to guide the drill and prevent the drill bit from wandering or slipping. Here is a step-by-step guide for drilling a pilot hole:
- Choose the right drill bit: Select a drill bit that is slightly smaller in diameter than the final hole size. This will help you create a precise pilot hole.
- Mark the drilling point: Use a pencil or a marker to mark the center point of the pilot hole on the surface where you want to drill.
- Secure the workpiece: Place the workpiece on a stable surface or secure it in a vice to prevent it from moving while drilling.
- Position the drill: Hold the drill perpendicular to the workpiece and align the drill bit with the marked center point.
- Apply gentle pressure: Apply steady and gentle pressure on the drill while drilling to prevent the drill bit from overheating or getting stuck.
- Start drilling: Turn on the drill and slowly begin drilling into the workpiece. Keep the drill bit straight and aim for the center point.
- Check the depth: Periodically stop drilling and check the depth of the pilot hole using a depth gauge or a ruler. This will help you ensure that you drill to the desired depth.
- Remove the drill bit: Once you have drilled the pilot hole to the desired depth, turn off the drill and remove the drill bit from the hole.
Now you are ready to proceed with drilling the actual hole using the pilot hole as a guide. Remember to choose the appropriate drill bit for the final hole size and follow proper drilling techniques to achieve the desired results.
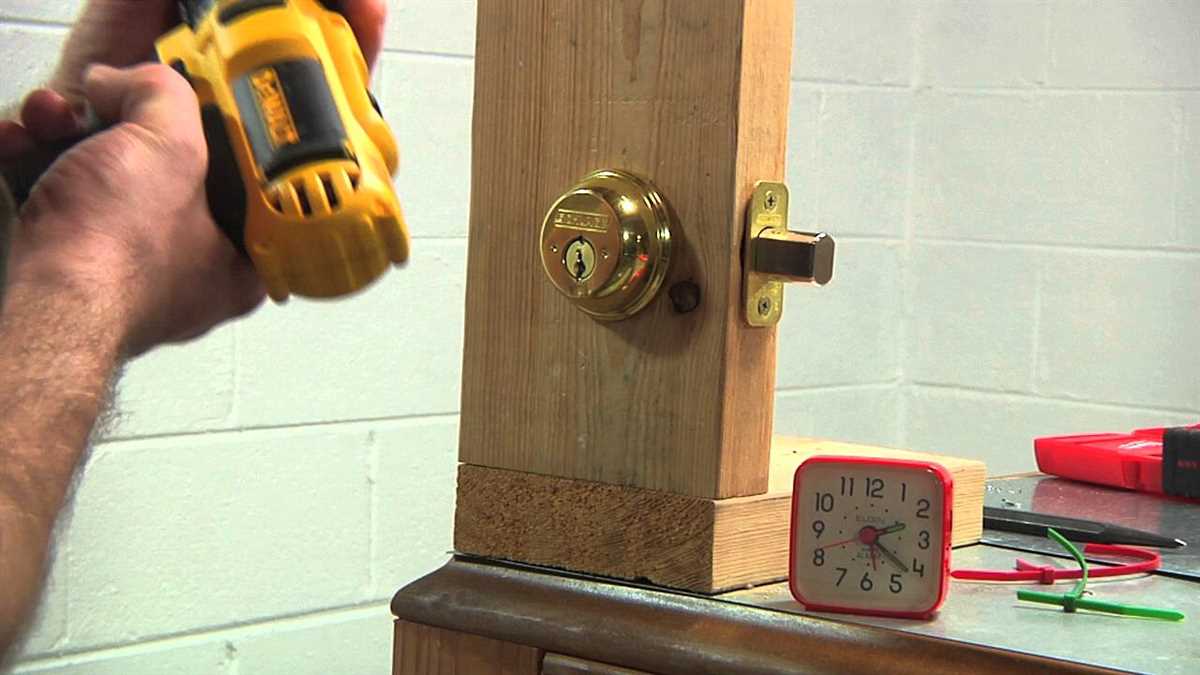
Drilling the main hole
Before you start drilling, make sure you have the correct size of drill bit for your lock. It’s best to measure the diameter of the lock cylinder and choose a drill bit that is slightly larger. This will make it easier to drill out the lock without damaging the surrounding door material.

Here are the steps to drill the main hole:
- Mark the center of the lock cylinder on the door with a pencil or marker.
- Attach the appropriate size drill bit to your drill.
- Put on safety glasses to protect your eyes.
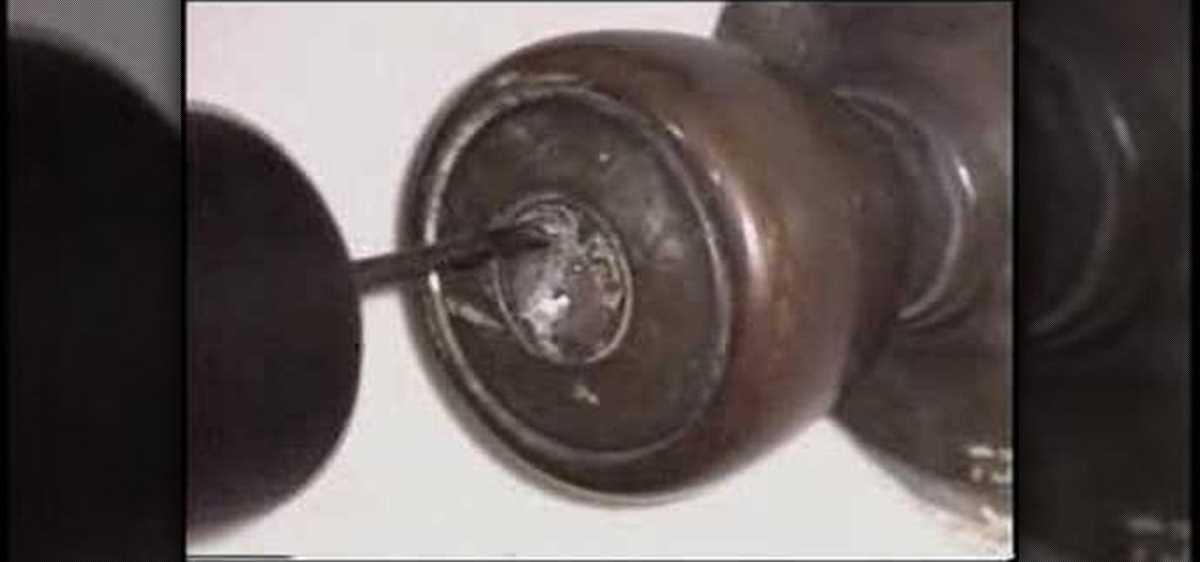
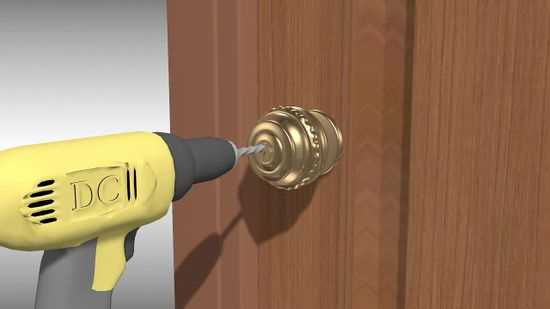
- Position the drill bit at the center mark on the lock cylinder.
- Apply steady pressure and begin drilling into the lock cylinder.
- Drill until you have penetrated the lock cylinder completely.
- Remove the drill bit from the lock cylinder.
Note: Be careful when drilling to ensure you don’t go too far and damage the door material or any internal mechanisms.
Once you have drilled the main hole, you can move on to the next steps in the door lock drilling process.
Removing the lock cylinder
Removing the lock cylinder is an important step in drilling out a door lock. Follow the steps below to safely remove the cylinder:
- Prepare the necessary tools:
- A drill with a drill bit suitable for metal.
- A set of screwdrivers.
- A pair of pliers or a wrench.
- Identify the retaining screw:
- Remove the retaining screw:
- Extract the lock cylinder:
- Disconnect any wires or cables:
Look for a small screw located on the side of the lock cylinder. This screw is usually hidden by a small plate or cap.

Use an appropriate screwdriver to loosen and remove the retaining screw. Be careful not to strip the screw head. Once the screw is removed, set it aside in a safe place.
Gently pull the lock cylinder out from the door. If the cylinder is difficult to remove, you may need to use a pair of pliers or a wrench to loosen it.
If your lock cylinder is connected to any wires or cables, carefully disconnect them before fully removing the cylinder. Take note of how the wires are connected for reassembly later.
Once you have successfully removed the lock cylinder, you can proceed with the next steps of drilling out the door lock.
Installing a new lock cylinder

After successfully removing the old lock cylinder from the door, it is time to install a new one. Follow these steps to ensure a proper installation:
- Gather the necessary tools: Before starting the installation process, make sure you have all the tools required. You will need a new lock cylinder, a screwdriver, and possibly a small drill bit.
- Prepare the door: Ensure that the door is clean and free from any debris or obstructions. This will help ensure a smooth and accurate installation.
- Insert the new lock cylinder: Take the new lock cylinder and insert it into the hole on the door where the old lock cylinder was removed. Make sure it fits securely and aligns properly.
- Screw in the retaining screws: Use a screwdriver to tighten the retaining screws on the lock cylinder. This will secure it in place and prevent it from moving or falling out.
- Test the lock: After installing the new lock cylinder, test it to ensure it operates smoothly and properly. Insert the key and turn it to ensure the lock engages and disengages smoothly.
- Make any necessary adjustments: If the lock cylinder does not function properly, you may need to make some adjustments. This could involve tightening or loosening the retaining screws or repositioning the lock cylinder slightly.
Remember to follow the manufacturer’s instructions and guidelines for your specific lock cylinder to ensure a proper installation.
Testing the new lock
Step 1: Ensuring Proper Installation

Before testing the new lock, make sure it has been installed correctly. Check that the lock is securely attached to the door and that all screws are tightened properly.
Step 2: Testing for Smooth Operation
Once the lock has been installed, test the lock cylinder to ensure it operates smoothly. Insert the key into the lock and turn it clockwise and counterclockwise to lock and unlock the door. The key should turn smoothly without any resistance or sticking.
Step 3: Testing the Latch
Close the door and test the latch by turning the lock cylinder or using the door handle to open and close the door. The latch should properly engage and disengage when the lock is turned or the door handle is used.
Step 4: Testing the Security
Check the security of the new lock by attempting to bypass it with various tools such as a credit card or a thin object. The lock should resist any attempts to bypass it and keep the door securely locked.
Step 5: Recheck the Installation
After testing the new lock, double-check the installation to ensure all components are still securely in place. Make any necessary adjustments or tighten any loose screws.
Step 6: Final Test
Perform a final test of the new lock by going through the entire locking and unlocking process several times. Ensure that the lock operates smoothly, the latch engages properly, and the door remains securely locked.
Note: If you encounter any issues during the testing process or are unsure about the lock’s functionality, consult a professional locksmith for assistance.
FAQ:
Is it difficult to drill out a door lock?
Drilling out a door lock can be a bit challenging, especially if you’re not familiar with the process. However, with the right tools and careful technique, it can be done successfully.
What tools do I need to drill out a door lock?
You will need a power drill, a drill bit set, a screwdriver, a hammer, and a chisel. Additionally, it’s helpful to have a lubricant, such as WD-40, and safety glasses.
Do I need any prior experience to drill out a door lock?
Prior experience is not necessary, but having basic knowledge of how locks work and some DIY skills can be beneficial. Following a step-by-step guide and taking your time can help you accomplish the task successfully.
What should I do before drilling out a door lock?
Before drilling out a door lock, it’s important to ensure that you have the right to access the lock and that you’re not violating any legal or ethical boundaries. If you’re unsure, it’s best to consult with a professional locksmith.
Can drilling out a door lock cause damage to the door?
Drilling out a door lock has the potential to cause damage to the door if not done carefully. It’s important to take your time, use the right tools, and follow the proper technique to minimize the risk of damaging the door.
Are there any alternatives to drilling out a door lock?
Yes, there are alternative methods to drilling out a door lock, such as picking the lock or calling a professional locksmith. However, these methods may not be as effective or practical in certain situations.
Video:

How to join the uvf
Meet Harrison Clayton, a distinguished author and home remodeling enthusiast whose expertise in the realm of renovation is second to none. With a passion for transforming houses into inviting homes, Harrison's writing at https://thehuts-eastbourne.co.uk/ brings a breath of fresh inspiration to the world of home improvement. Whether you're looking to revamp a small corner of your abode or embark on a complete home transformation, Harrison's articles provide the essential expertise and creative flair to turn your visions into reality. So, dive into the captivating world of home remodeling with Harrison Clayton and unlock the full potential of your living space with every word he writes.


