Step-by-step guide to drilling through a ceramic pot

Drilling through a ceramic pot may seem like a daunting task, but with the right tools and technique, it can be done easily and safely. Whether you want to create drainage holes in a ceramic planter or repurpose a ceramic pot for a different use, this step-by-step guide will walk you through the process.
Step 1: Gather the necessary tools
Before you begin, make sure you have all the tools you’ll need for this project. You will need a power drill, preferably one with variable speed settings, a carbide drill bit specifically designed for drilling through ceramics, a marker or tape for marking the drilling spot, and safety goggles to protect your eyes from any flying debris.
Pro tip: It’s a good idea to have a backup drill bit, as ceramic drilling can put quite a amount of strain on the bit and it may break.
Step 2: Mark the drilling spot
Using a marker or tape, mark the spot where you want to drill the hole in the ceramic pot. It’s important to measure and mark the spot accurately, as any mistakes could result in a crooked or misplaced hole. Take your time and double check the alignment before proceeding.
Step 3: Start drilling
Put on your safety goggles and set your power drill to a low speed setting. This will prevent the bit from getting too hot and potentially damaging the ceramic. Apply gentle pressure and start drilling at the marked spot. Take breaks to let the drill bit cool down and remove any debris that may have accumulated.
Step 4: Increase drill speed
As you make progress and the drill bit penetrates the ceramic, you can increase the speed of your power drill. This will help you move through the ceramic more efficiently. Make sure to maintain a steady hand and keep the drill bit perpendicular to the surface of the pot to prevent it from slipping or breaking.
Step 5: Clean up and finish
Once you have drilled all the way through the ceramic pot, carefully remove any remaining debris. You can use a brush or compressed air to clean out the hole and ensure it is clear. Smooth out any rough edges with sandpaper or a whetstone. Your ceramic pot is now ready for use!
Remember to always wear protective gear and work with caution when drilling through ceramic. The process can create a lot of dust and debris, so it’s important to clean up thoroughly and dispose of any waste properly. Following these steps will help you successfully drill through a ceramic pot and give it a new purpose!
What is drilling through a ceramic pot?
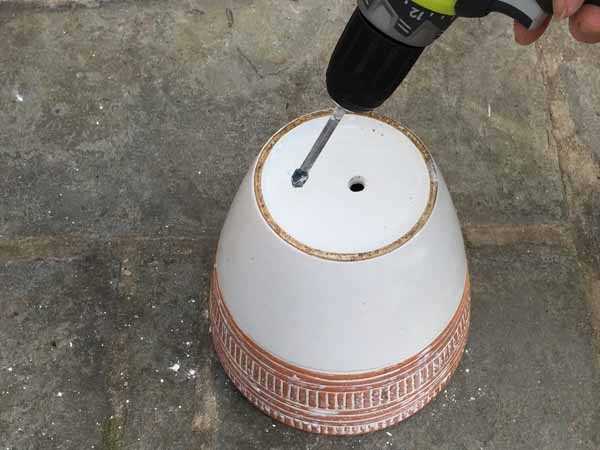
Drilling through a ceramic pot is the process of creating a hole in a ceramic pot or planter for various purposes. Whether you want to create drainage holes, add decorations, or repurpose the pot for a different use, drilling through ceramic can be a useful skill to have.
Why drill through a ceramic pot?
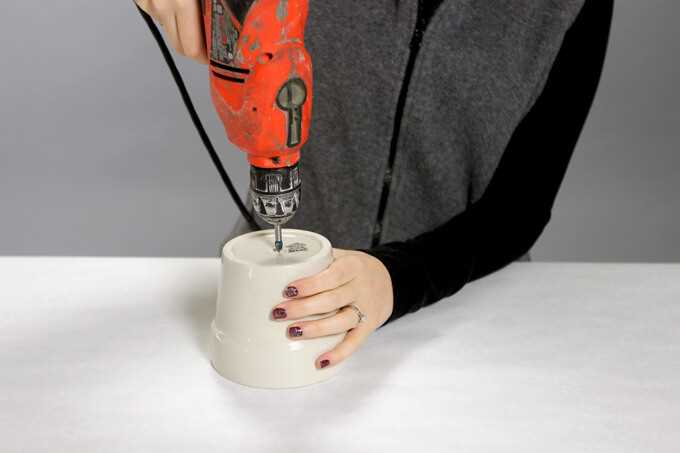
There are several reasons why you might want to drill through a ceramic pot:
- Drainage: Adding drainage holes at the bottom of a ceramic pot is essential for proper water drainage. This helps prevent overwatering and root rot, which can be harmful to plants.
- Decoration: Drilling holes in a ceramic pot can also be a way to add decorative patterns or designs. This allows you to personalize your pots and make them unique.
- Repurposing: If you have an old ceramic pot that you no longer use for planting, drilling through it can transform it into a new functional object. For example, you can turn it into a candle holder or a bird feeder.
Materials needed for drilling through a ceramic pot
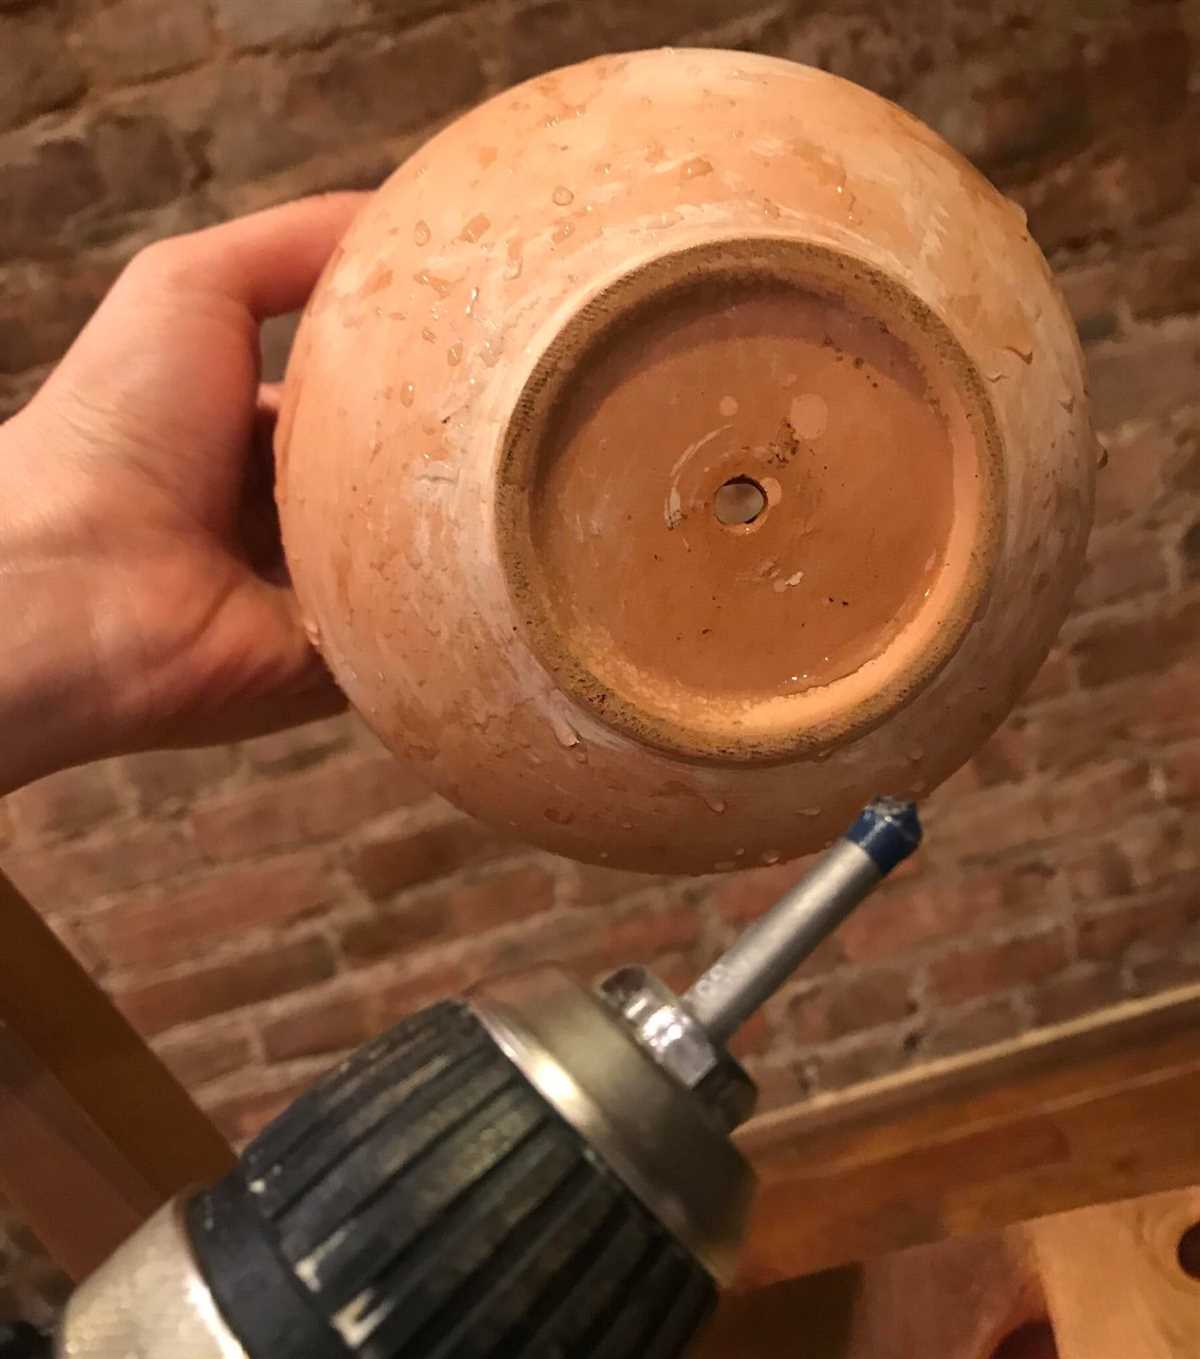
To drill through a ceramic pot, you will need the following materials:
- Ceramic pot: The pot you want to drill through.
- Drill: A power drill with a ceramic or masonry drill bit.
- Masking tape: To create a guide for drilling and prevent the drill bit from slipping.
- Water: To lubricate the drill bit and keep it cool during drilling.
- Safety goggles: To protect your eyes from debris.
- Gloves: Optional, but can provide extra grip and protection.
Steps for drilling through a ceramic pot
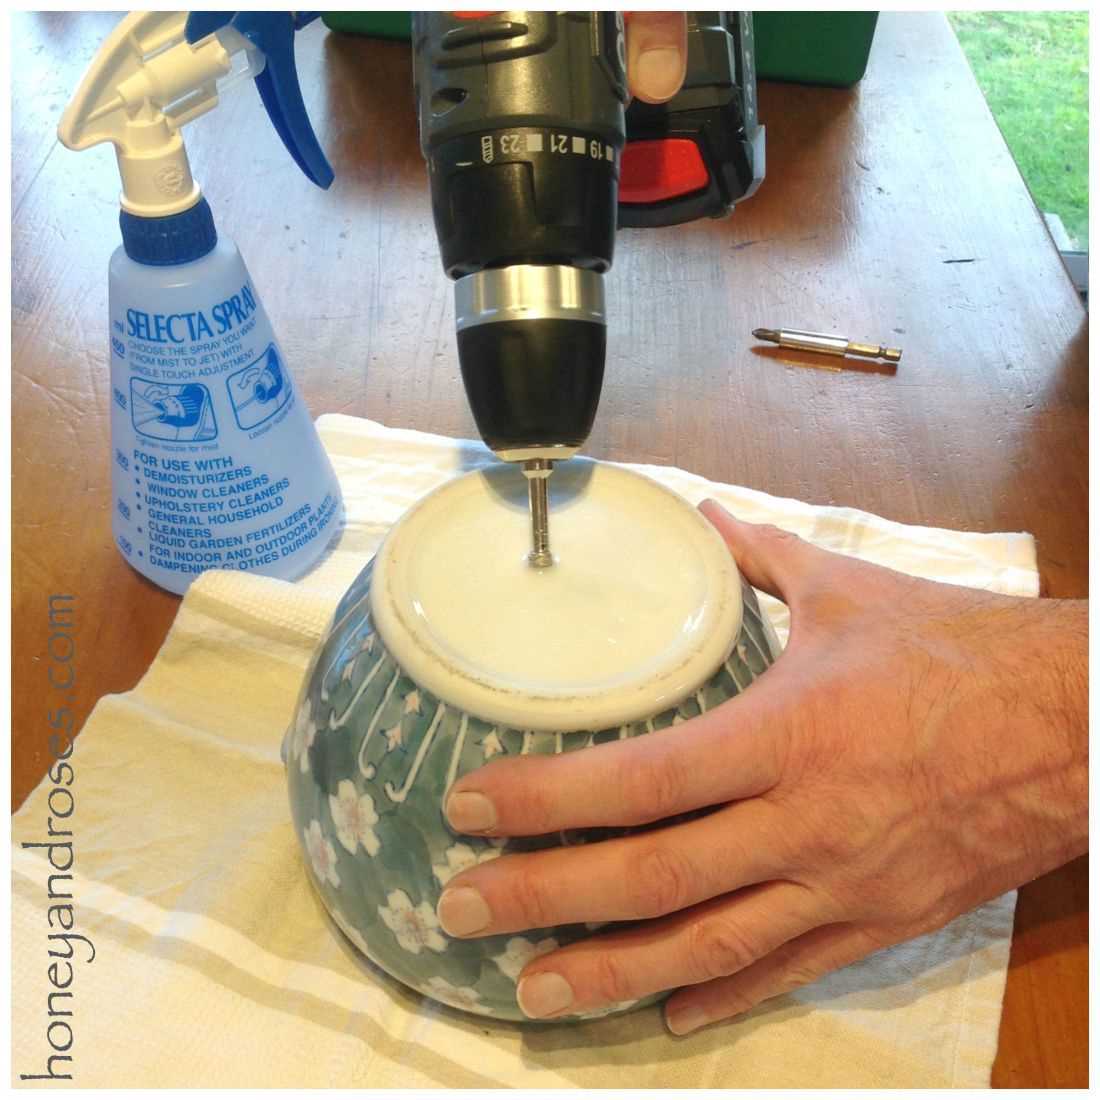
Follow these steps to drill through a ceramic pot:
- Prepare the pot: Clean the pot and ensure it is dry. If needed, mark the location for the hole using masking tape.
- Secure the pot: Place the pot on a stable surface or secure it in a vice to prevent it from moving while drilling.
- Attach the drill bit: Insert the ceramic or masonry drill bit into the drill chuck and tighten it securely.
- Create a guide: Place a piece of masking tape over the marked location for the hole. This will help prevent the drill bit from slipping and provide a visual guide.
- Start drilling: Start the drill at a low speed and apply gentle pressure. Use a slow and steady motion to drill through the ceramic pot. Keep the drill bit lubricated by dipping it in water periodically.
- Check progress: Stop drilling periodically to clean away debris and check the progress of the hole. You may need to adjust the pressure or speed of the drill as necessary.
- Finish the hole: Continue drilling until you have created the desired size hole. Be careful not to drill through the opposite side of the pot.
- Clean up: Once the hole is drilled, clean away any excess debris or dust from the pot.
Remember to always take necessary safety precautions when drilling, such as wearing safety goggles and using proper techniques. With practice and patience, you can successfully drill through ceramic pots for various purposes.
Why would you need to drill through a ceramic pot?
Drilling through a ceramic pot may be necessary for several reasons:
- Drainage: Many plants, especially those that are sensitive to overwatering, require proper drainage to prevent root rot. By drilling holes in the bottom of a ceramic pot, excess water can easily escape, ensuring the plant’s roots do not become waterlogged.
- Planting: If you want to transfer a plant from its current container to a ceramic pot, you may need to drill holes to accommodate the plant’s roots. This is especially important for plants that require a specific growing medium or have extensive root systems.
- Decoration: Some people drill through ceramic pots purely for decorative purposes. By drilling holes in specific patterns or designs, you can create unique and visually appealing pots for your plants.
Regardless of the reason, drilling through ceramic pots can be a challenging task, but with the right tools and techniques, it can be accomplished successfully.
Step 1: Gather the necessary materials
The first step in drilling through a ceramic pot is to gather all the necessary materials. Having everything prepared beforehand will make the process smoother and more efficient. Here is a list of the materials you will need:
- A ceramic pot
- A drill with a ceramic or tile bit
- Protective goggles
- A marker or pencil
- Masking tape
- A lubricant (such as water or oil)
- A cloth or towel
Make sure you have all these items on hand before you proceed to the next step.
Note: It is important to have the correct drill bit for ceramic surfaces, as regular drill bits may crack or damage the pot.
Step 2: Prepare the ceramic pot
Before you can start drilling through the ceramic pot, it’s important to properly prepare it for the task at hand. Here are the steps to follow:
- Gather the necessary tools: Make sure you have all the tools needed for the job. This includes a drill with a diamond-tipped drill bit, a water source, such as a spray bottle or sponge, and safety goggles.
- Choose a suitable location: Find a well-ventilated area where you can work comfortably without any obstructions.
- Inspect the pot: Examine the ceramic pot for any cracks or weak spots that may affect the drilling process. If you notice any damaged areas, it’s best to choose a different pot to ensure successful drilling.
- Place the pot securely: Set up a stable surface, such as a workbench or table, and place the ceramic pot on it. Make sure the pot is positioned in a way that allows you to easily access the area you want to drill.
- Protect the pot: To prevent the pot from slipping or cracking, place a soft cloth or rubber pad underneath it. This will provide cushioning and stability during the drilling process.
- Mark the drilling spot: Use a pencil or marker to mark a small dot on the ceramic pot where you want to drill the hole. This will serve as a guide and help you maintain accuracy during drilling.
- Pre-soak the pot: Fill a spray bottle or sponge with water and dampen the area around the marked spot. This will help to cool down the ceramic and prevent it from cracking or shattering while drilling.
Following these steps will ensure that your ceramic pot is properly prepared for the drilling process. Once you have completed these preparations, you can move on to the next step of drilling.
Clean the pot
Before drilling through a ceramic pot, it is important to ensure that it is clean and free of any debris. Here are the steps to follow to clean your pot:
- Thoroughly wash the pot with warm water and dish soap. Use a sponge or cloth to remove any dirt or grease from the surface. Rinse it well to remove any soap residue.
- If there are any stubborn stains or mineral deposits on the pot, you can try using a mixture of equal parts white vinegar and water. Apply the solution to the stains and let it sit for a few minutes before scrubbing it with a brush or sponge. Rinse the pot well afterwards.
- For any remaining residue or marks, you can use a mild abrasive cleaner. Apply the cleaner to the surface of the pot and scrub it gently with a sponge or cloth. Rinse it well afterwards to remove any cleaner residue.
- Dry the pot thoroughly with a clean towel or let it air dry completely before proceeding to the next step.
By cleaning the pot properly, you will remove any dirt, stains, or residues that could interfere with the drilling process.
Mark the drilling spot
Before you start drilling into the ceramic pot, it’s important to mark the exact spot where you want to drill. This will help ensure precision and prevent any accidental damage to the pot.
Here are the steps to mark the drilling spot:
- Clean the pot: Use a damp cloth to wipe off any dirt or dust from the surface of the pot. This will make it easier to mark the spot accurately.
- Choose the location: Decide where you want to drill the hole in the pot. Consider the size and shape of the pot, as well as the specific purpose of the hole (e.g., drainage hole, hole for hanging).
- Measure and mark: Use a measuring tape or ruler to determine the exact placement of the hole. Once you’ve chosen your measurement, use a pencil or marker to make a small dot on the surface of the pot. Make sure the mark is clear and easy to see.
- Double-check: Take a step back and double-check the location of the mark. Make sure it aligns with your desired position and meets your requirements.
By following these steps, you can accurately mark the drilling spot on your ceramic pot. This will help guide you during the drilling process and ensure the best possible outcome.
Step 3: Choose the right drill bit
Choosing the right drill bit is essential when drilling through a ceramic pot. The wrong bit can cause the pot to crack or break, ruining your project. Here are a few options to consider:
- Ceramic or glass drill bit: These specialized bits are designed specifically for drilling through ceramic and glass surfaces. They have a carbide or diamond tip, which helps to prevent cracking and ensures a clean hole.
- Tile bit: Tile bits are another good option for drilling through ceramic pots. These bits are designed to drill through tile, which is similar in hardness to ceramic. They are often made with a carbide tip, which helps to maintain their sharpness and prevent cracking.
- Masonry drill bit: If you don’t have a ceramic or glass drill bit or a tile bit, a masonry drill bit can be used as an alternative. While not specifically designed for ceramic, masonry bits are able to drill through hard surfaces, including ceramic pots.
Whichever type of drill bit you choose, make sure it is the correct size for the hole you want to drill. The bit should be slightly smaller than the diameter of the hole you need, as this will help prevent the pot from cracking.
Step 4: Drilling into the ceramic pot
Now that you have prepared everything, it’s time to start drilling into the ceramic pot. Follow these steps to ensure a successful drilling process:
- Choose the right drill bit: Select a drill bit specifically designed for drilling through ceramic or porcelain. Diamond-tipped or carbide-tipped bits are recommended for this task, as they are more durable and efficient in handling hard materials like ceramic.
- Mark the drilling spot: Use a pencil or a marker to mark the exact spot where you want to drill the hole in your ceramic pot. Make sure the mark is clearly visible and accurately placed.
- Secure the pot: Place the ceramic pot on a stable surface, such as a workbench or table. If necessary, use clamps or a vice to securely hold the pot in place. This will prevent it from moving or slipping during the drilling process.
- Apply water or lubricant: To minimize the risk of cracking or chipping, it is important to keep the drill bit cool. Apply water or a lubricant specifically designed for drilling to the area where you will be drilling.
- Start drilling: Position the drill bit on the marked spot and apply gentle pressure. Begin drilling at a slow speed to prevent the ceramic from cracking due to excessive force or heat. Maintain a steady hand and let the drill bit do the work, allowing it to gradually penetrate the ceramic.
- Take breaks: If necessary, take short breaks while drilling to allow the drill bit and ceramic to cool down. This will help prevent overheating and minimize the risk of damage.
- Check the depth: Periodically stop drilling and check the depth of the hole to ensure it meets your requirements. Use a measuring tape or the bit itself as a guide to determine the desired depth.
- Remove debris: As you drill, small ceramic particles may accumulate around the hole. Remove these debris periodically to maintain a clear drilling path and prevent the bit from getting clogged.
- Finish the drilling process: Once you have reached the desired depth, gradually increase the drilling speed to create a clean and smooth hole. Maintain control and avoid applying excessive pressure, as this can cause the ceramic to crack or break.
Following these steps will help you successfully drill into your ceramic pot without any damage. Remember to take your time and exercise caution throughout the process to ensure the best results.
Use the right technique
Step 1: Gather the necessary tools
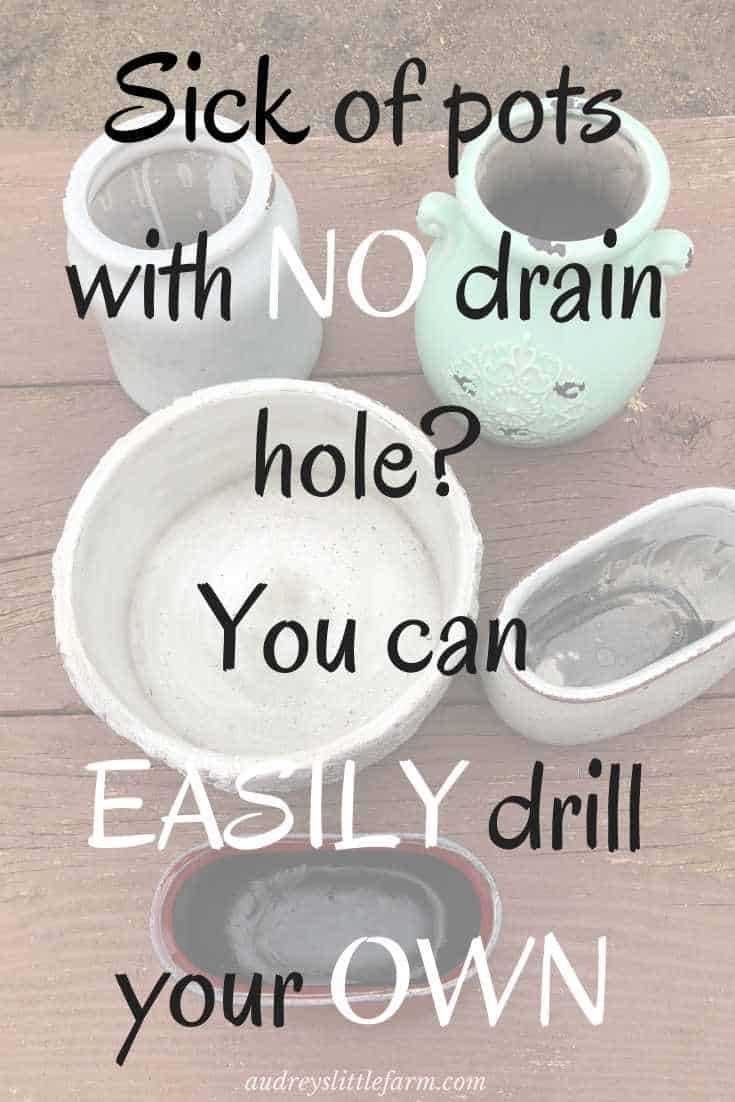
In order to successfully drill through a ceramic pot, it is important to have the right tools on hand. Here are the items you will need:
- Drill: Use a regular drill with a ceramic or diamond drill bit. Make sure the drill bit is the appropriate size for the hole you want to create.
- Masking tape: This will help prevent the drill bit from slipping and create a guide for drilling.
- Water: Keep a small container of water nearby for lubrication.
- Protective gear: Wear safety goggles and gloves to protect your eyes and hands.
Step 2: Mark the spot
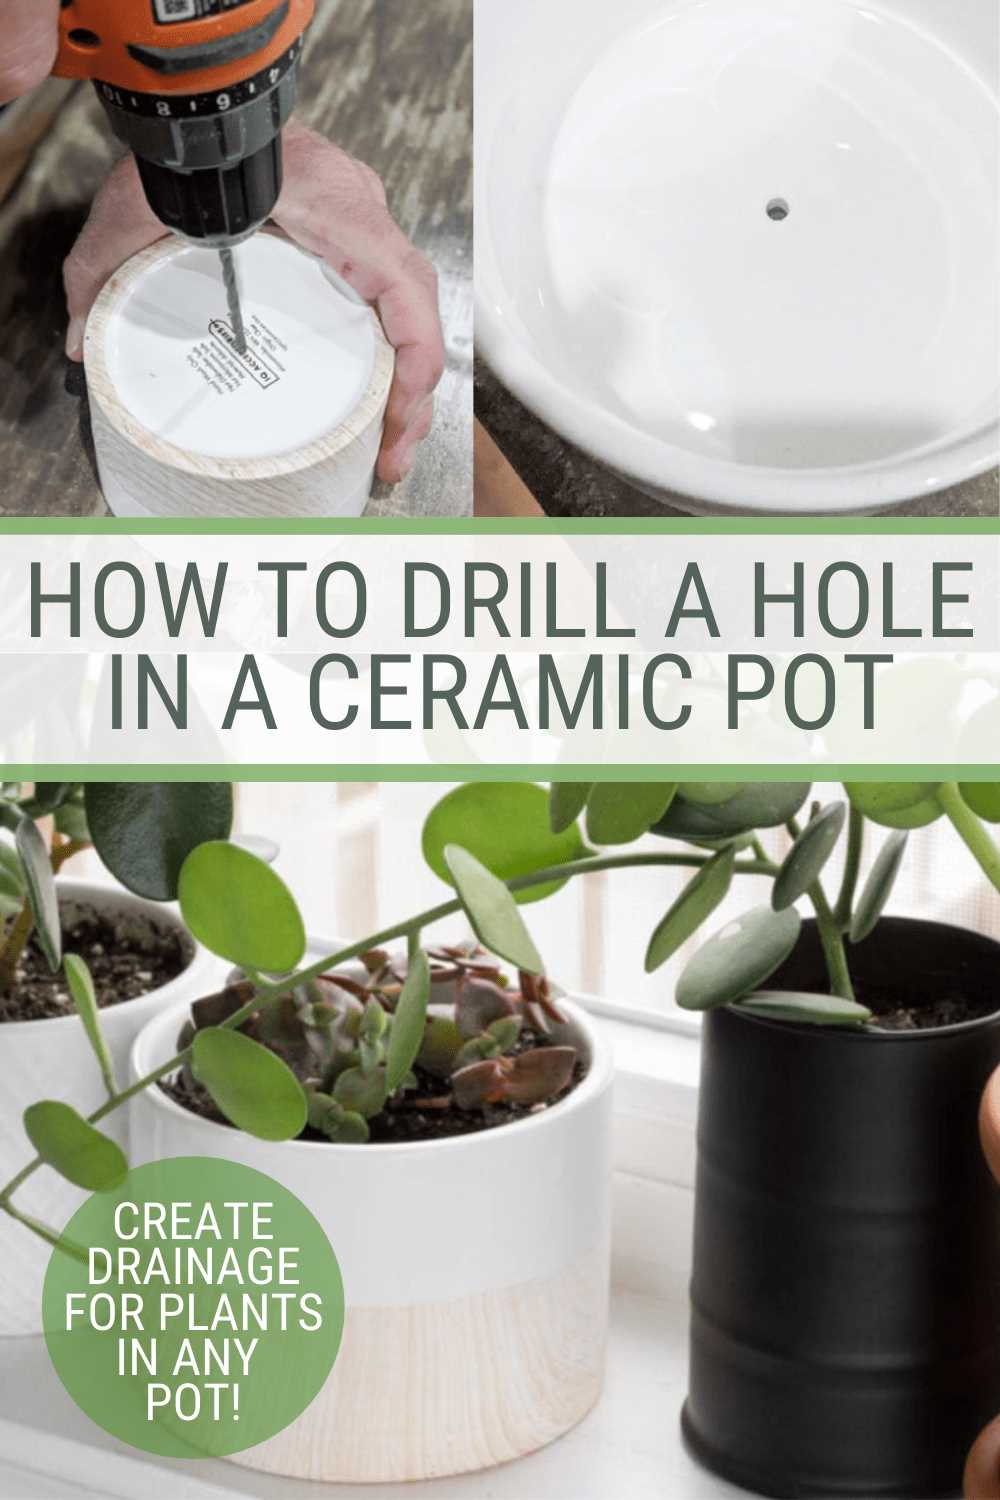
Decide where you want to make the hole on the ceramic pot and mark the spot with a pencil or marker. This will serve as a guide for drilling and ensure that you make the hole exactly where you want it.
Step 3: Prepare the pot
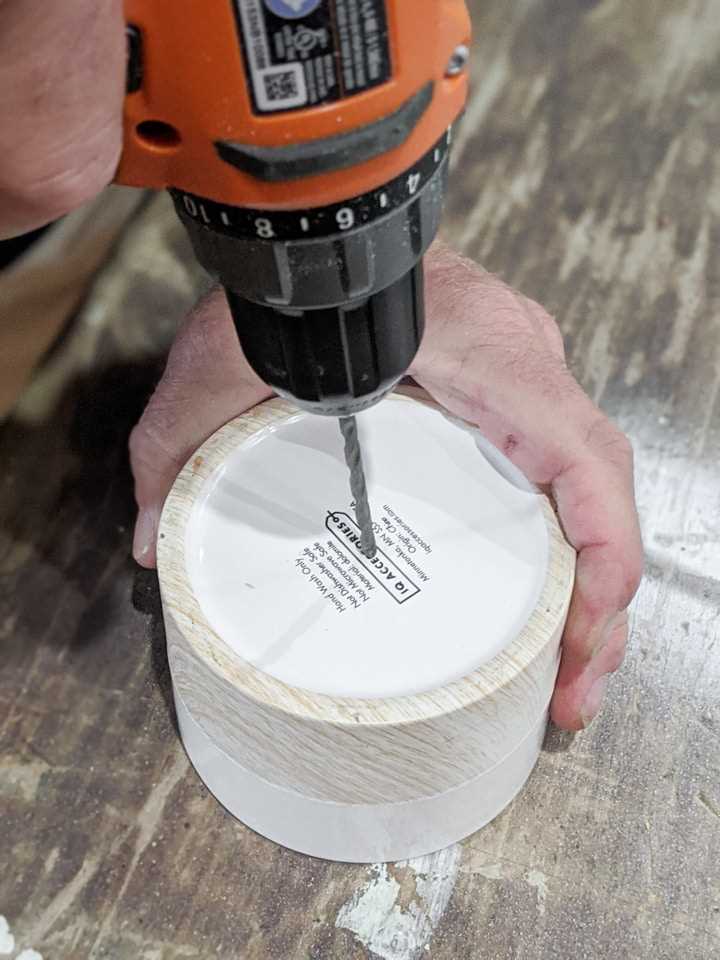
If the ceramic pot is small enough to hold, place it securely on a stable surface. If it is larger or unable to be held, place it on a soft cloth or mat to prevent it from moving or sliding during the drilling process.
Step 4: Apply masking tape
Take a piece of masking tape and place it over the marked spot. This will help prevent the drill bit from slipping and create a stable surface for drilling.
Step 5: Start drilling
Begin drilling by positioning the drill bit on the marked spot. Start the drill at a low speed and apply light pressure. As you drill, gradually increase the speed and apply a steady, but gentle, downward force. Keep the drill straight and perpendicular to the surface of the pot to avoid breaking or cracking the ceramic.
Step 6: Keep the bit cool
Drilling through ceramic can create heat, which can damage the drill bit or the pot. To keep the drill bit cool, dip it in water periodically or use a spray bottle to mist water onto the drilling area. This will also help lubricate the drill bit and prevent overheating.
Step 7: Clean the hole
After drilling through the pot, remove the masking tape and use a damp cloth or sponge to clean any debris or dust from the hole.
Step 8: Test the hole

Once the hole is clean, test it by inserting the desired object or plant into the hole. If necessary, use sandpaper or a file to smooth the edges of the hole.
Step 9: Practice caution
It is important to use caution and take your time when drilling through a ceramic pot. Always wear protective gear, work in a well-ventilated area, and be mindful of your surroundings.
Step 10: Enjoy your drilled ceramic pot
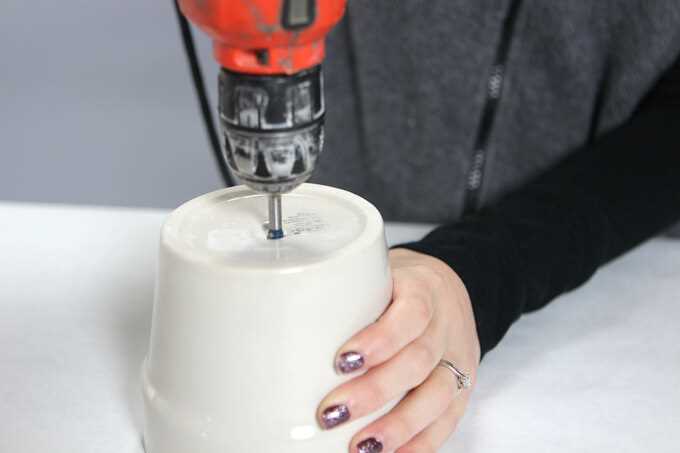
Congratulations! You have successfully drilled through a ceramic pot. Now you can enjoy using it for your desired purpose, such as planting a flower or creating a unique decorative piece.
Apply steady pressure
Once you are ready to start drilling, apply steady pressure to the pot. It’s important to maintain a consistent pressure throughout the drilling process to prevent the pot from cracking or breaking.
Place the drill bit at the marked spot on the pot and start drilling slowly. Use a moderate speed to prevent the pot from overheating and cracking. Apply even pressure, but be careful not to press too hard as this can also lead to cracks.
As you drill, periodically pause and check the progress. If you notice any signs of stress or weakening in the pot, stop immediately and reassess your drilling technique.
Remember to keep the pot and drill bit lubricated by periodically dipping the bit in water or using a lubricant such as oil. This will help reduce friction and heat build-up, which can cause the pot to crack.
Continue drilling steadily until you have achieved the desired hole size. Take your time and be patient, as rushing can lead to mistakes or accidents.
FAQ:
What equipment do I need to drill through a ceramic pot?
To drill through a ceramic pot, you will need a power drill, a ceramic/glass drill bit (preferably diamond-tipped), masking tape, a marker, and water for lubrication.
What precautions should I take while drilling through a ceramic pot?
It is important to wear safety goggles and gloves to protect your eyes and hands from any flying debris. It is also recommended to work in a well-ventilated area and to keep a firm grip on the pot while drilling.
How do I mark the drilling spot on a ceramic pot?
To mark the drilling spot on a ceramic pot, place a small piece of masking tape on the desired area. Then, use a marker to draw a small dot on the tape to guide the drill bit.
What technique should I use to drill through a ceramic pot?
Start by placing the pot on a stable surface and secure it in place. Begin drilling at a slow speed with minimal pressure, gradually increasing both speed and pressure as you go. Keep the drill bit lubricated with water to prevent overheating. Take breaks if necessary to avoid excessive heat buildup.
Can I use a regular drill bit to drill through a ceramic pot?
It is not recommended to use a regular drill bit to drill through a ceramic pot as it may cause the pot to crack or shatter. It is best to use a specialized ceramic/glass drill bit, preferably diamond-tipped, which is designed to handle the delicate nature of ceramics.
Video:


